
Hi guys,
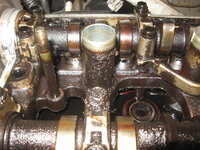
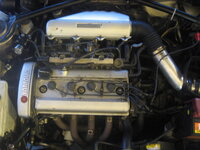
I just want to share picture of my engine been overhauled by myself.
Please comment.....
P/s- I would like to thank for all members and sifu here for very informative thread.
I just want to share picture of my engine been overhauled by myself.
Please comment.....
P/s- I would like to thank for all members and sifu here for very informative thread.
Attachments
-
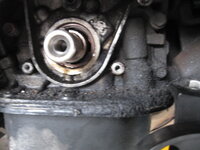 01.oil pump oil seal remove becoz of leak.JPG235.6 KB · Views: 665
 -
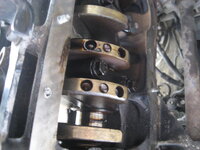
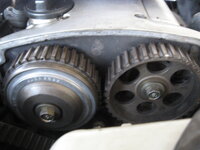 02.timing mark1.JPG198.8 KB · Views: 490
 -
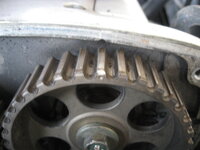 03.timing mark3.JPG190.7 KB · Views: 431
 -
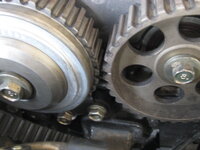 04.timing mark3.JPG215.7 KB · Views: 415
 -
 05.me assistant.JPG222 KB · Views: 440
 -
 10.dirty dead4.JPG370.7 KB · Views: 449
 -
 09.dirty head3.JPG286.8 KB · Views: 434
 -
 08.dirty head2.JPG318.7 KB · Views: 467
 -
 07.dirty head1.JPG334 KB · Views: 498
 -
 06.stabalizer link n ball joint.JPG248.2 KB · Views: 490
 -
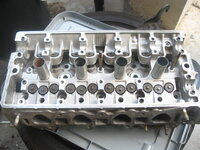
 15.head view.JPG303.8 KB · Views: 455
 -
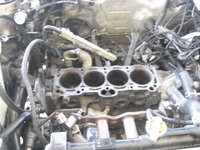
 14.bottom view.JPG223.8 KB · Views: 444
 -
 13.head on d ground.JPG288.5 KB · Views: 436
 -
 12.head remove.JPG252.1 KB · Views: 476
 -
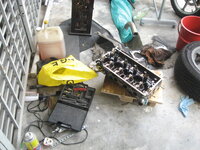
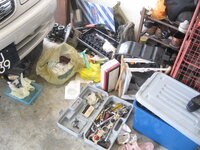 11.mess work space.JPG300.6 KB · Views: 422
 -
 20.full spray.JPG187.2 KB · Views: 411
 -
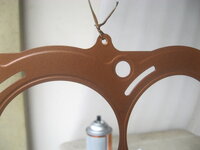
 19.half spray.JPG188.3 KB · Views: 411
 -
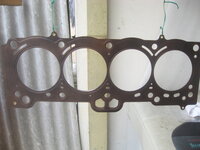
 18.ori MHG.JPG177.9 KB · Views: 410
 -
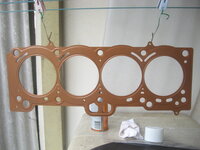
 17.copper spray gasket.JPG180.6 KB · Views: 487
 -
 16.piston inside.JPG267.2 KB · Views: 435
Last edited:


 . May I know what made u decided to do the overhaul in the first place?
 Wish I had the money, tools, skill and balls to do what you did.