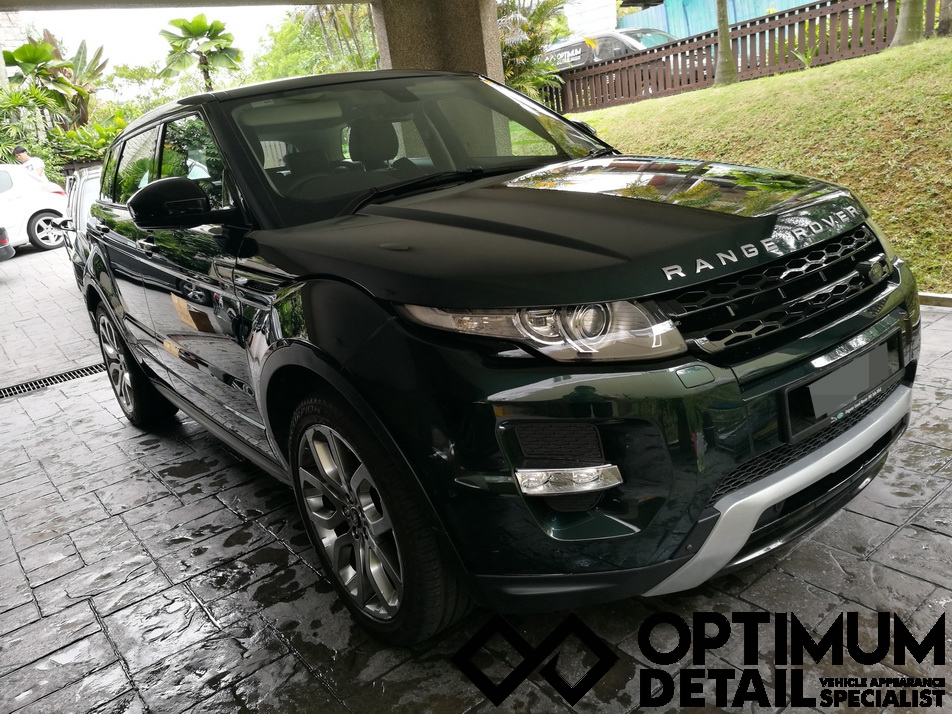
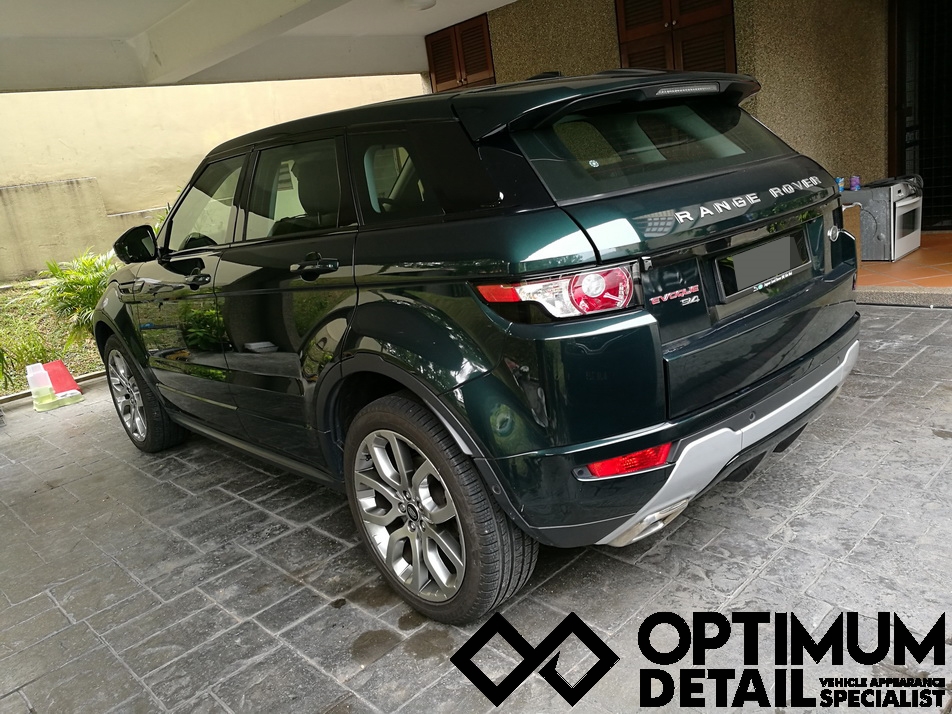
We have with us today a very uniquely colour Range Rover Evoque. Being a 3 year old car, the owner finally decided that she needs some restoration work done to the paint. Opting for the Opti-Coat™Pro was his choice even before he called us. So we are here after a 5minute conversation on the phone. Check it out!

Upon arrival, the car seemed to be in a rather glossy and clean condition, but as we always say, looks can be deceiving.
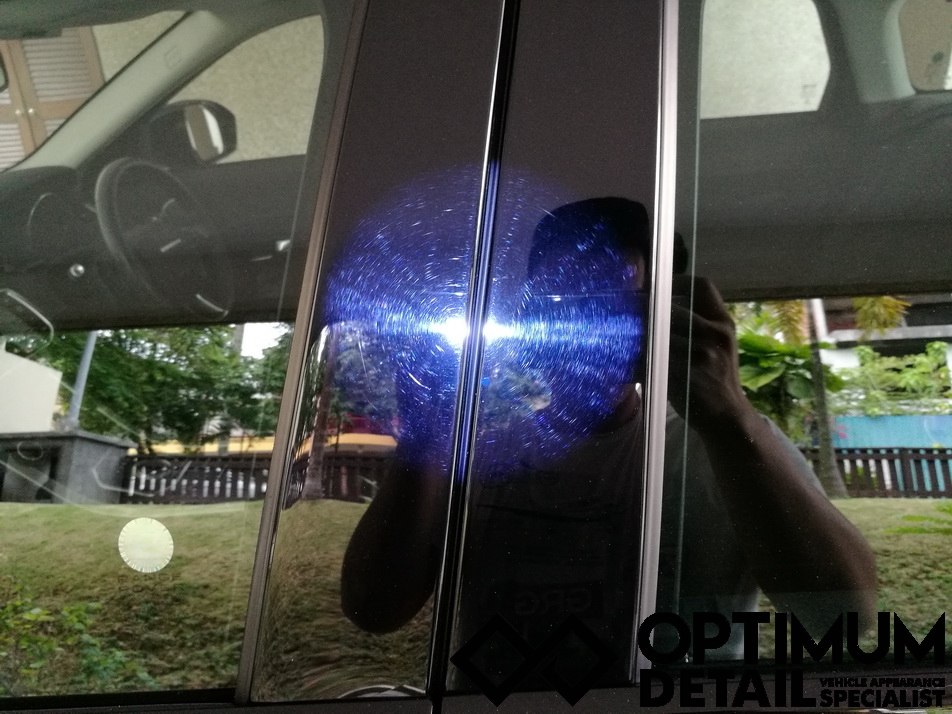
As we did our walk around, the first thing that caught our eyes was the severely scratched up side pillars.

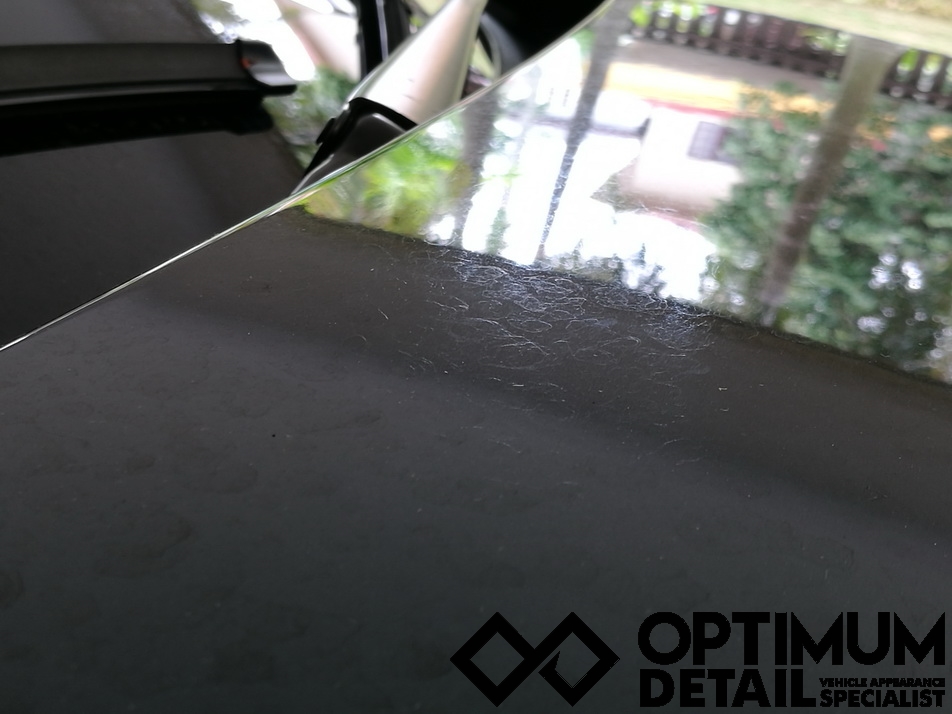
Then we noticed some calcium build up on the paint. We suspect the car is mostly parked outdoors in the rain.
And we were right, see the extreme watermark build up.
The front grills had more calcium build up and faded plastic as well.

Of course the glass was affected as well.

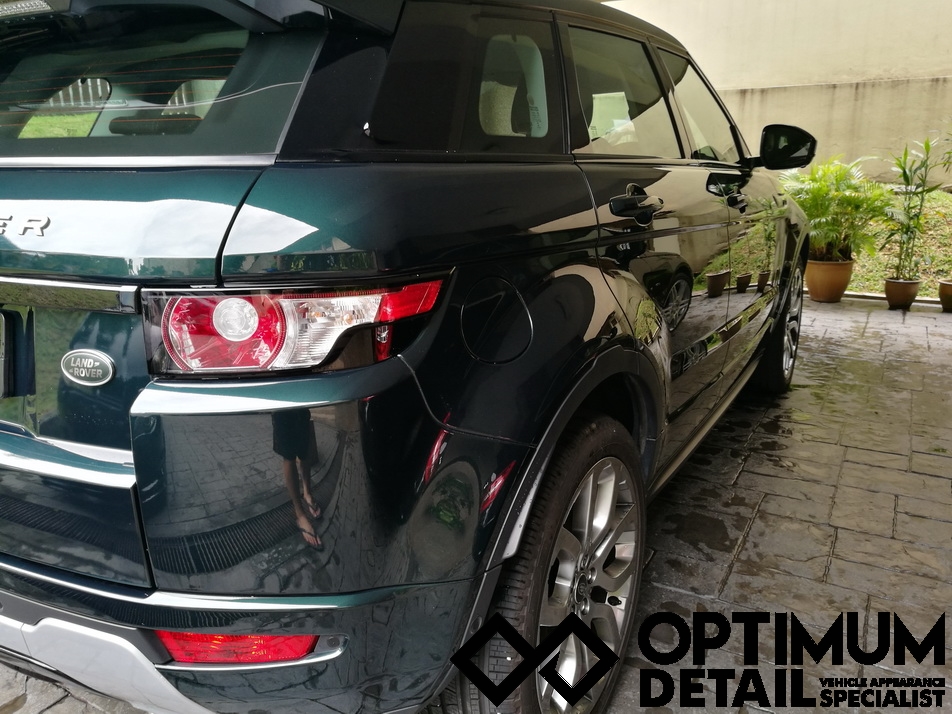
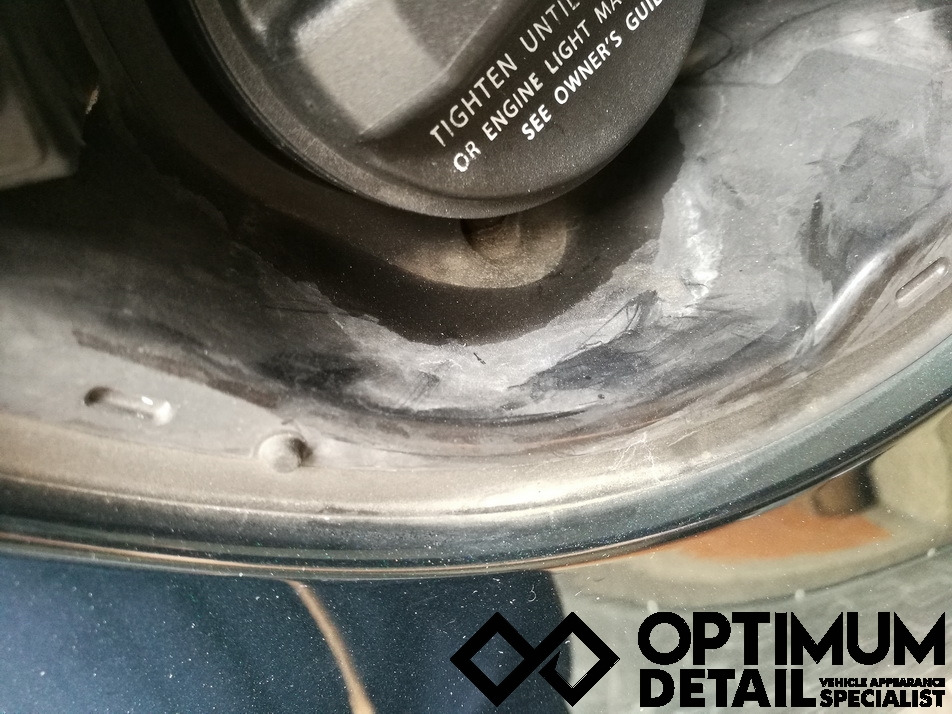
As we pop the fuel cover, shocked was the only word we can describe what we saw.
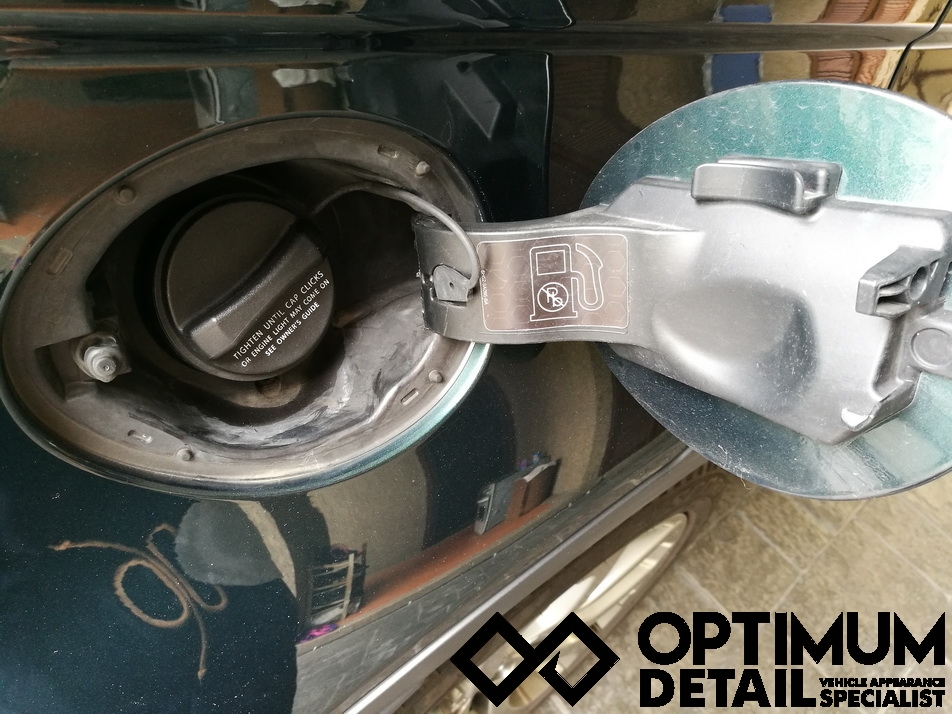
This is how dirty this area can get when neglected.
Because we noticed some cat cages, so we expected some cat scratches around the car.

More cat scratches.

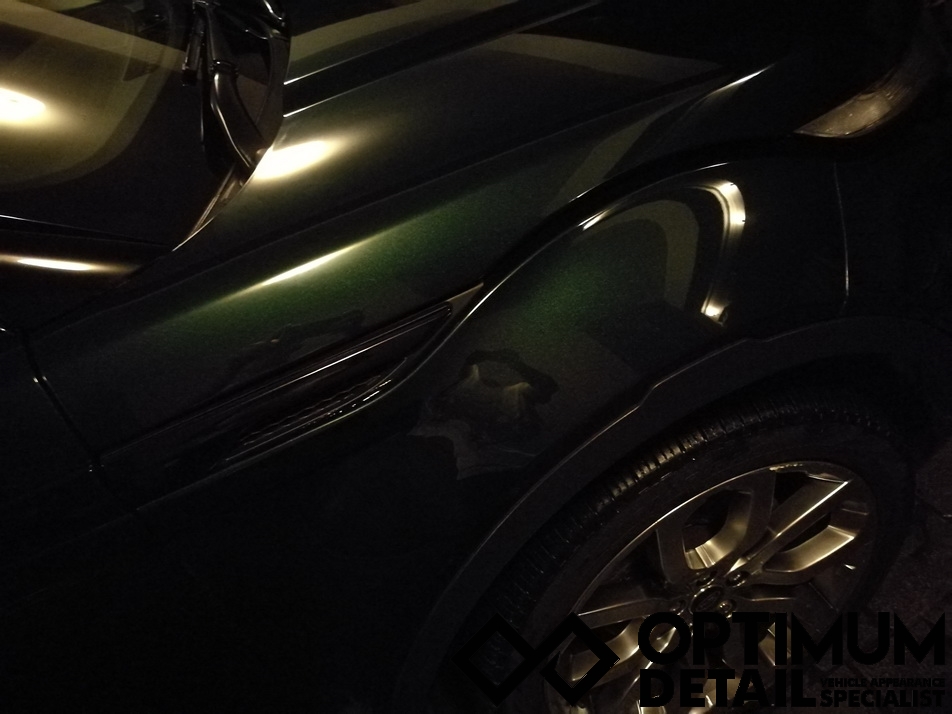
Side pillar's damage when under LED.

View from a distance. Looks quite bad.
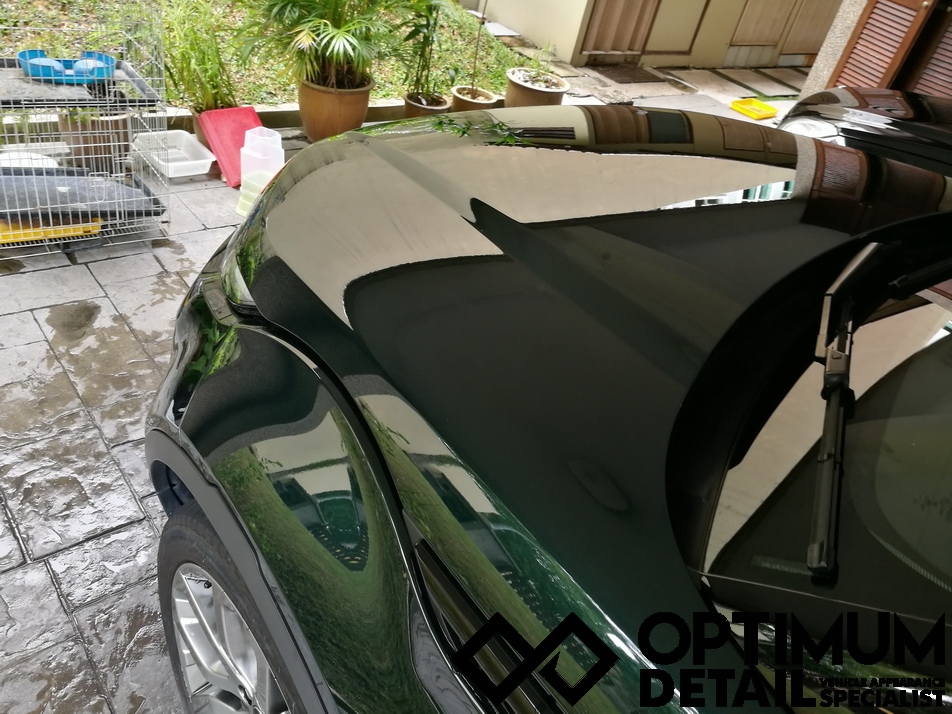
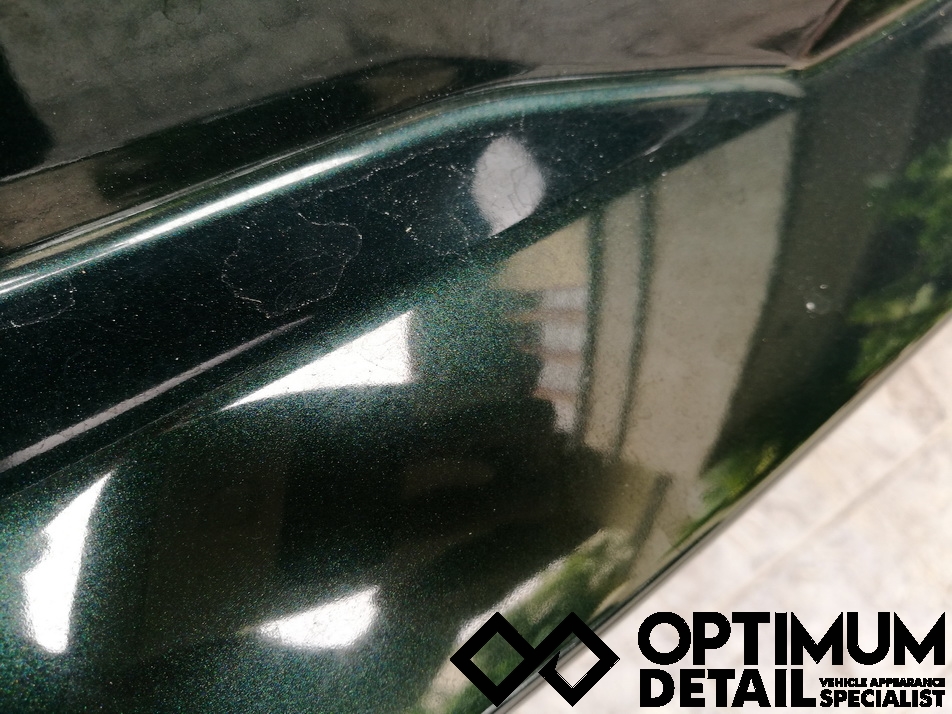
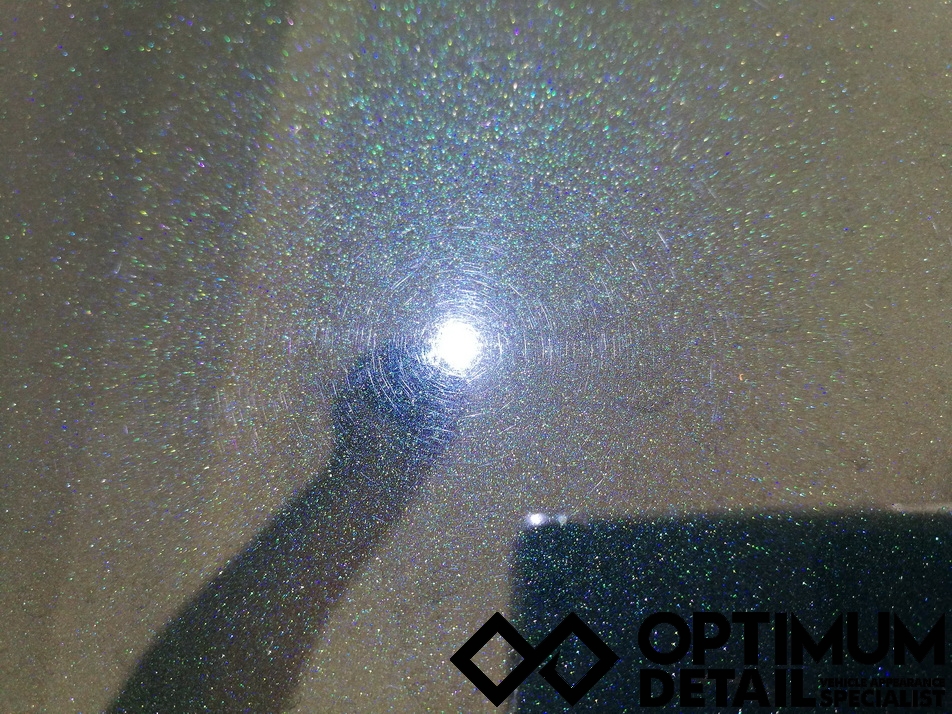
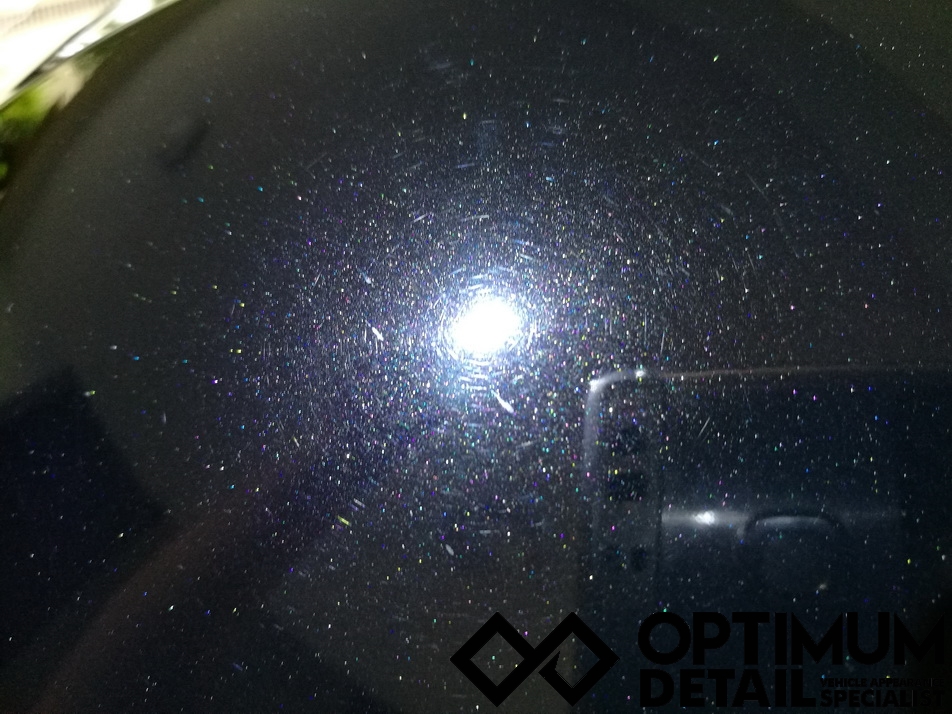
Moving on to the paint condition, under the LED check light, swirls can be seen everywhere.

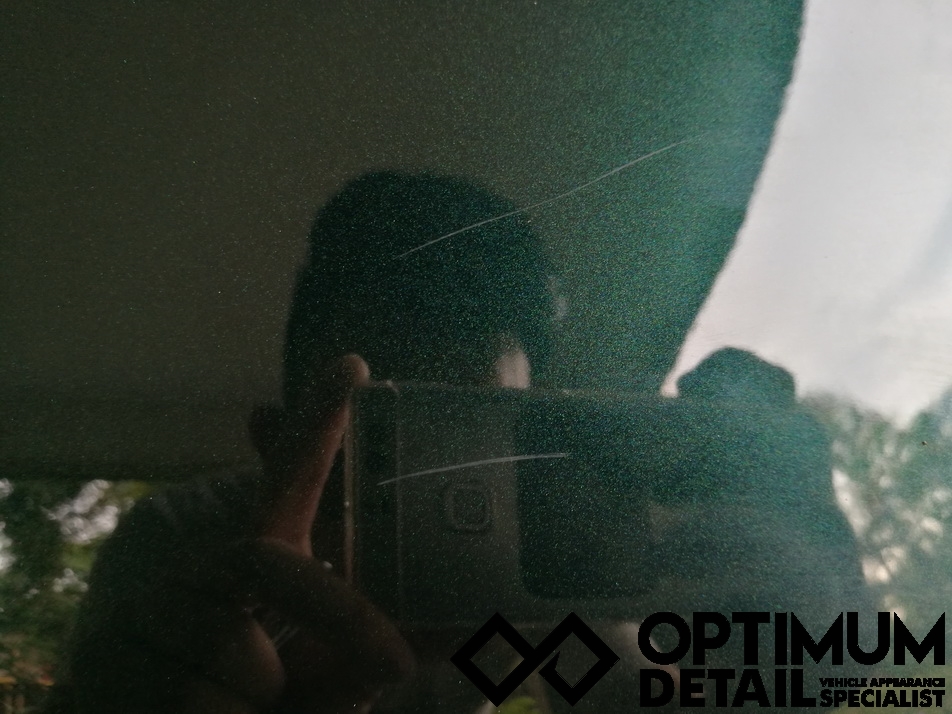
Some areas were more severe, some areas had light swirls. This photo shows some random scratches as well.
Light swirls spotted.

Some even lighter swirls on the side panels.


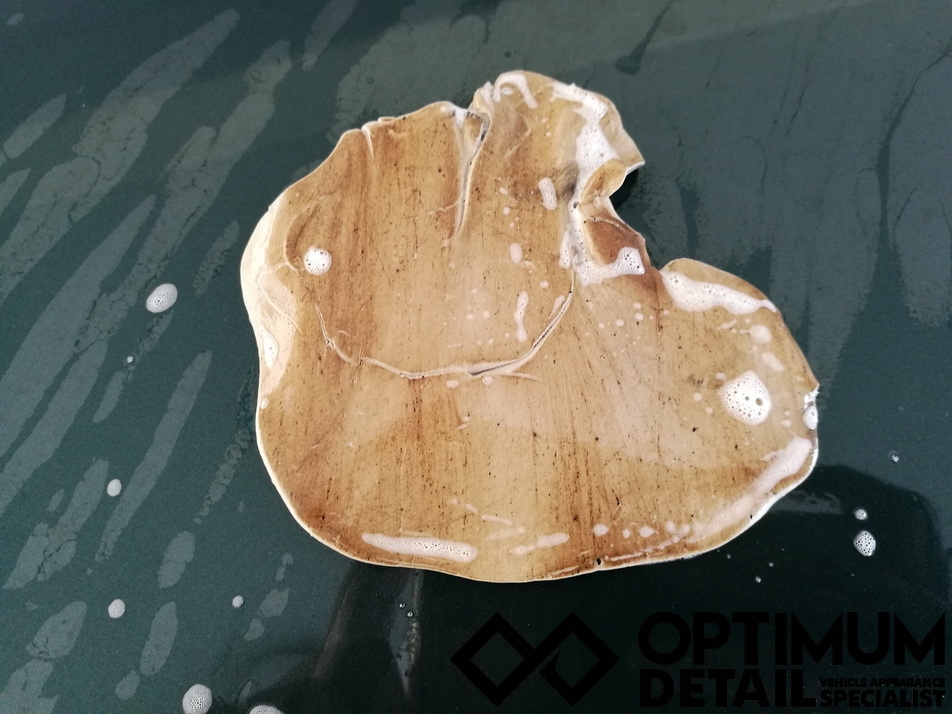
We gave the car a very through cleaning and washing, removing a heavy amount of dirt, road grime, tar spots and watermarks. This was how the clay bar looked like when we first started.

This is how the clay bar looked like after 1 door. Get the picture of how dirty the car is?
After cleaning, we immediately started with the paint restoration. This is the side plastics after restoration, notice there are still some light watermarks. This shows that the watermark contamination is rather severe and deeply etched.

We first tackled the cat scratches.
Cat scratch before.

Cat scratch after.

Under LED check light after restoring the cat scratch. Pardon the polish oil smudge.
We continued the paint correction and restored most of the surfaces. Again, pardon the oil smudge that affect the lighting.

Other panels that we had restored.

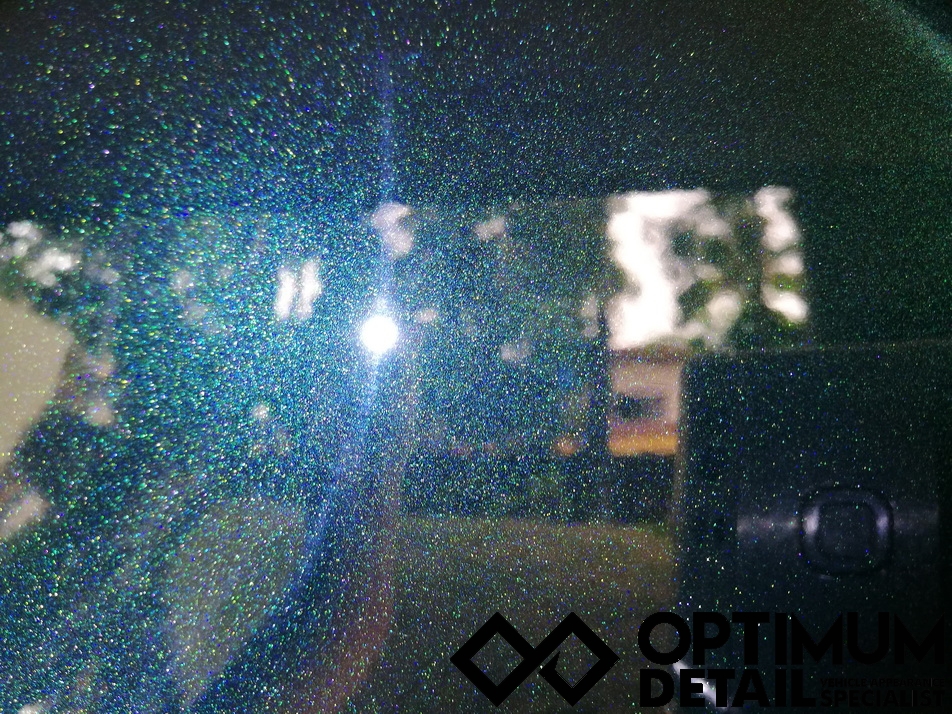
Visibly no longer any swirls on the surface.

Remember the plastic panel that still had a little remaining watermark stains?
This is after restoration.

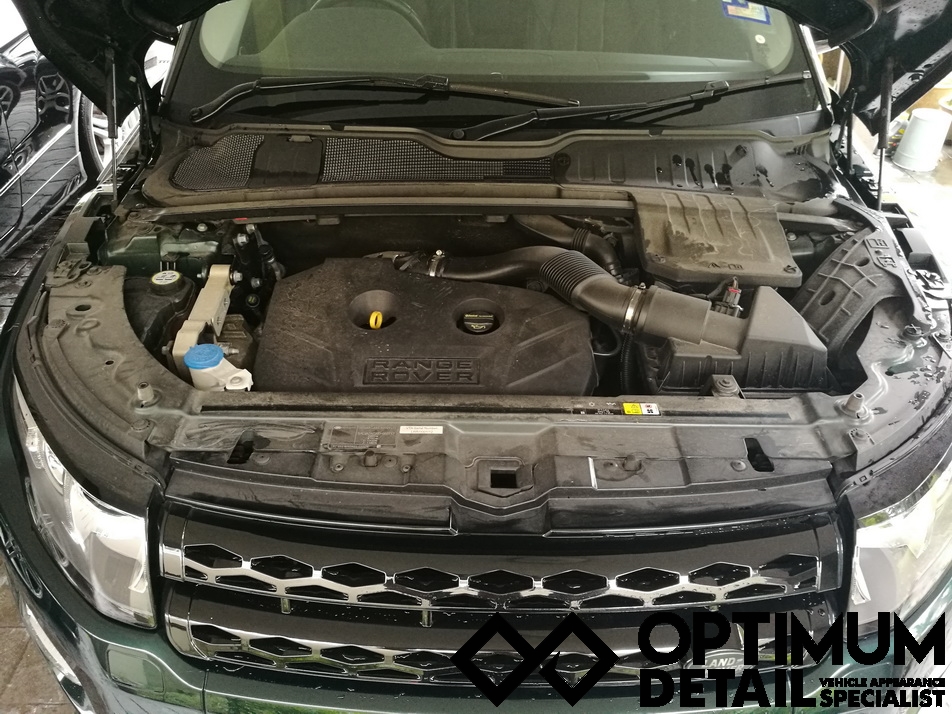
Since we are so hardcore at the restoration, we were stroked not to clean up the engine as well. Before cleaning.

Close up on the dirty engine bay.

Prior any cleaning.
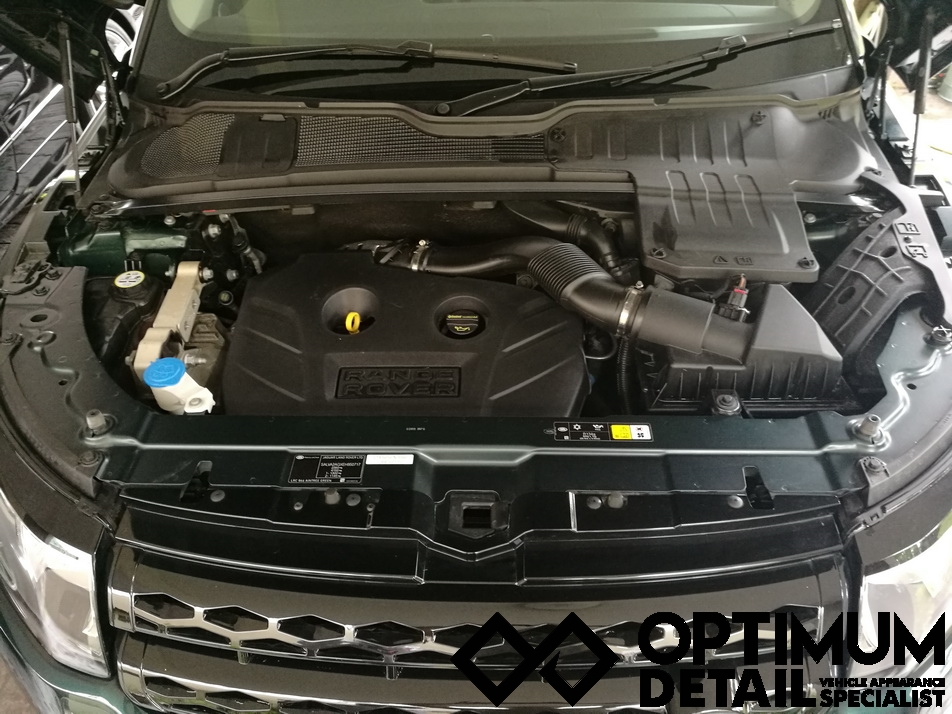
After cleaning. Impressed?

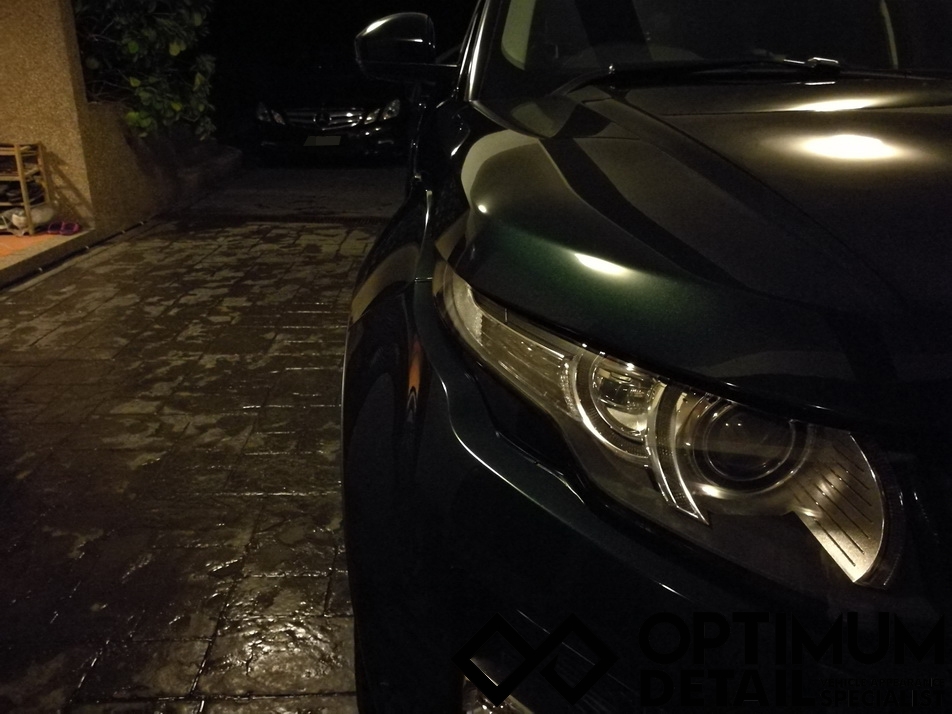
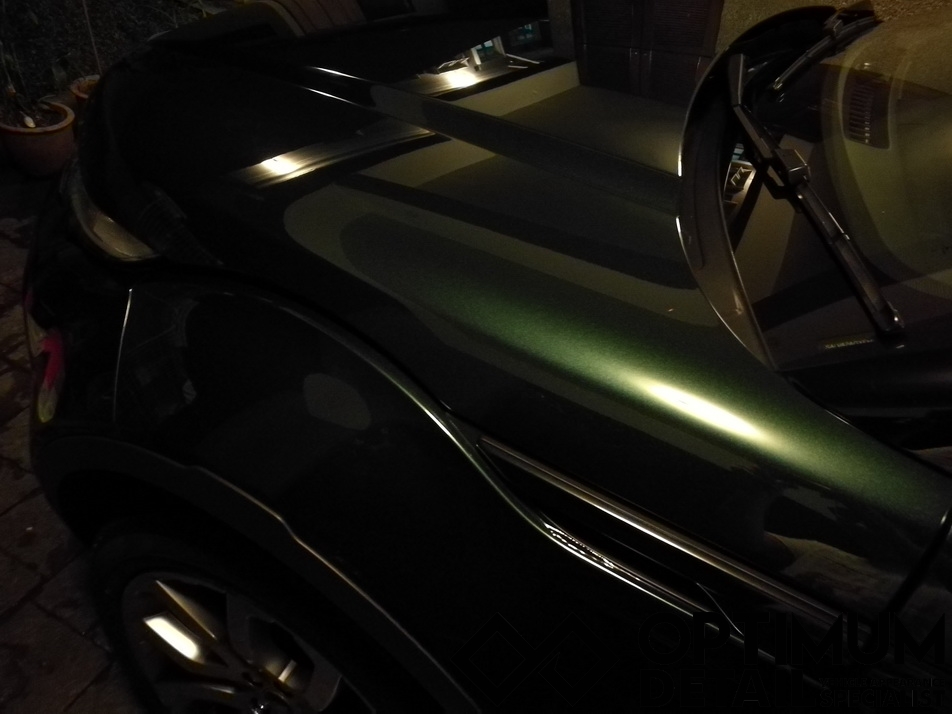
The car actually took us more than a day to complete but the shine it produces is way beyond photos. We were only able to capture this much, but in real life, the car looks jaw dropping glossy. Check out the final finishing after Opti-Coat™Pro.