
- Joined
- Nov 18, 2003
- Messages
- 879
- Points
- 3,063
Missed out on an appointment last Saturday with a forum member due to this detailing journey.
What started off as a partial coating became a full blown coating. Was discussing with the owner's husband and had an understanding to coat only the front bumper and front bonnet.
Ended up with an entire car coated because I did not want the car to have two tones of white over time.
Car was brand spanking new ..... not spanking but still a 1st hand car. Owner have long salivate to own this car and when the opportunity arrived, she waste no time snapping it up from the dealership.
Being a white car, we all know how zebra marks can really make the car look..... dull. So owner had went to places for quotation, did some research on coatings. Consulted me on benefits of coating. Explaining to her the pros and cons of coating. Enough blabbering and lets move on to the journey.
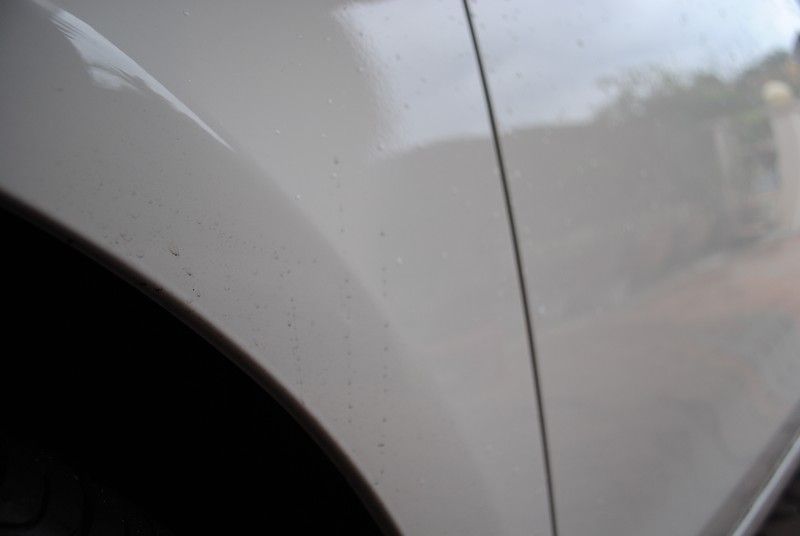
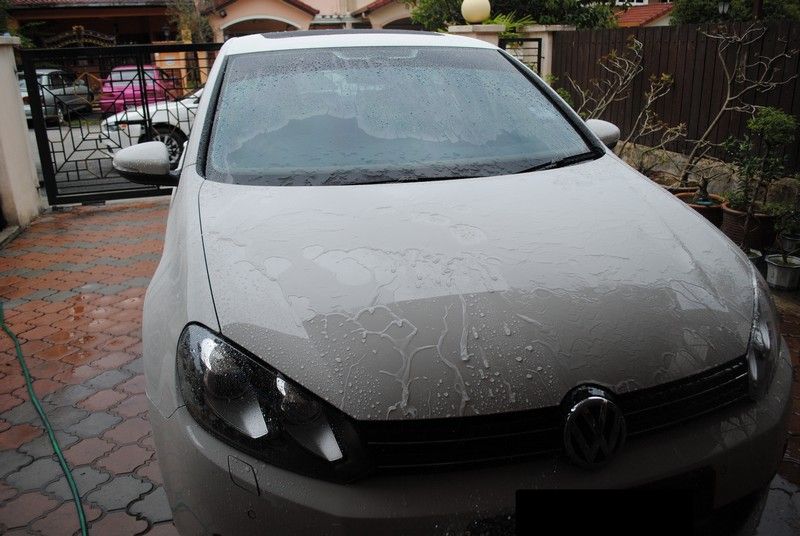
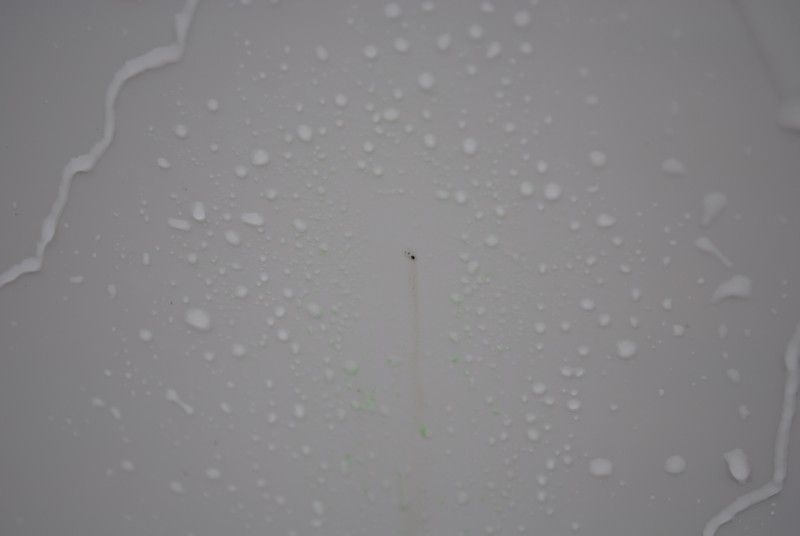
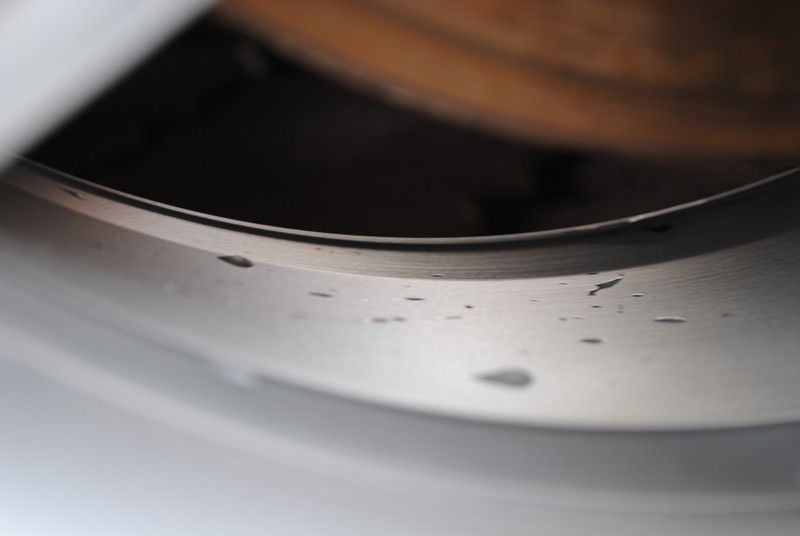
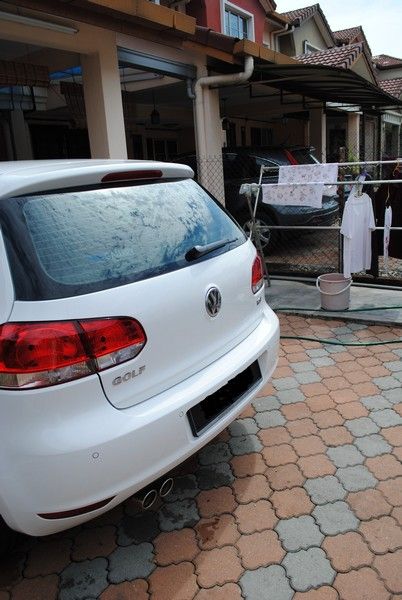
Upon arrival, the car's condition was ......... with the usual dirt and water droplet marks.
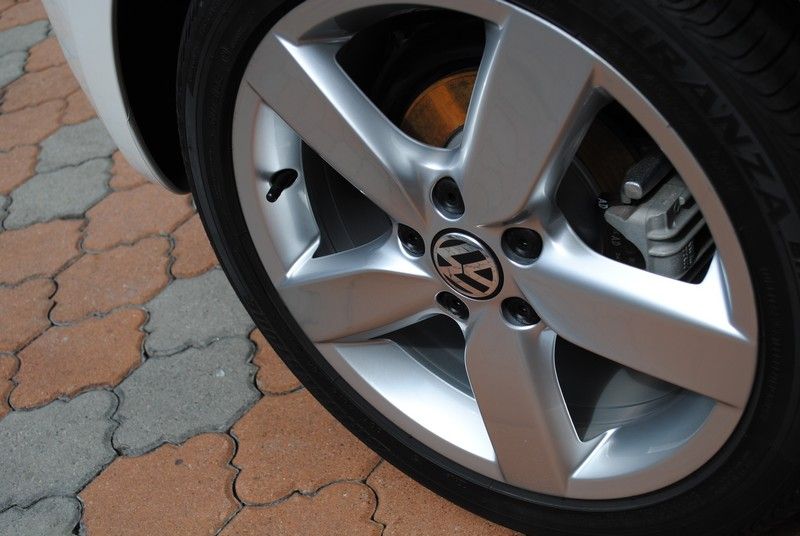
Rims, being 160 horsies, the brakes seems to be working well.
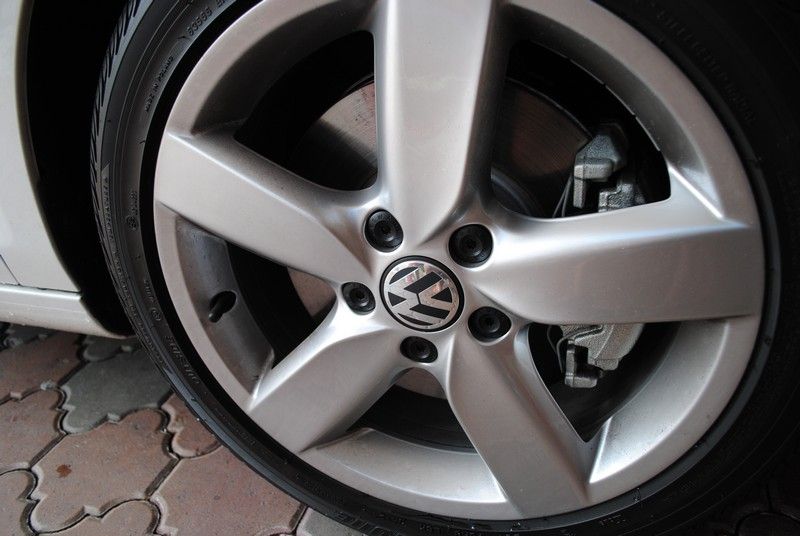
Closer look shows that tar stains is apparent here.

Water kicked up by the tyres...
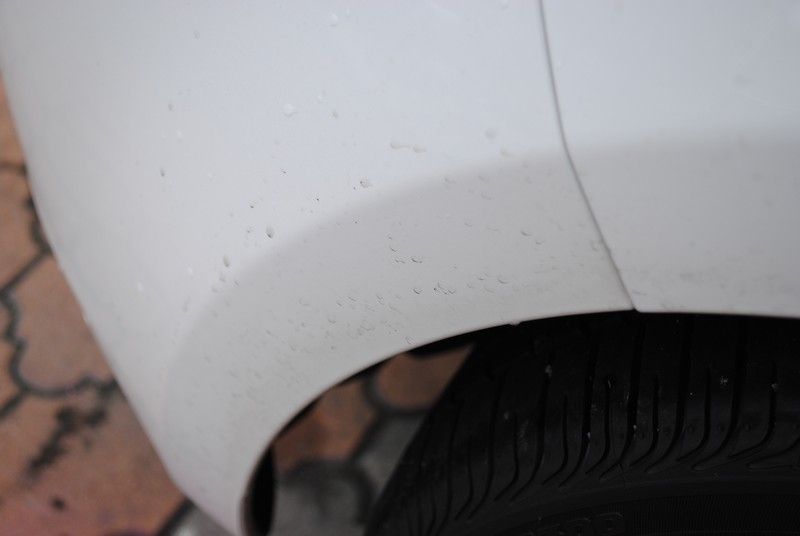
Its on all 4 arches..........
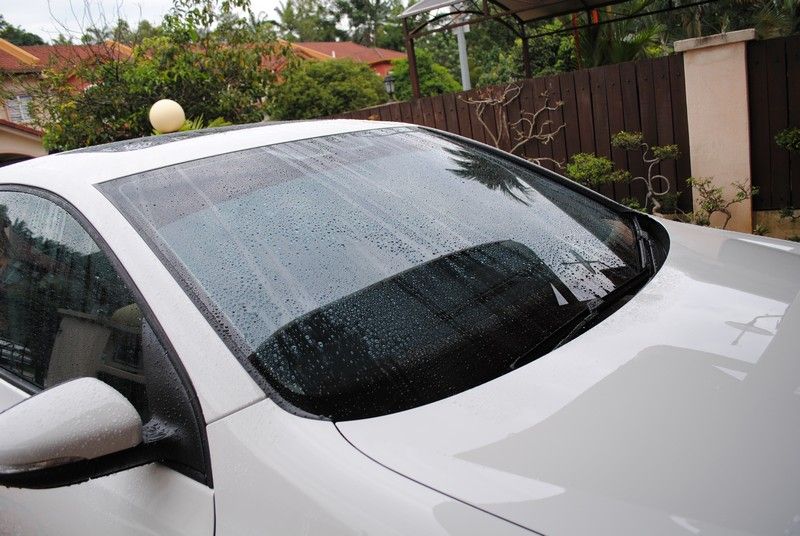
Rear windscreen - no water beading, the water just sticks there and slowly.... very slowly sheet off.

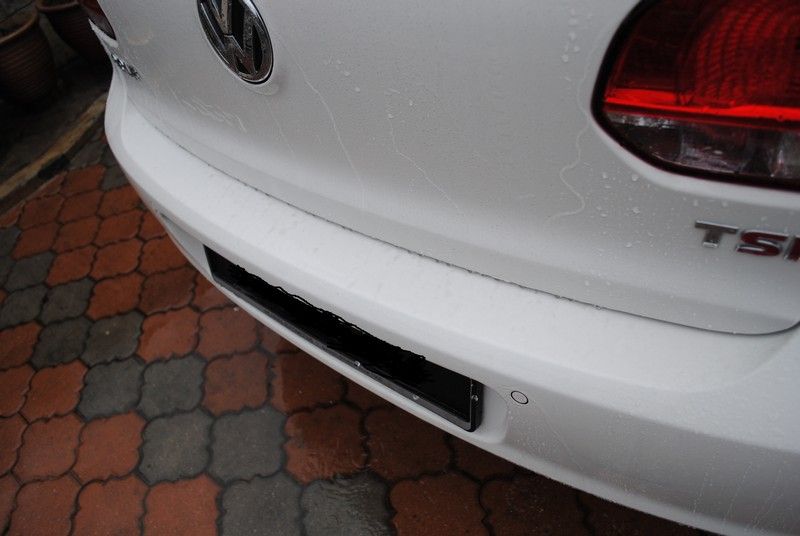
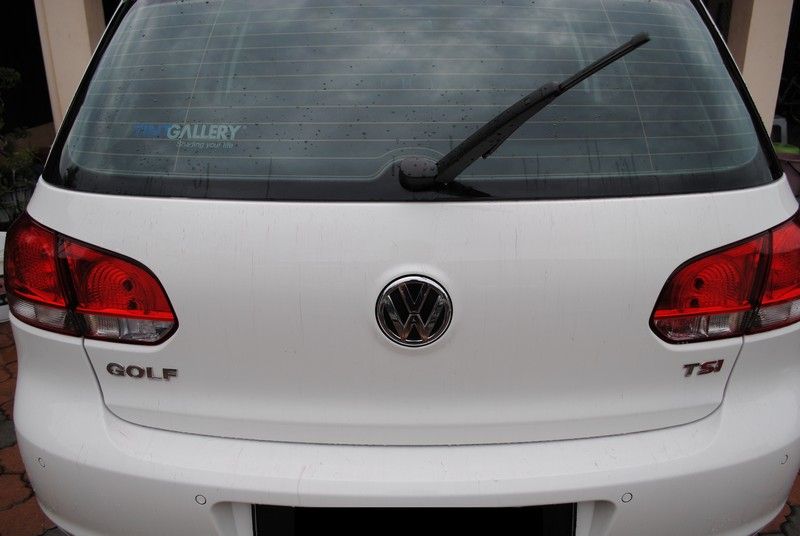
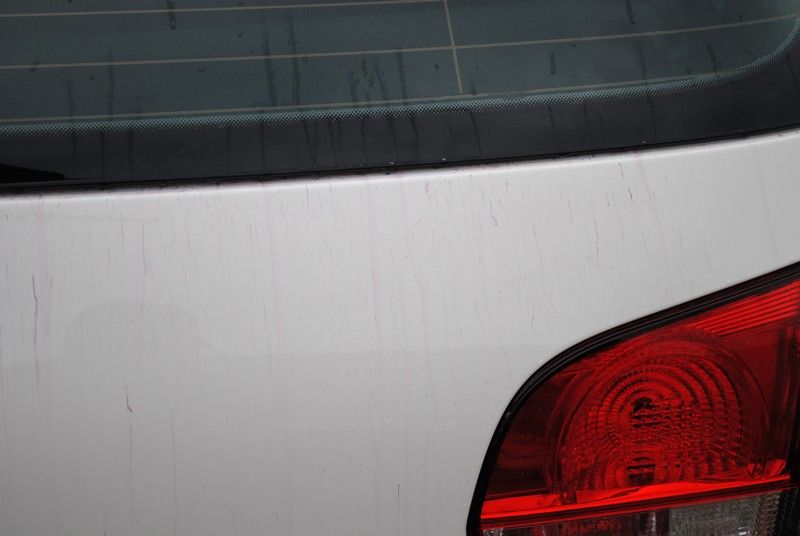
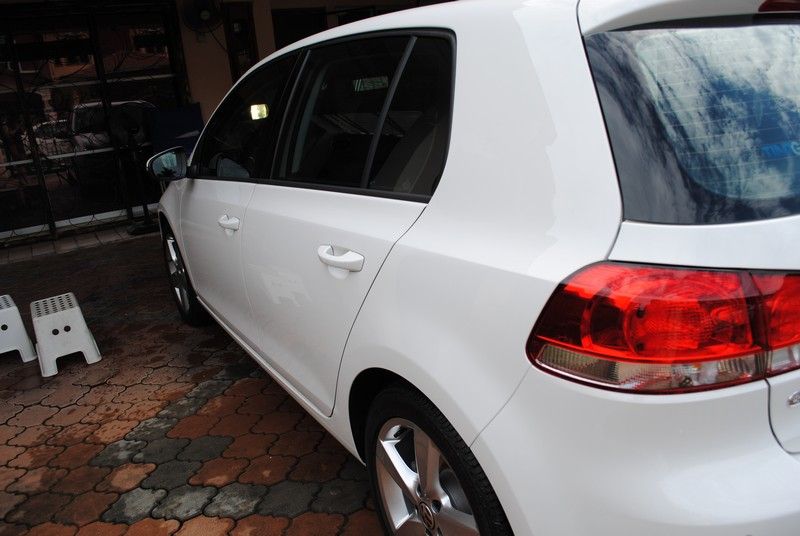
Rear of the car.... seems to be the dirtiest.... even my White Knight have this problem.... probably cause when driving, the wind blows all the water and dirt along with it to the back of the car and as there is no turbulence/wind blowing at the back, all just stay here and stain the rear.
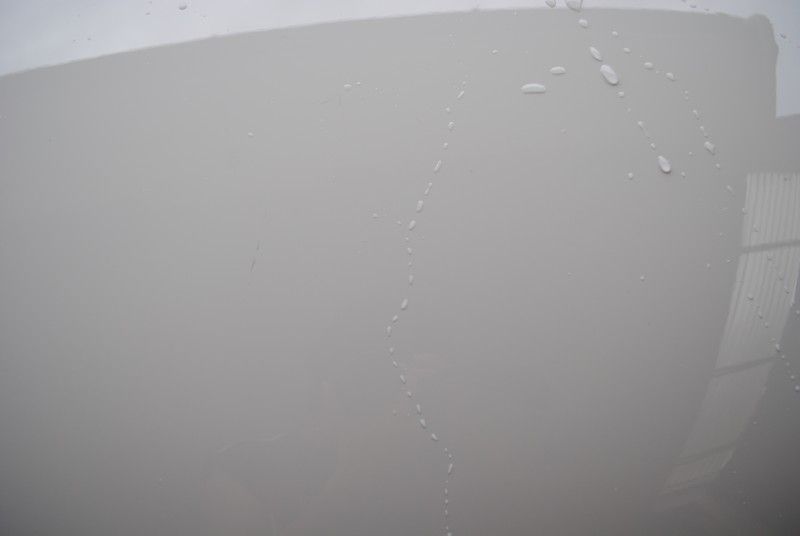
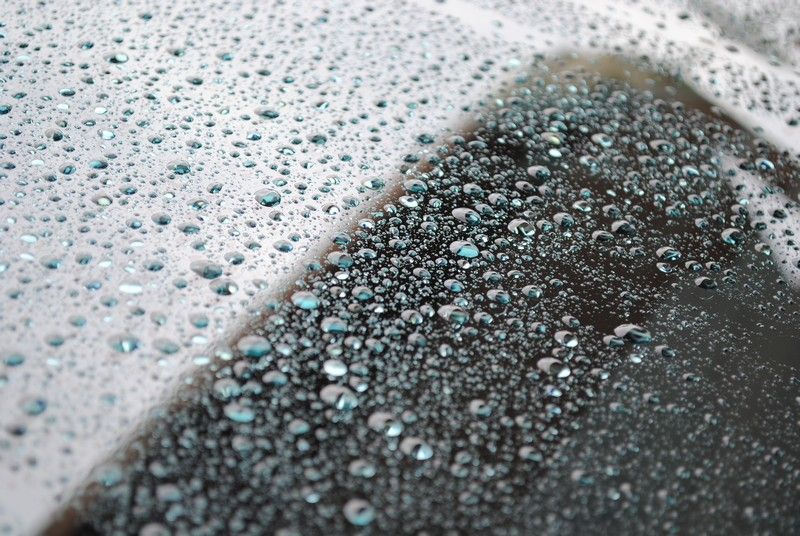
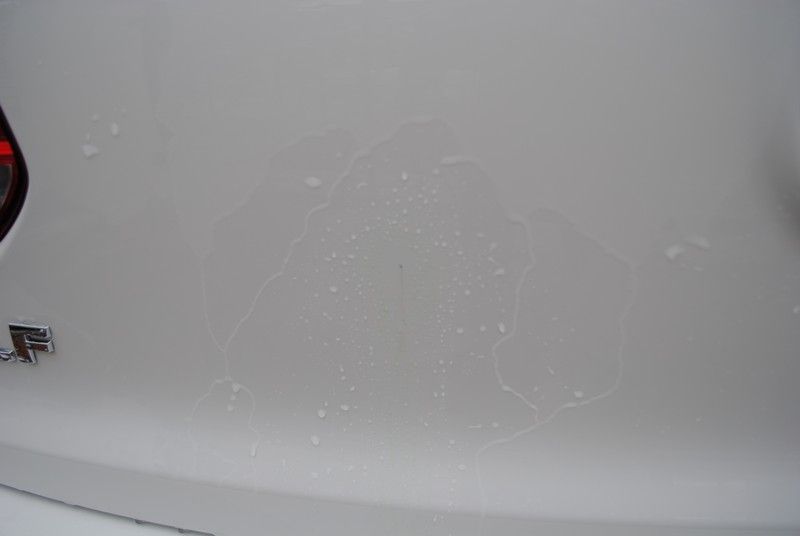
Car was rinsed and do you see nice water beading/sheeting at one corner of the bonnet. That is cause that portion was used as demo to the owner. It was ONRed, Opti-Sealed and Opti-Waxed. Nice beading rite.
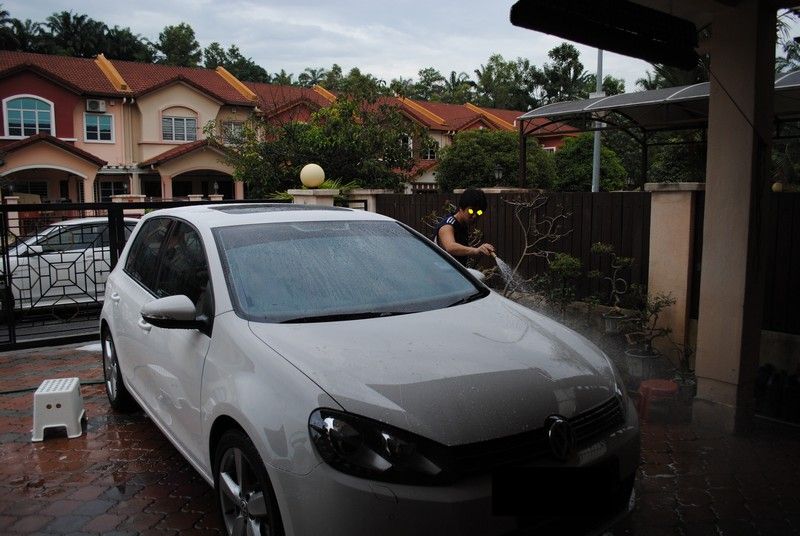
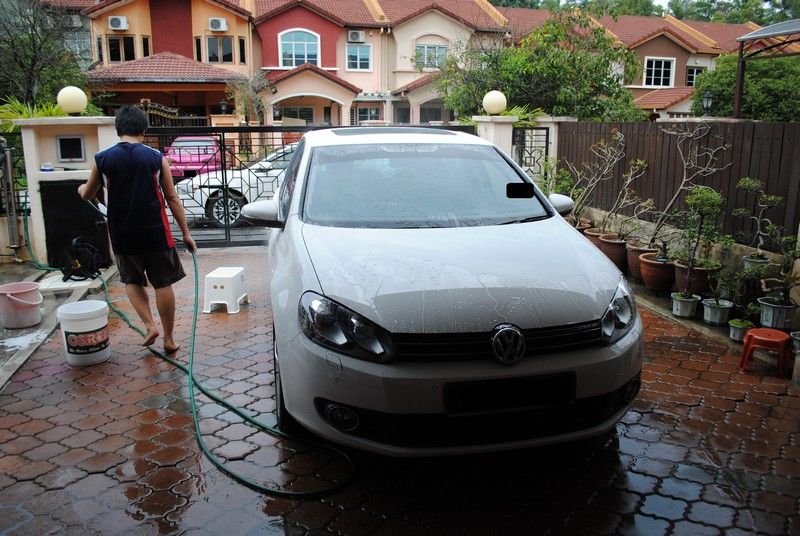
Washing with Osren Bubble&Wax as pre-surface preparation.
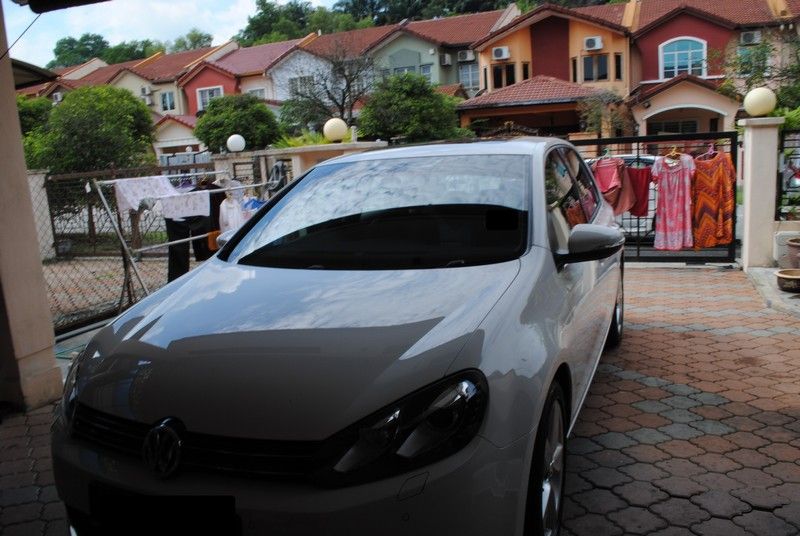
Macam God of Gambler, you cannot take a photo of my front.
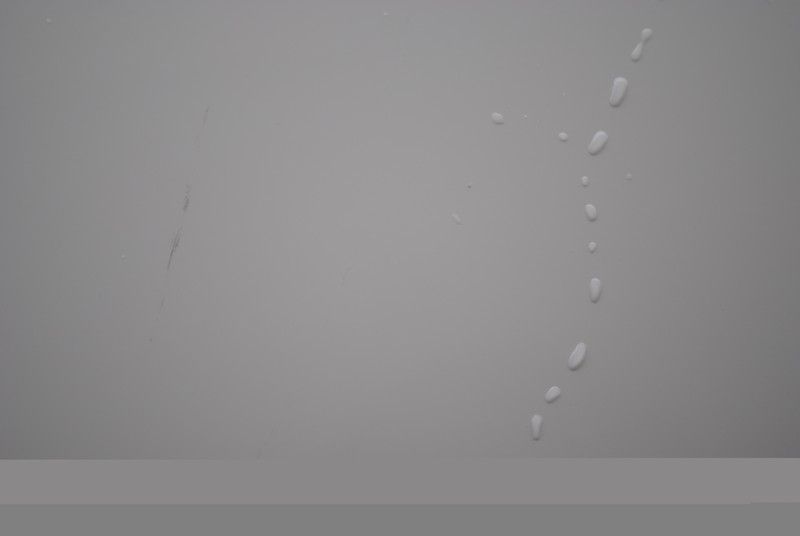
Some weird lines......
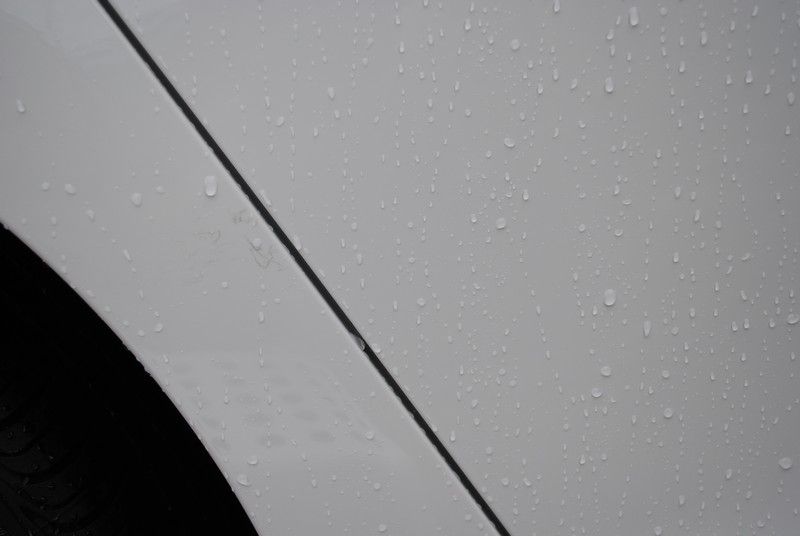
Closer look..... seems like chewing gum.... or something similiar.
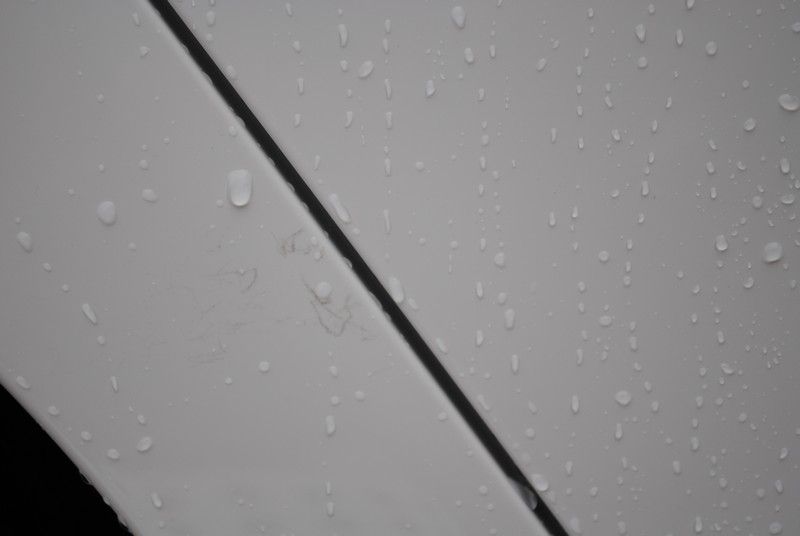
Wax stain......from previous detailer?
Shoe shuffle marks......
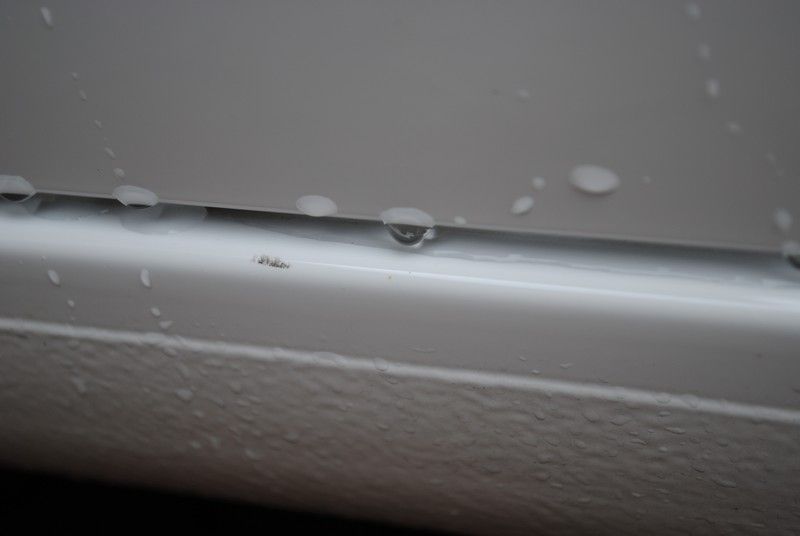
More of those chewing gum like stains........
Closer look at it...... well, it was easily OPC-ed 1:5 off.
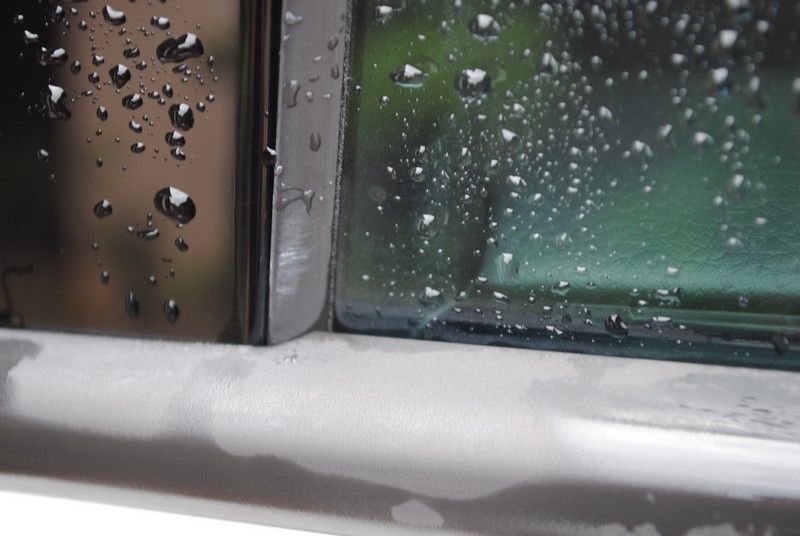
More wax stain......
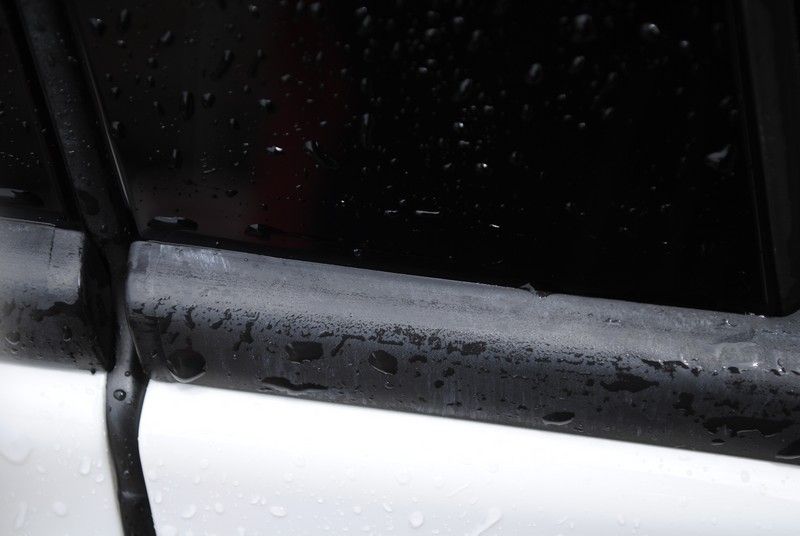
Why only at the same area that I can find the wax stain.... no other part of the car has these stains?

OPC-ed it away.......
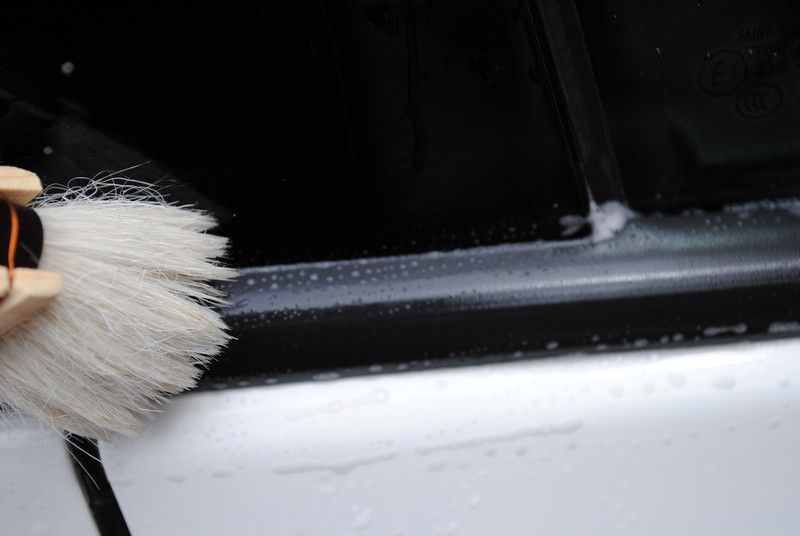
Yeap, it is gone.....
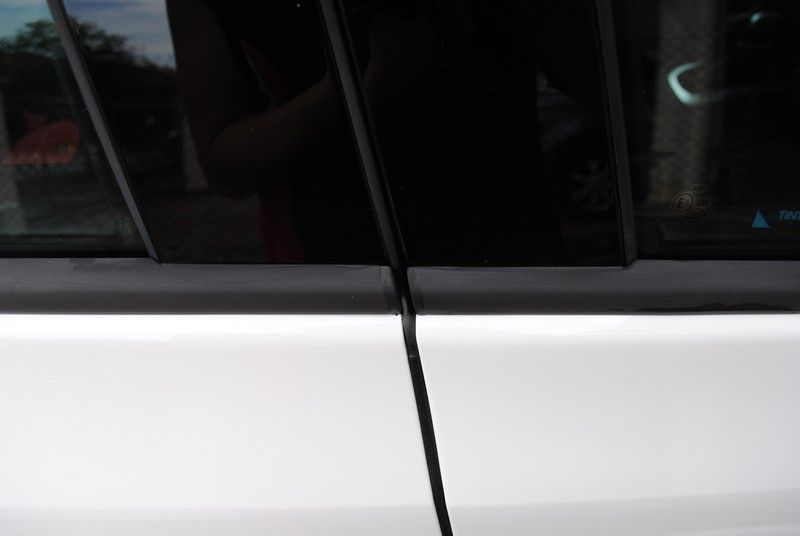
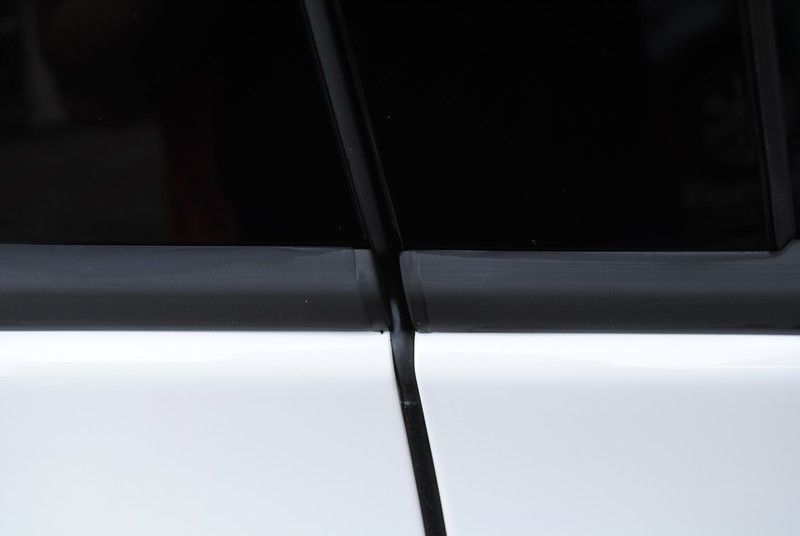
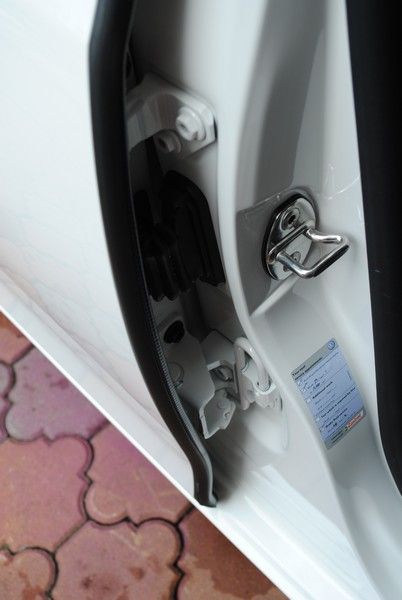
The owner and I had a discussion on this and we came to a conclusion that this is probably from glue removal done at the dealership. The door frame is protected by a layer which was removed during delivery. I guess when they removed the protective layer, they also left some glue behind which they decided to wax it off with cleaner wax. Just a theory and not confirmed assumption. Always realised that the frame is pretty swirled up upon delivery.
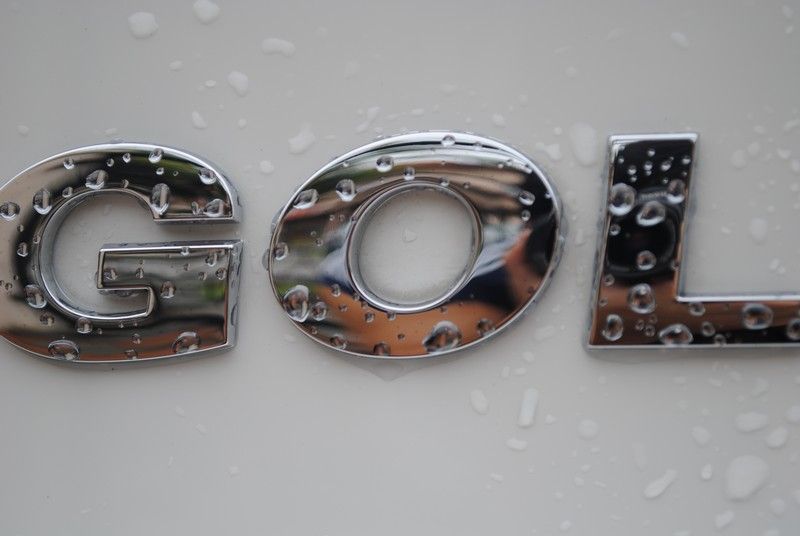
Newly delivered car but the word Golf is already so ..... greyed.
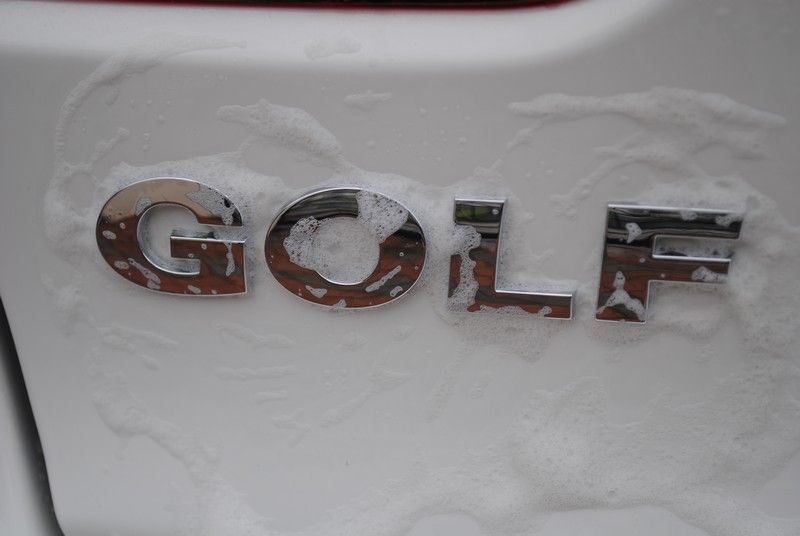
Being put thru spa treatment.
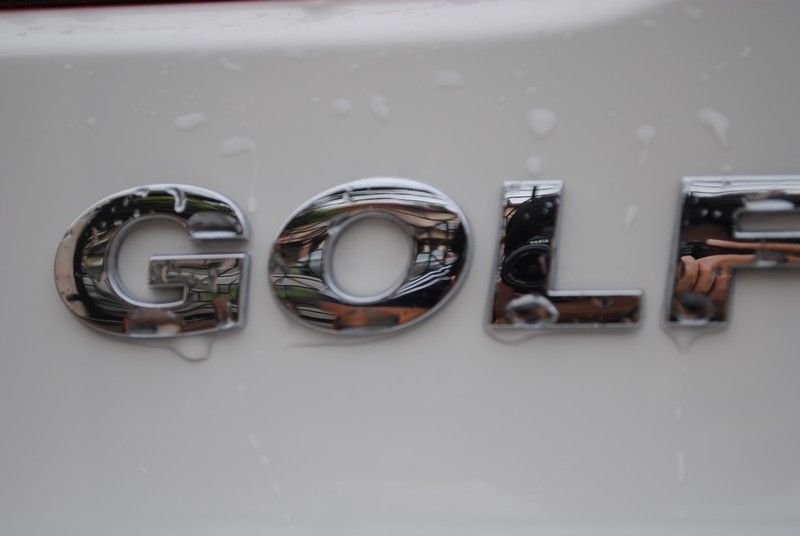
Now it looks more like a new Golf
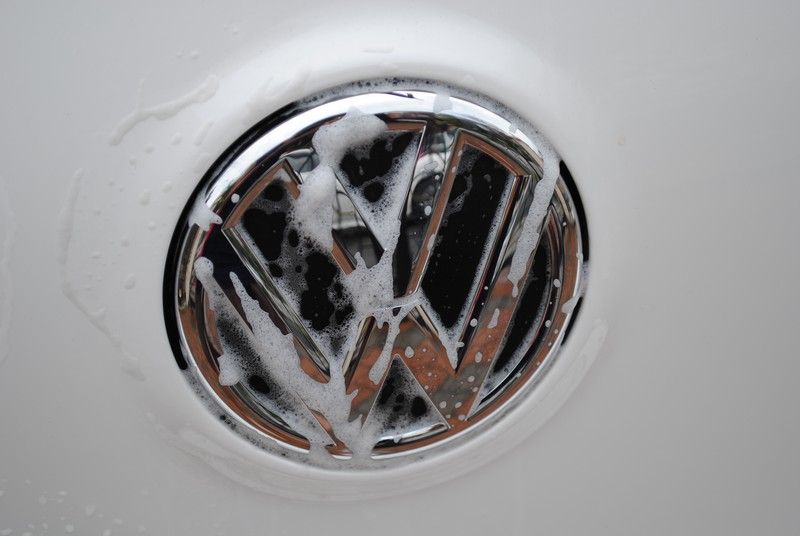
Even the VW is not spared.... OPC-ed 1:5
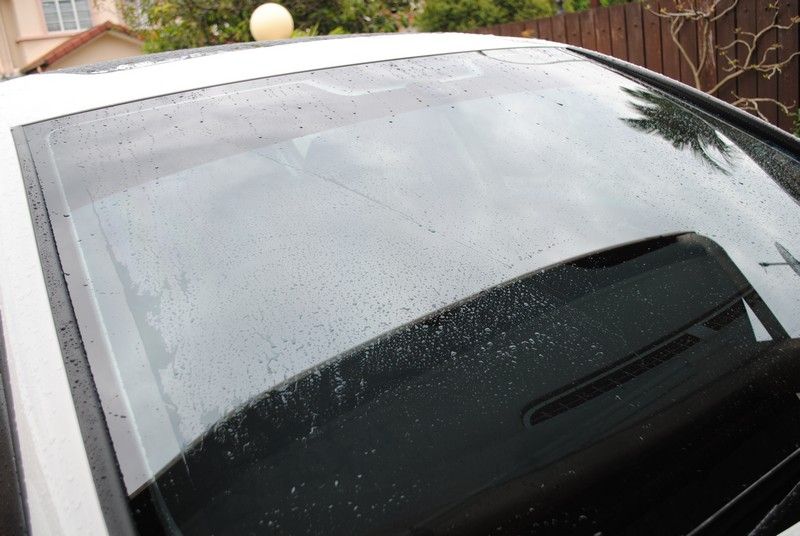
Can you see the windscreen water beading is almost non-existant and there are lines all over? This is the kind of windscreen I do not want to have when driving in heavy rain.
Clayed the windscreen using ONR as lube.... not that dirty....
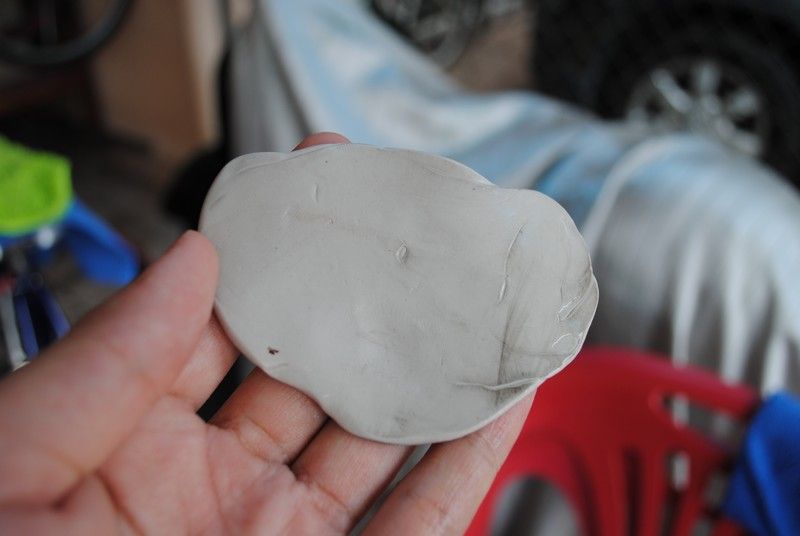
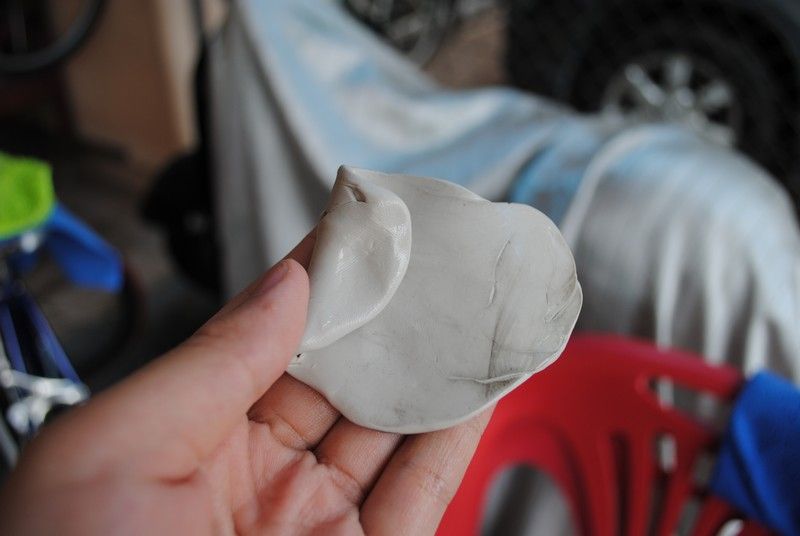
Can you see the different color tone of the clay now?
Now it is beading water nicely..... btw, the beading is from the ONR, not the claying process... just so everyone is clear.
From far.... what a far cry compare to before claying with ONR. Was later OPC-ed and layered a layer of Opti Seal
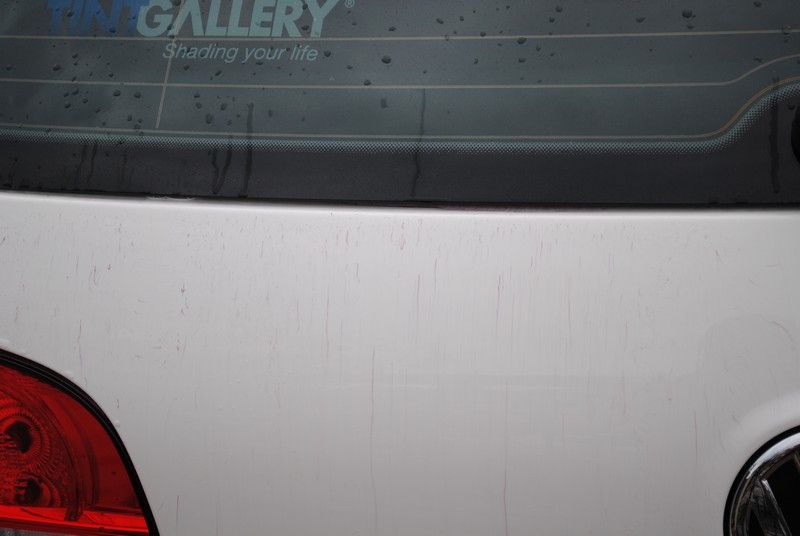
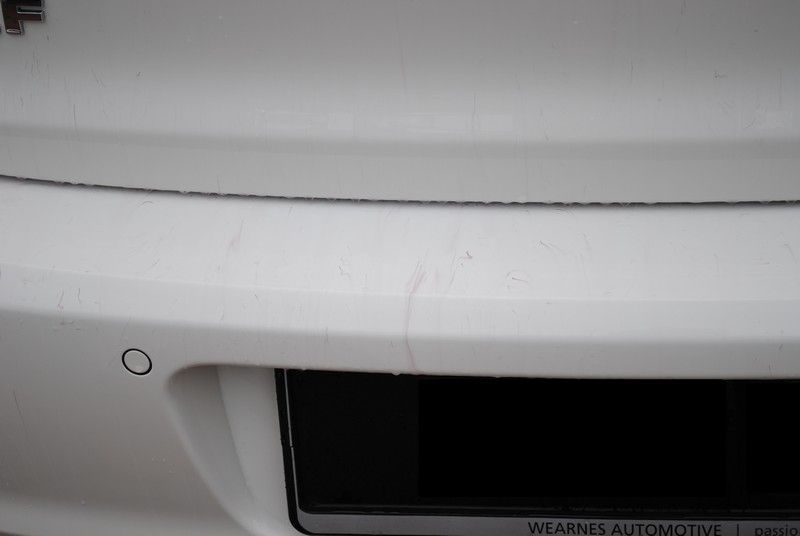
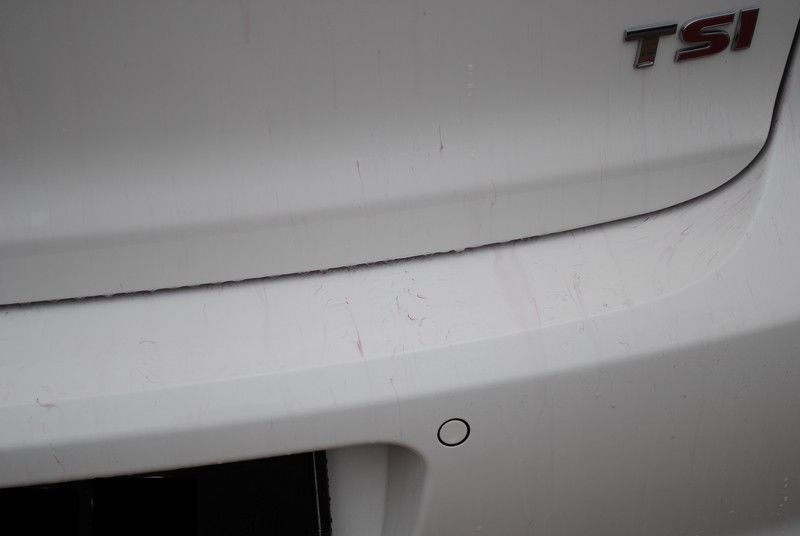
The back of the car was given a spray of IronX...... pretty purplish for a new car.... (note: purplish = presence of iron particles on the paint.)
It is all over the entire rear of the car..
Tar cannot be removed with IronX..... use TarX then....
I can almost hear the screams from the tar spot screaming "I AM MELTINGGGGGGGGGGG"
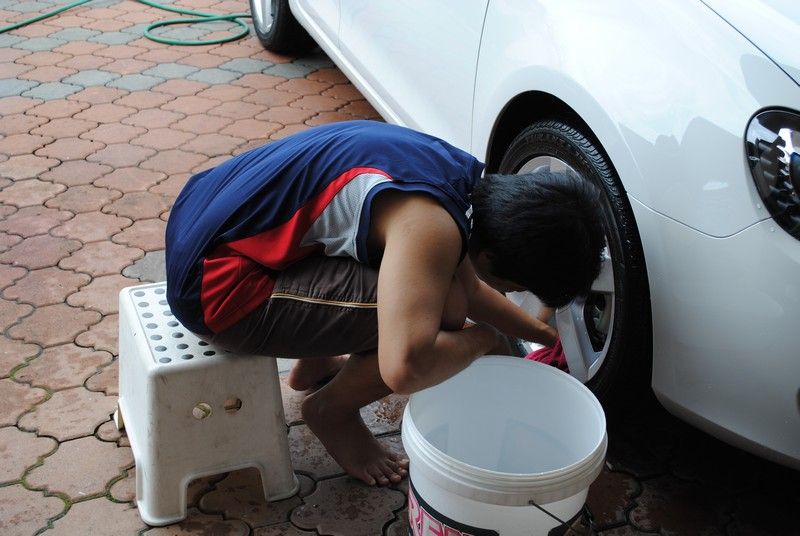
After the whole car has been prep, it is time to move on to the wheels. I use a stool not because I am lazy, it is because I spend around 10 to 15 minutes to wash EACH wheel....
Results are awesomeness.....
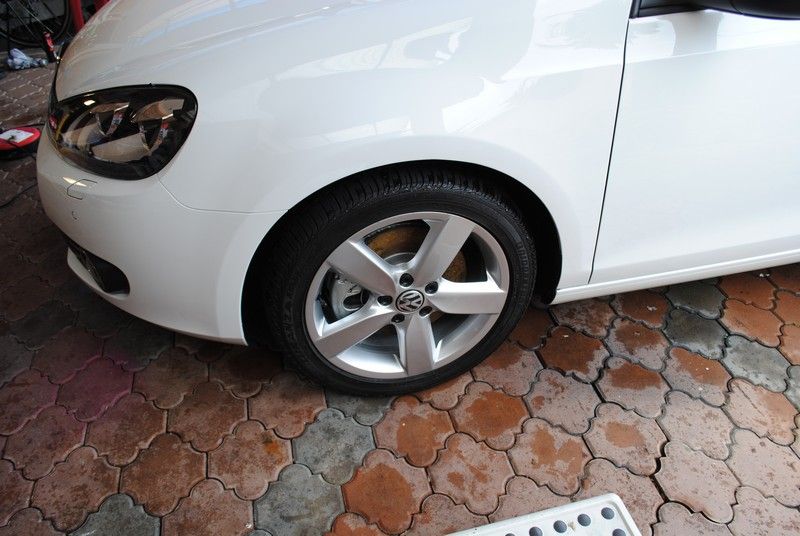
Awesomeness.... but how awesome is awesome....
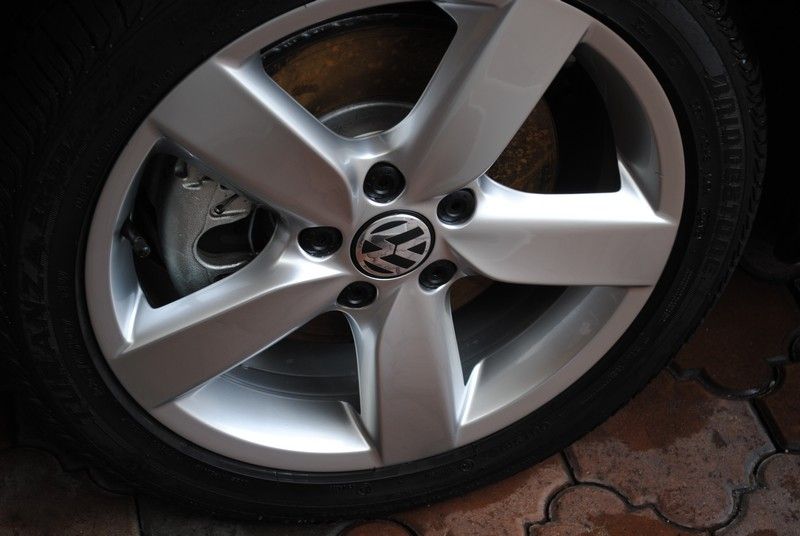
Even the entire inside was washed delicately and passionately... cause I know a nice clean wheel = a head turner... Most if not all commercial car wash would not wash this portion of your wheels due to..... tight spots, time wasting, hard to wash and other reasons.
One last look at the wheels before it was coated later on. Yes, I even coated the wheels even when it was not requested by the owner. I am that generous.
Doing some final inspection to make sure no spots were missed...
Door jam for rear doors.... awesome white = checked
Door jam for rear doors another view... awesome white = checked
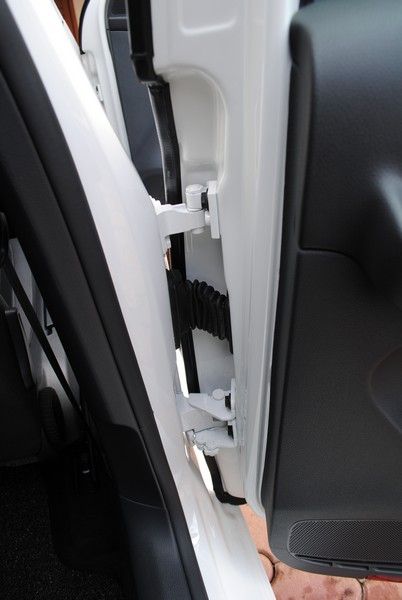
What is this.... glue mark behind the door handle.... this cannot be accepted....
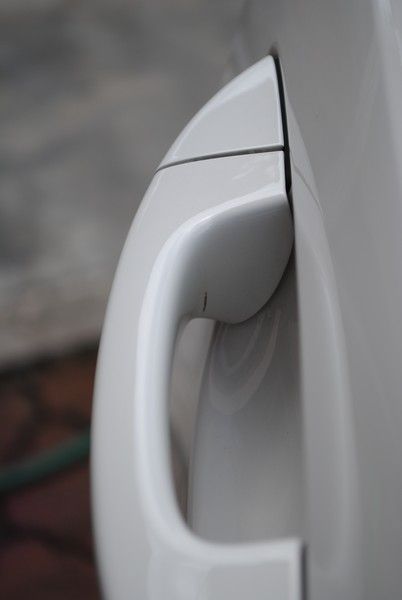
Swing magic wand and poof, its gone like it was OPC-ed..... which it was.
http://i1197.photobucket.com/albums/aa436/DarkAccoon/Golf46.jpg
Checking for any impurities, swirls, scratch, hologram and etc before coating.
Nothing found....

Still nothing found?
And still nothing found. This is why proper washing technique + proper micro fibers + passion = a non-damaging car wash. Try bringing it to some road side car wash and you will be surprised with the damage it does over 5 washes... sometimes even after 1 wash.
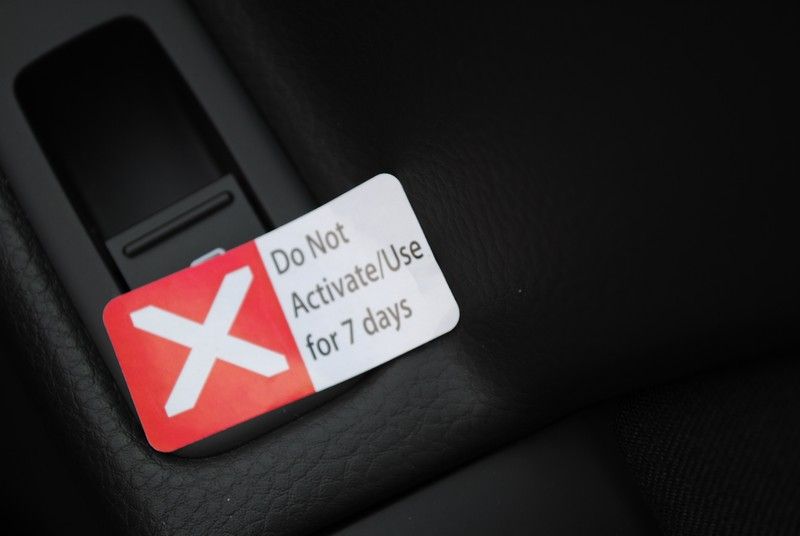
What is this warning?
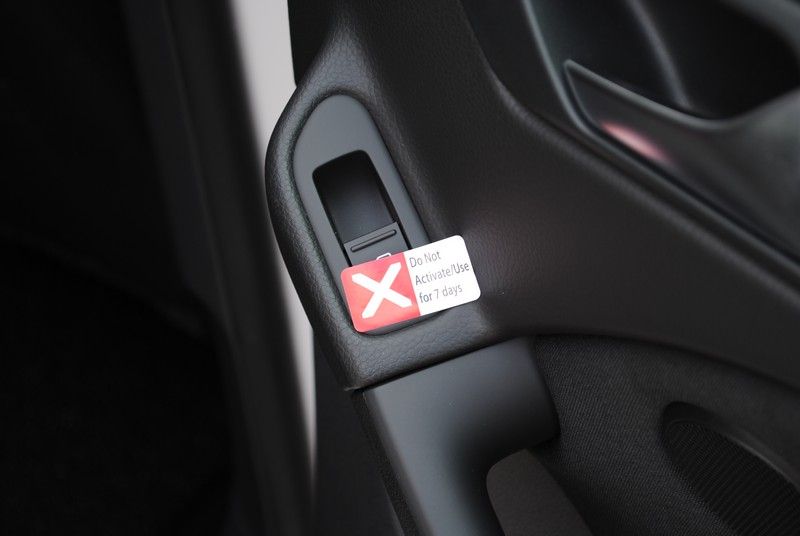
Ohhh..... 7 days ehhh.... that is the same time I told the owner not to wash her car. She can however rinse it with water if it is dirtied or had bird bombs.
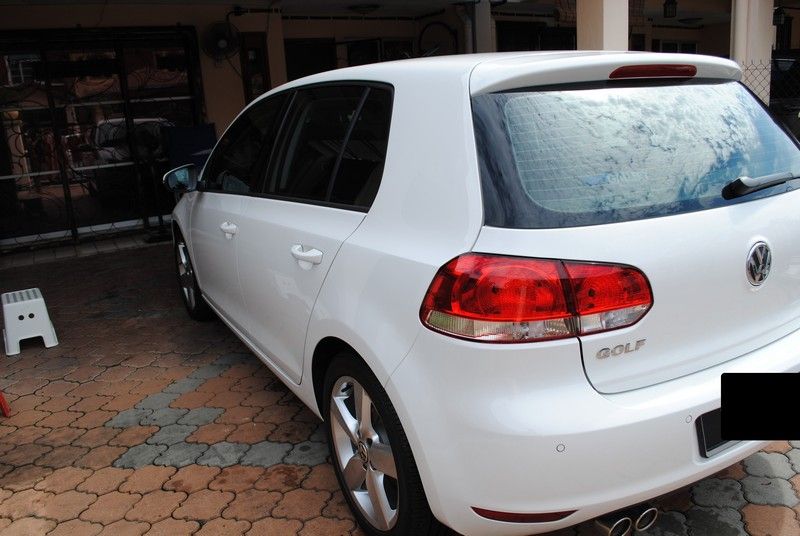
After the coating is done,
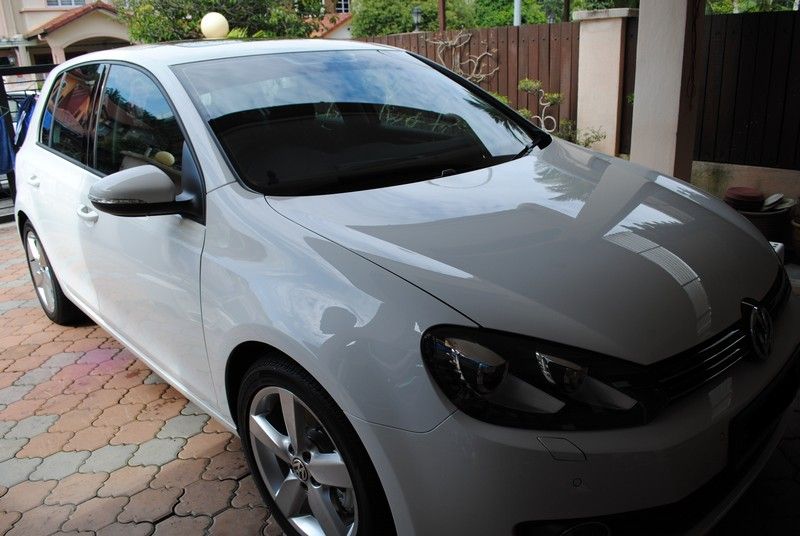
The other side view...

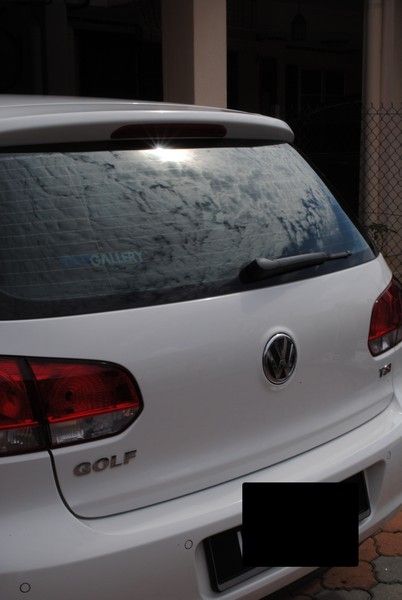
Rear view...... clean and glossy... if only i have some gloss index gauge...if such thing even exists
The rear glass was also given Opti Seal
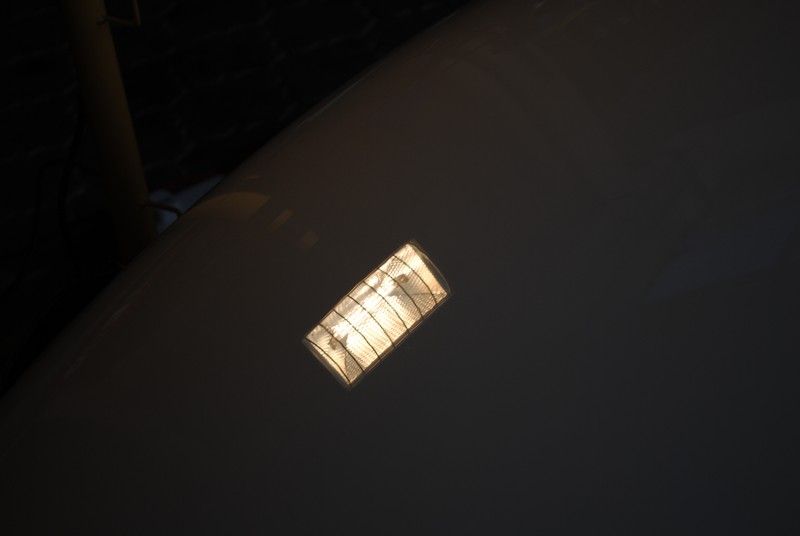
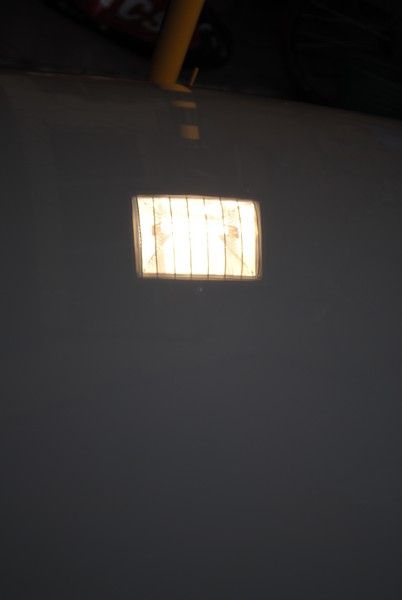
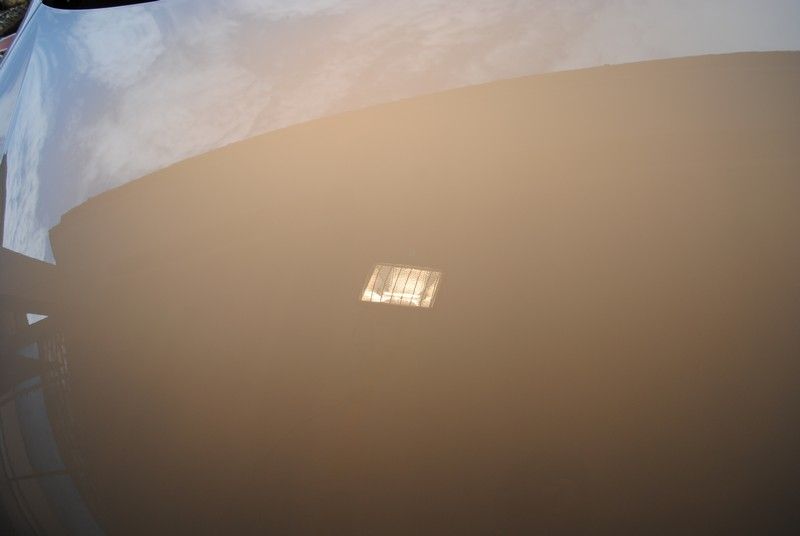
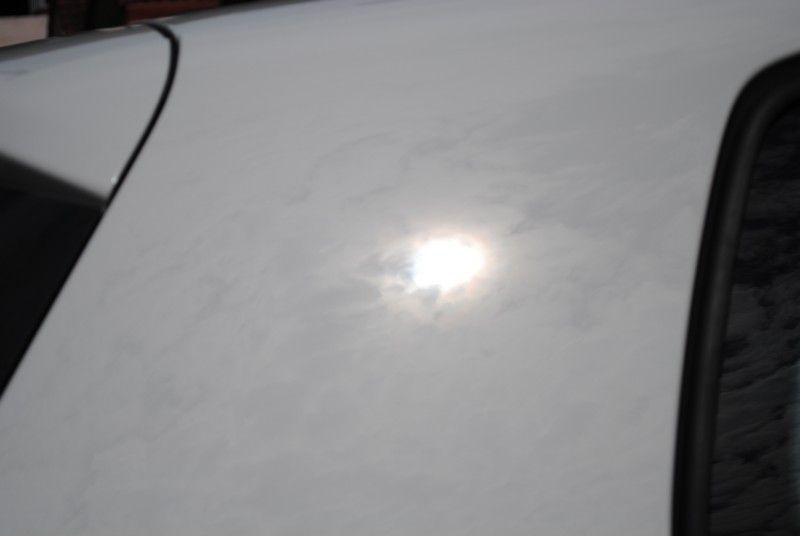
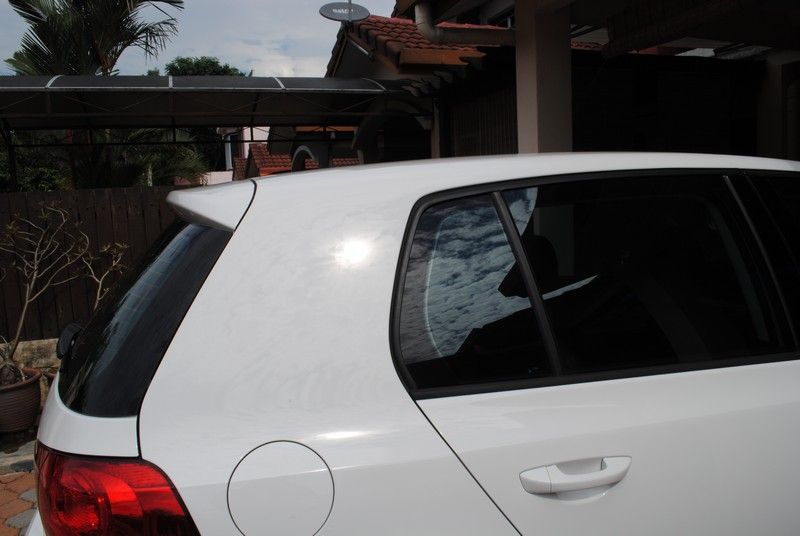
Reflection of the sun..... at the C pillar... shows.... nothing more than the sun... no hologram, no swirls, nothing. which is awesome.
More glossy shots...
Zooming out... even the glass is nice
I just love white cars so much that I need to take more photos. Glass and paintwork is so so glossy...
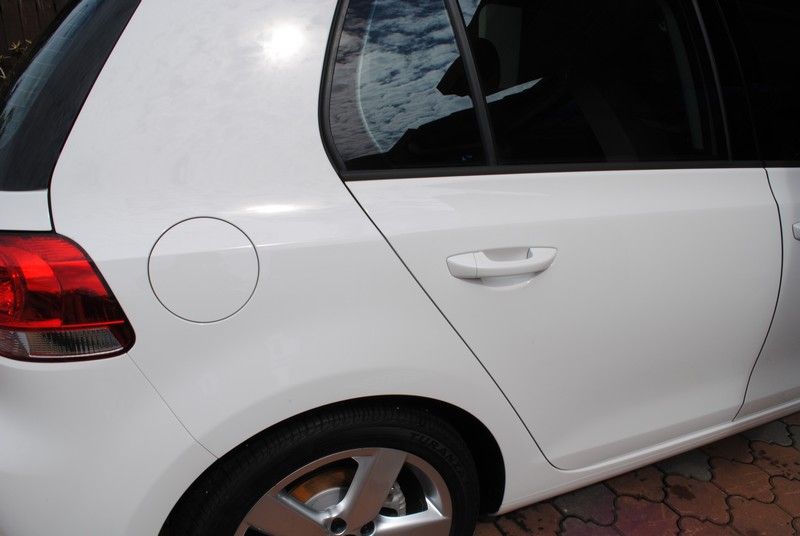
I just want to show again how glossy it is in this shot.
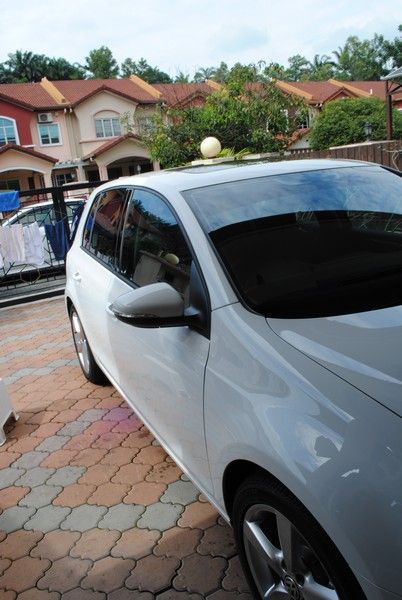
Half under the shade, half under the sun.....I am in love with the sunroof.
Car was kept at my house for around 4 days. So what greeted me in the morning...
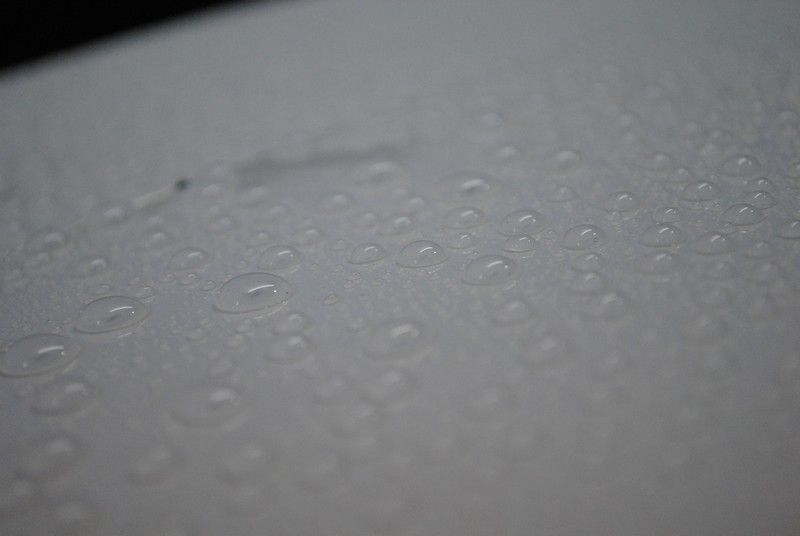
Nice beading and as some would call it... Alien Eggs
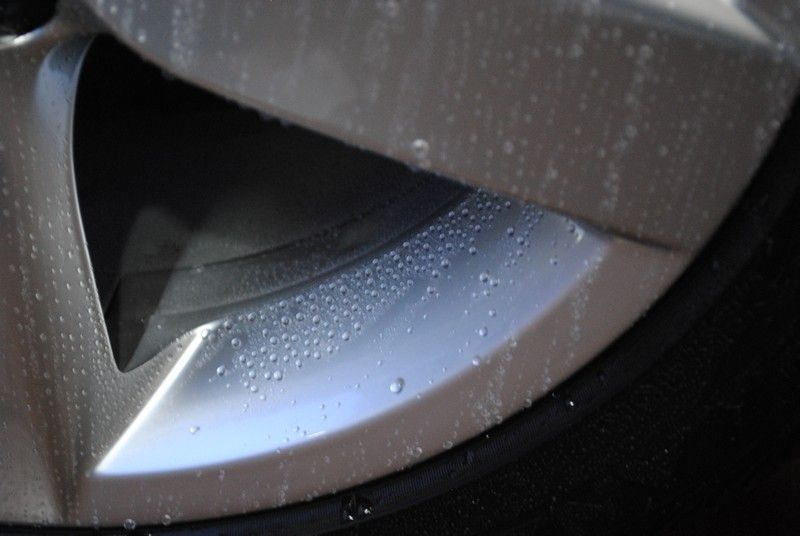
Yeap, I even coated the rims which was not requested by the owner... cause I find a coated rims as easy to clean and compliments the overall look of the car.
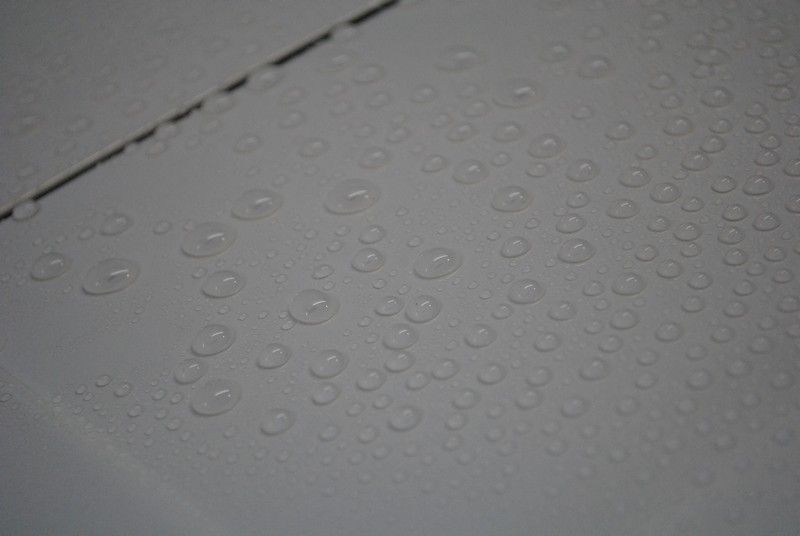
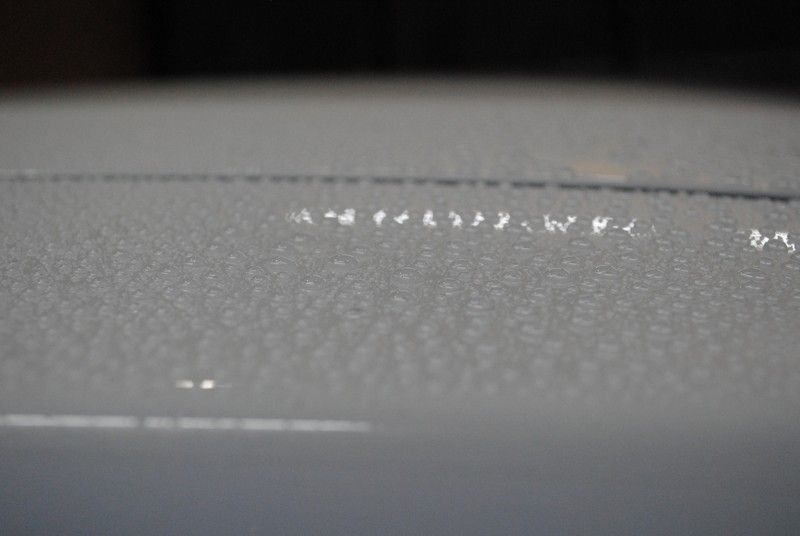
More beadings......... final shots. Cause you are probably bored of seeing the same thing over and over again.
Time Spend: I forgot, cause I did this car last weekend.
Product used: Osren Bubble&Wax, OPC 1:5 and 1:3, Opti-Coat, Opti-Seal, IronX, TarX, lots of MF cloth.
Satisfaction level: Personally I love white cars, so this is a 11 over 10 for me. Owner was impressed...... even more impressed when I poured a bucket of water on the car and it just glides off.
Note:
- TarX...... stinks but it works good
- All glass surface was given Opti-Seal
- Proper washing technique was pass down to the owner.
- Owner will be installing a spoiler for the car, so I told the owner to bring the car to me again after the spoiler was installed and paint left to cure for 3 weeks so I can coat it as well.
- VW sunroof is very smooth.
- The rims should be upgraded a size bigger... would look better.
Thank you for reading up till here. More to come and if you leave any comments, it is much appreciated (even if it is bad comments).
What started off as a partial coating became a full blown coating. Was discussing with the owner's husband and had an understanding to coat only the front bumper and front bonnet.
Ended up with an entire car coated because I did not want the car to have two tones of white over time.
Car was brand spanking new ..... not spanking but still a 1st hand car. Owner have long salivate to own this car and when the opportunity arrived, she waste no time snapping it up from the dealership.
Being a white car, we all know how zebra marks can really make the car look..... dull. So owner had went to places for quotation, did some research on coatings. Consulted me on benefits of coating. Explaining to her the pros and cons of coating. Enough blabbering and lets move on to the journey.
Upon arrival, the car's condition was ......... with the usual dirt and water droplet marks.
Rims, being 160 horsies, the brakes seems to be working well.
Closer look shows that tar stains is apparent here.
Water kicked up by the tyres...
Its on all 4 arches..........
Rear windscreen - no water beading, the water just sticks there and slowly.... very slowly sheet off.
Rear of the car.... seems to be the dirtiest.... even my White Knight have this problem.... probably cause when driving, the wind blows all the water and dirt along with it to the back of the car and as there is no turbulence/wind blowing at the back, all just stay here and stain the rear.
Car was rinsed and do you see nice water beading/sheeting at one corner of the bonnet. That is cause that portion was used as demo to the owner. It was ONRed, Opti-Sealed and Opti-Waxed. Nice beading rite.
Washing with Osren Bubble&Wax as pre-surface preparation.
Macam God of Gambler, you cannot take a photo of my front.
Some weird lines......
Closer look..... seems like chewing gum.... or something similiar.
Wax stain......from previous detailer?
Shoe shuffle marks......
More of those chewing gum like stains........
Closer look at it...... well, it was easily OPC-ed 1:5 off.
More wax stain......
Why only at the same area that I can find the wax stain.... no other part of the car has these stains?
OPC-ed it away.......
Yeap, it is gone.....
The owner and I had a discussion on this and we came to a conclusion that this is probably from glue removal done at the dealership. The door frame is protected by a layer which was removed during delivery. I guess when they removed the protective layer, they also left some glue behind which they decided to wax it off with cleaner wax. Just a theory and not confirmed assumption. Always realised that the frame is pretty swirled up upon delivery.
Newly delivered car but the word Golf is already so ..... greyed.
Being put thru spa treatment.
Now it looks more like a new Golf
Even the VW is not spared.... OPC-ed 1:5
Can you see the windscreen water beading is almost non-existant and there are lines all over? This is the kind of windscreen I do not want to have when driving in heavy rain.
Clayed the windscreen using ONR as lube.... not that dirty....
Can you see the different color tone of the clay now?
Now it is beading water nicely..... btw, the beading is from the ONR, not the claying process... just so everyone is clear.
From far.... what a far cry compare to before claying with ONR. Was later OPC-ed and layered a layer of Opti Seal
The back of the car was given a spray of IronX...... pretty purplish for a new car.... (note: purplish = presence of iron particles on the paint.)
It is all over the entire rear of the car..
Tar cannot be removed with IronX..... use TarX then....
I can almost hear the screams from the tar spot screaming "I AM MELTINGGGGGGGGGGG"
After the whole car has been prep, it is time to move on to the wheels. I use a stool not because I am lazy, it is because I spend around 10 to 15 minutes to wash EACH wheel....
Results are awesomeness.....
Awesomeness.... but how awesome is awesome....
Even the entire inside was washed delicately and passionately... cause I know a nice clean wheel = a head turner... Most if not all commercial car wash would not wash this portion of your wheels due to..... tight spots, time wasting, hard to wash and other reasons.
One last look at the wheels before it was coated later on. Yes, I even coated the wheels even when it was not requested by the owner. I am that generous.
Doing some final inspection to make sure no spots were missed...
Door jam for rear doors.... awesome white = checked
Door jam for rear doors another view... awesome white = checked
What is this.... glue mark behind the door handle.... this cannot be accepted....
Swing magic wand and poof, its gone like it was OPC-ed..... which it was.
http://i1197.photobucket.com/albums/aa436/DarkAccoon/Golf46.jpg
Checking for any impurities, swirls, scratch, hologram and etc before coating.
Nothing found....
Still nothing found?
And still nothing found. This is why proper washing technique + proper micro fibers + passion = a non-damaging car wash. Try bringing it to some road side car wash and you will be surprised with the damage it does over 5 washes... sometimes even after 1 wash.
What is this warning?
Ohhh..... 7 days ehhh.... that is the same time I told the owner not to wash her car. She can however rinse it with water if it is dirtied or had bird bombs.
After the coating is done,
The other side view...
Rear view...... clean and glossy... if only i have some gloss index gauge...if such thing even exists
The rear glass was also given Opti Seal
Reflection of the sun..... at the C pillar... shows.... nothing more than the sun... no hologram, no swirls, nothing. which is awesome.
More glossy shots...
Zooming out... even the glass is nice
I just love white cars so much that I need to take more photos. Glass and paintwork is so so glossy...
I just want to show again how glossy it is in this shot.
Half under the shade, half under the sun.....I am in love with the sunroof.
Car was kept at my house for around 4 days. So what greeted me in the morning...
Nice beading and as some would call it... Alien Eggs
Yeap, I even coated the rims which was not requested by the owner... cause I find a coated rims as easy to clean and compliments the overall look of the car.
More beadings......... final shots. Cause you are probably bored of seeing the same thing over and over again.
Time Spend: I forgot, cause I did this car last weekend.
Product used: Osren Bubble&Wax, OPC 1:5 and 1:3, Opti-Coat, Opti-Seal, IronX, TarX, lots of MF cloth.
Satisfaction level: Personally I love white cars, so this is a 11 over 10 for me. Owner was impressed...... even more impressed when I poured a bucket of water on the car and it just glides off.
Note:
- TarX...... stinks but it works good
- All glass surface was given Opti-Seal
- Proper washing technique was pass down to the owner.
- Owner will be installing a spoiler for the car, so I told the owner to bring the car to me again after the spoiler was installed and paint left to cure for 3 weeks so I can coat it as well.
- VW sunroof is very smooth.
- The rims should be upgraded a size bigger... would look better.
Thank you for reading up till here. More to come and if you leave any comments, it is much appreciated (even if it is bad comments).
