
Good day,
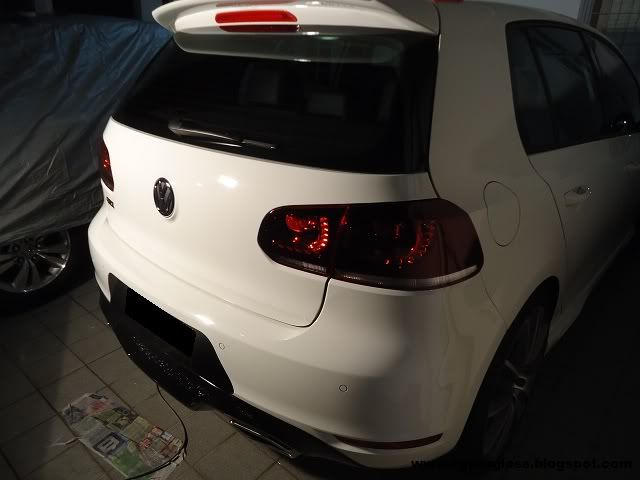
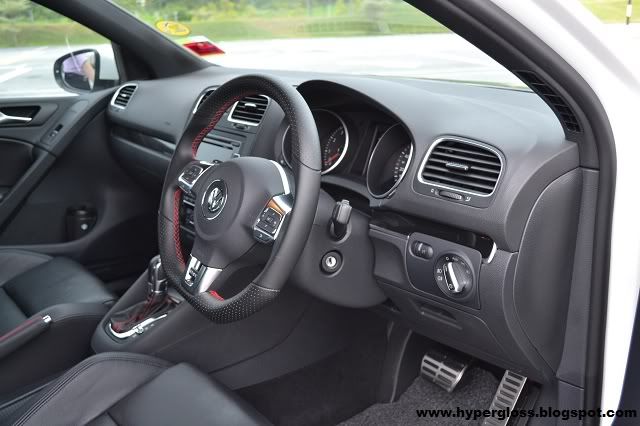
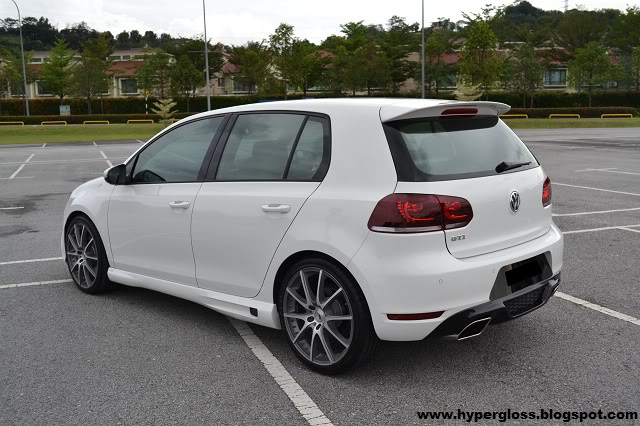
Its been a while since i've last posted. actually this MK6 i detailed since 3months ago and didnt manage to post it up in the forum or my blog. well, not much defects on the paint, just normal washing swirls and water spot on certain panel. lets have a look of the pictures upon arrival..
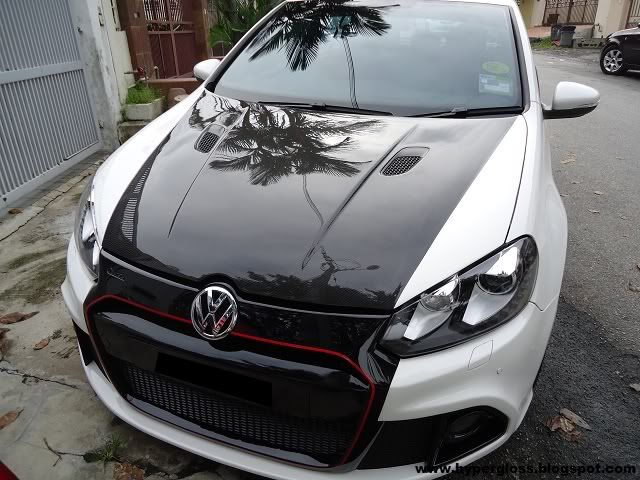
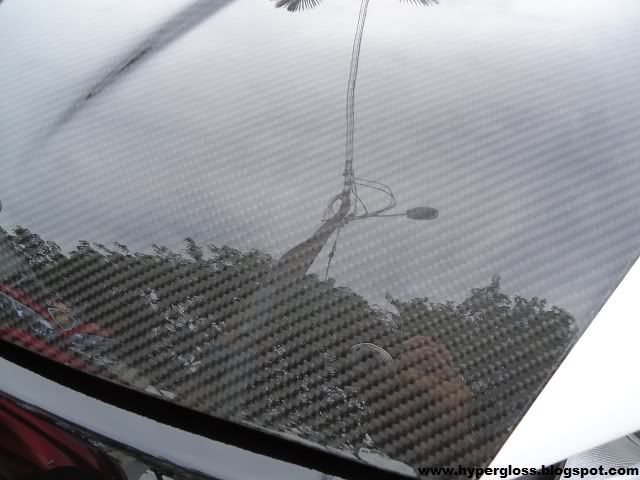
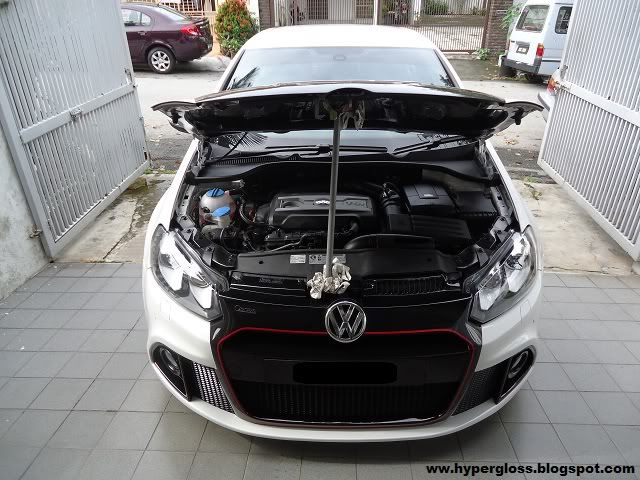
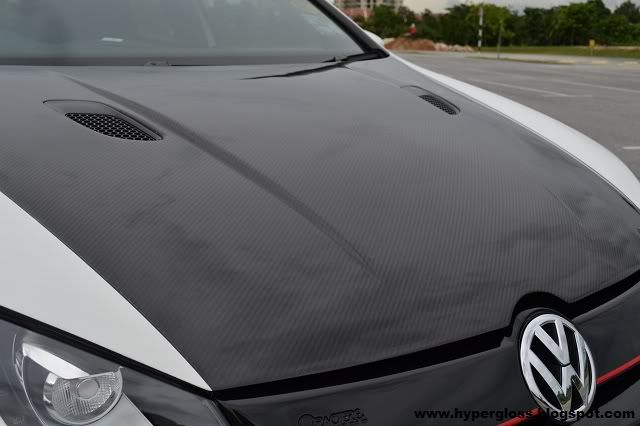
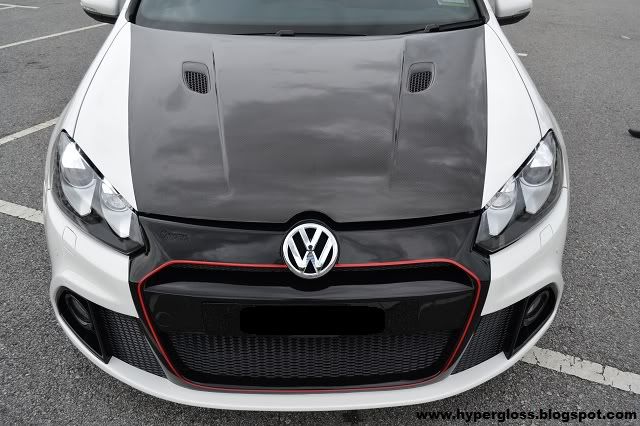
expensive hood that may need alot of attention
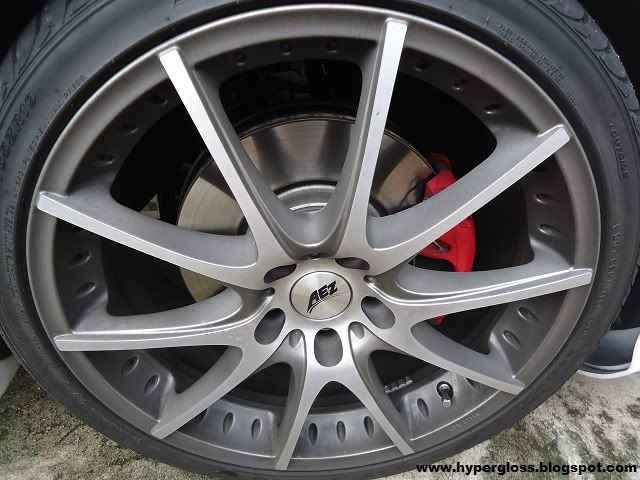
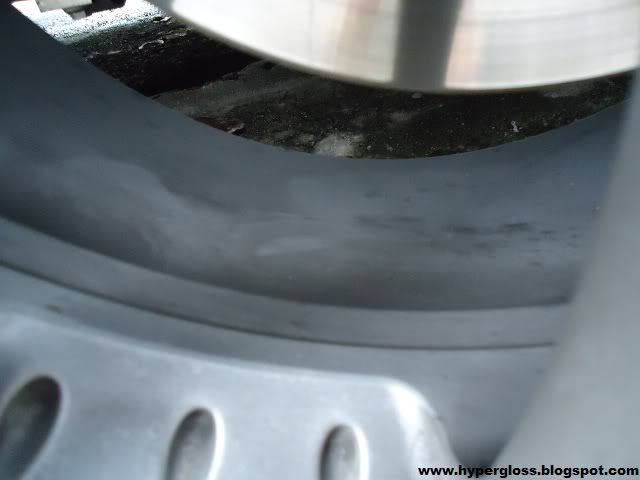
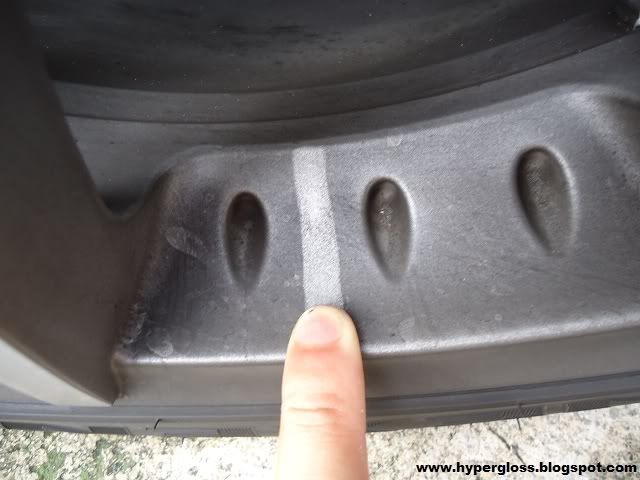
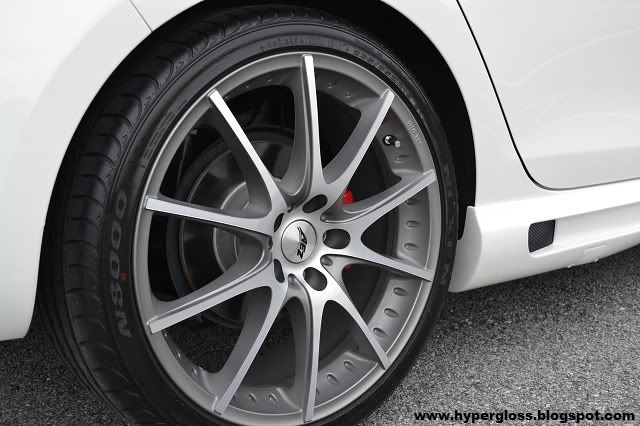
wheels are also covered with alot of brake dust and tars
pardon the way i let the car to cool down
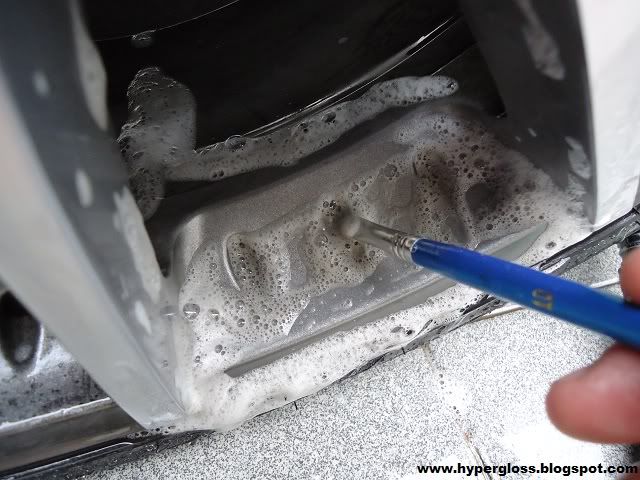
1st step, i just love to work on the dirtiest part which is the wheel
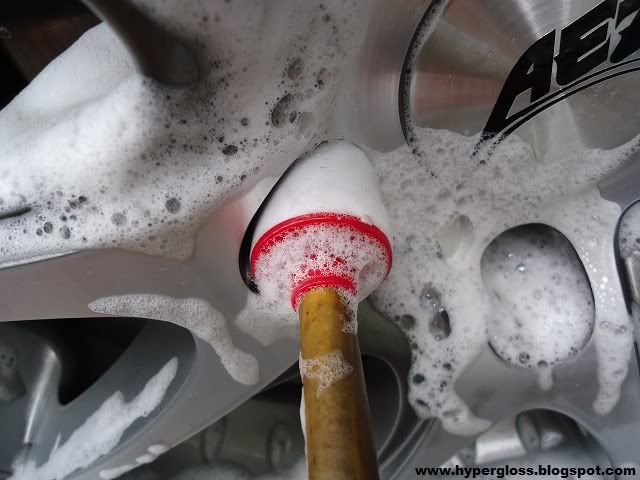
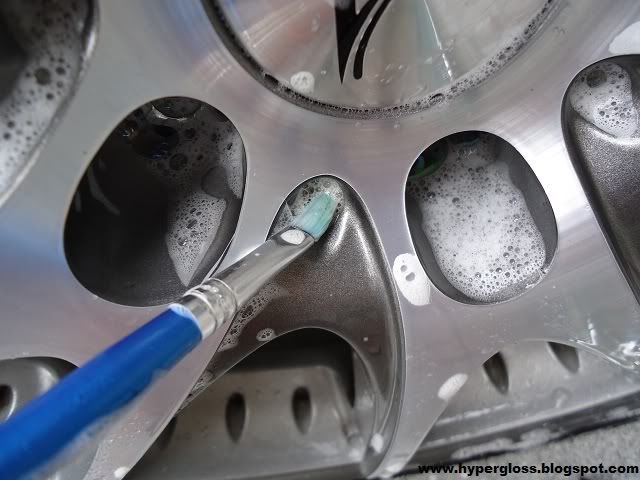
a paint brush also being used for those tight areas
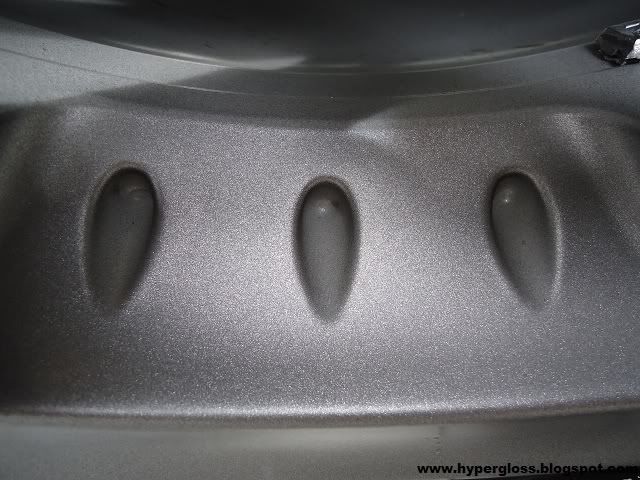
some pictures after cleaning the wheels

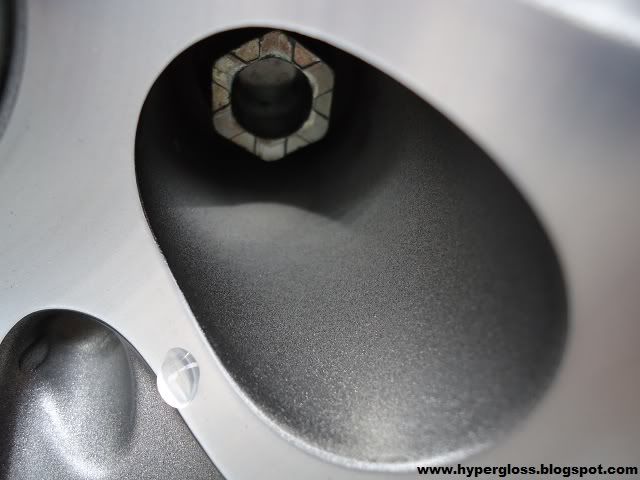
tars in the wheel are dissolve with tar remover

after

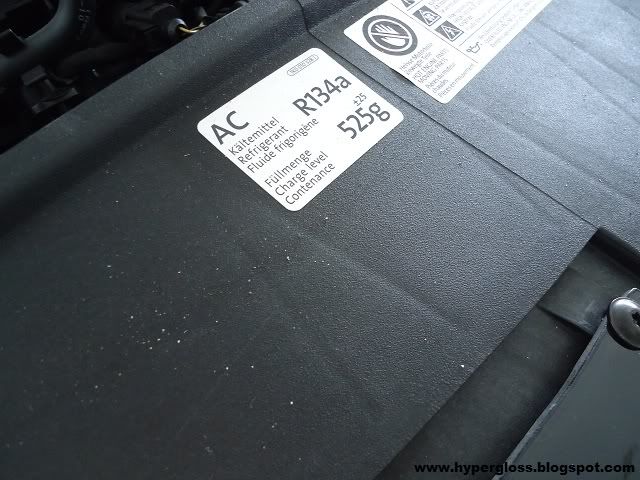
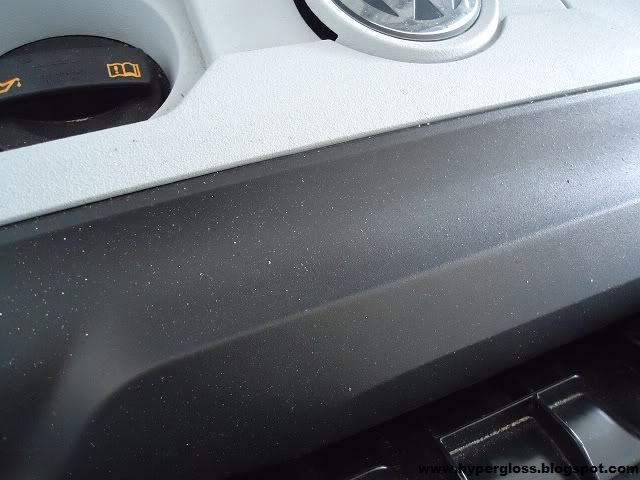
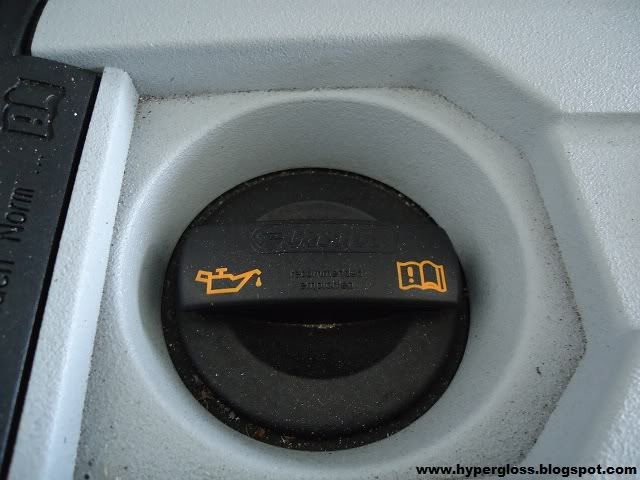
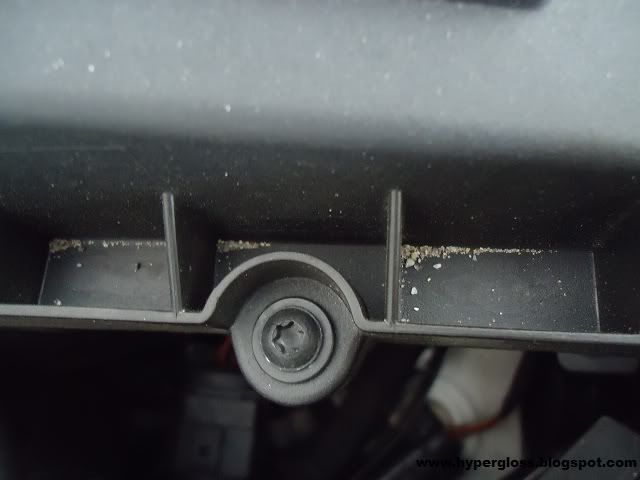
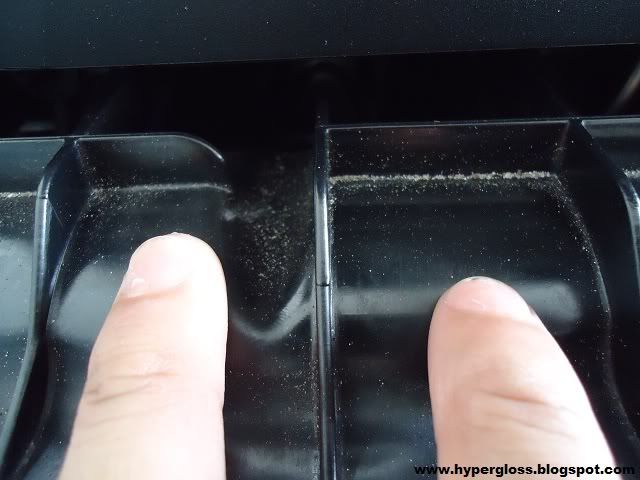
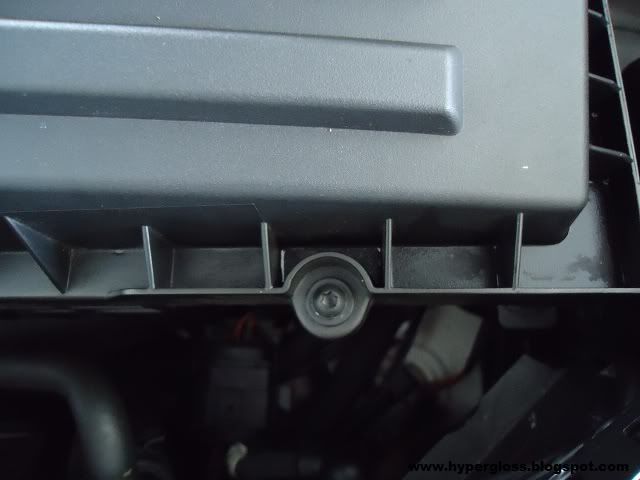
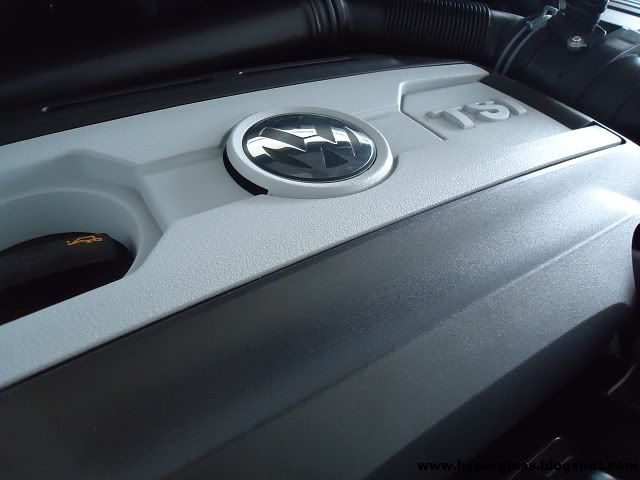
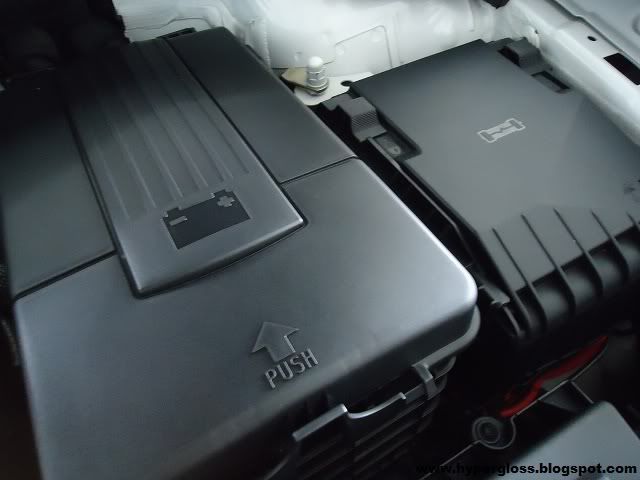
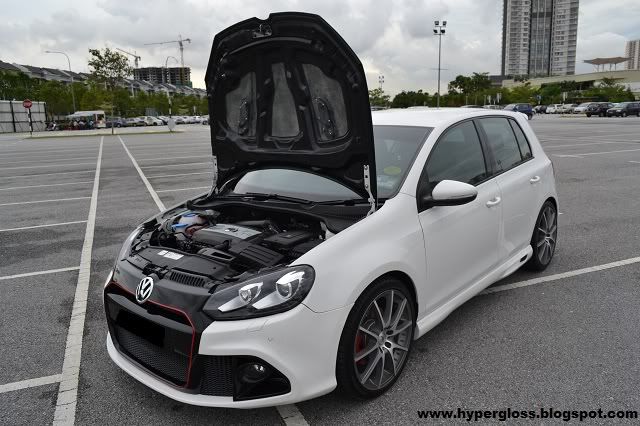
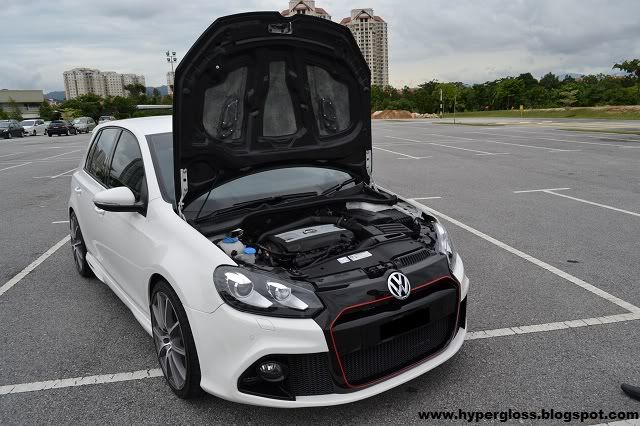
2nd step, the engine.
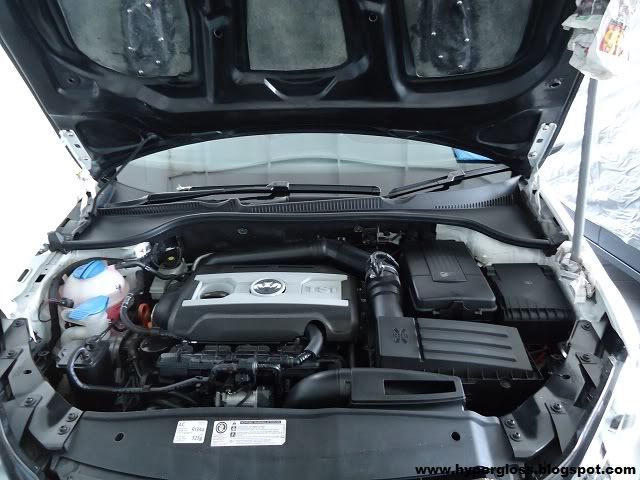
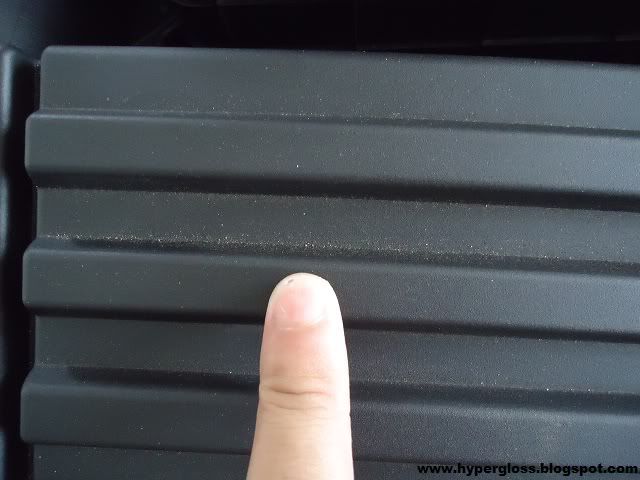
sand dropped in through the small vent from the carbon fiber hood
how i work on the engine bay
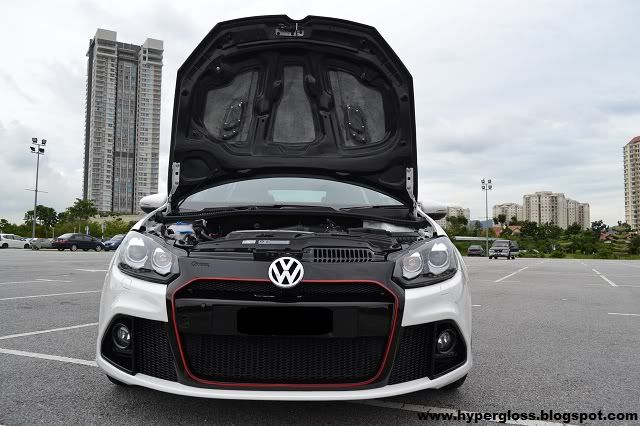
1. vacuum all the sand and dust
2. OPC diluted 1:4 to clean plastic parts
3. wipe down with ONR
4. protected with OLP
after pictures

3rd step, wash.
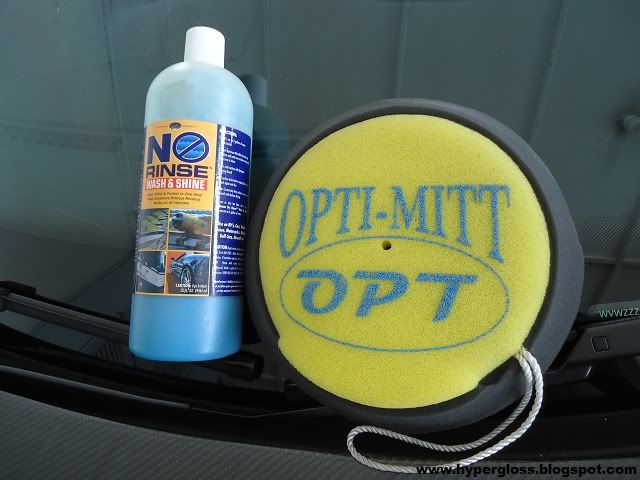
how i work on the surface?
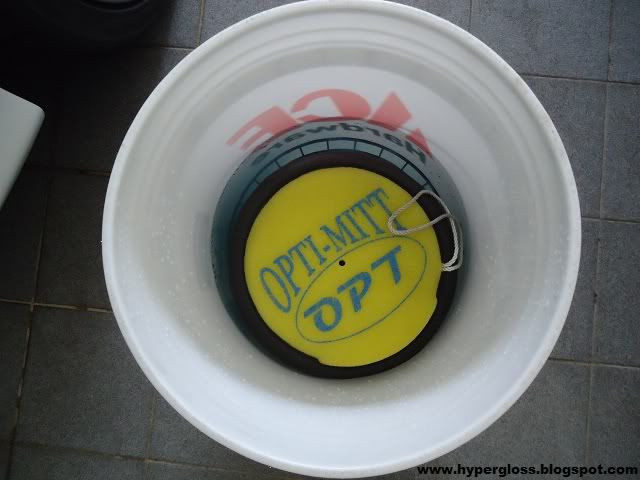
1. 3caps of ONR into a pale fill in with 2gallon of water, also a grit guard is attached by not picking up dirts below
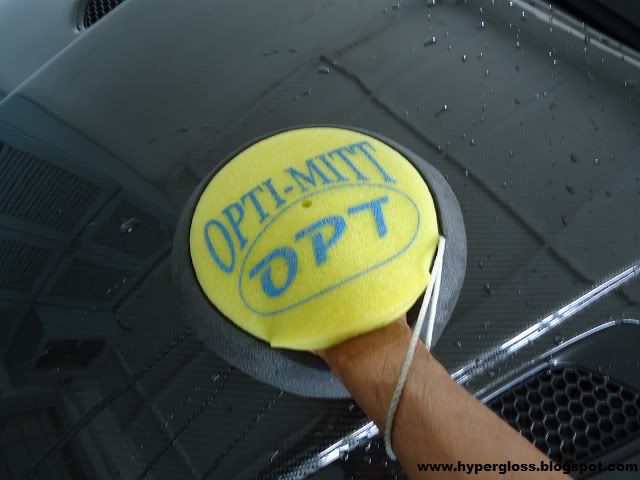
2. soak Opti-Mitt and squeeze to balance the ONR solution by not using too much on each panel
3. microfiber was used for tight areas
4. always work on the top first and bottom last
5. wipe dry and move to surface preparation
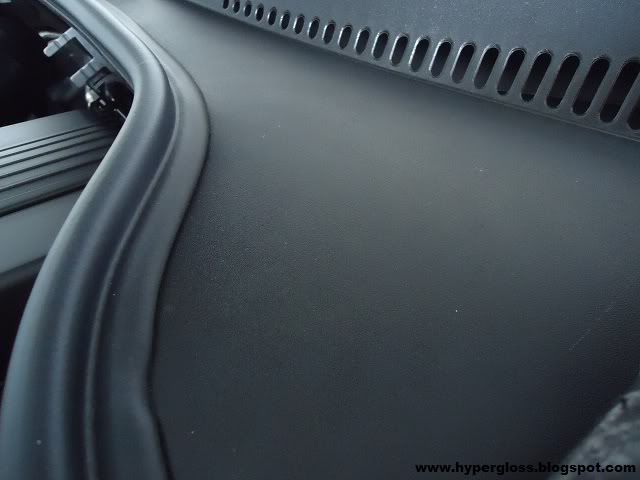
4th step, surface preparation
after
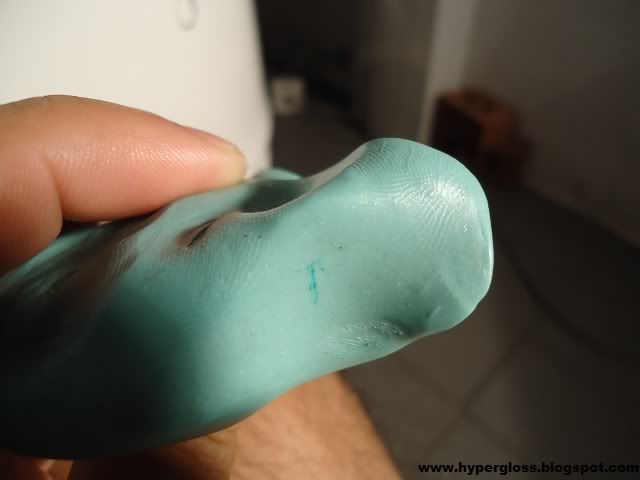
how i clay?
1. tear your clay bar like the size of your 4 fingers 3inch x 3 inch
2. old clay bar use to work on lower parts (most contaminants)
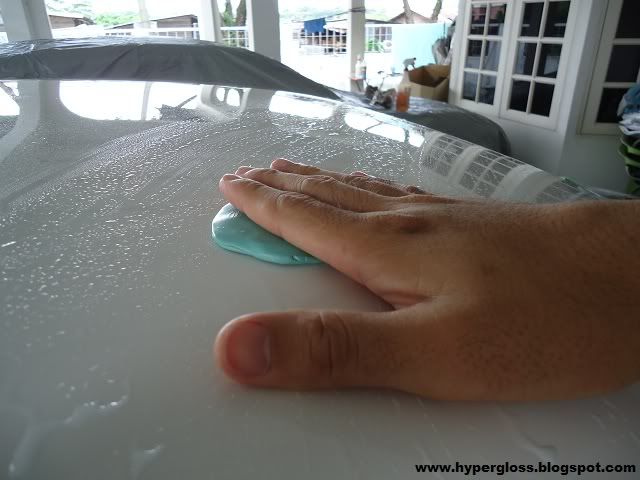
3. dilute ONR as quick detailer into any bottle
4. spray on surface and move left to right up and down (no circular motion)
5. wipe dry
next day, i woke up late in the afternoon and had my late lunch since i have 3 working days to complete this ride. i didnt want to waste my strength cause i know i need alot of focus on the paint work. and because its white, some swirls or scratches cannot be seen under halogen when the sun is too bright. also the other thing is to locate your halogen at the right angle is important too. alright, lets move to the 4th step, paint work correction.
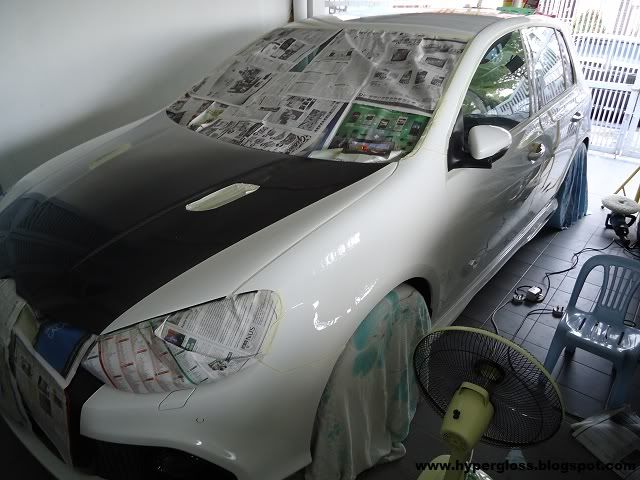
i taped all the necessary area to avoid any compound dust went through, this is important too cause you'll save up alot time to clean up all the residues especially you have splatter all around.
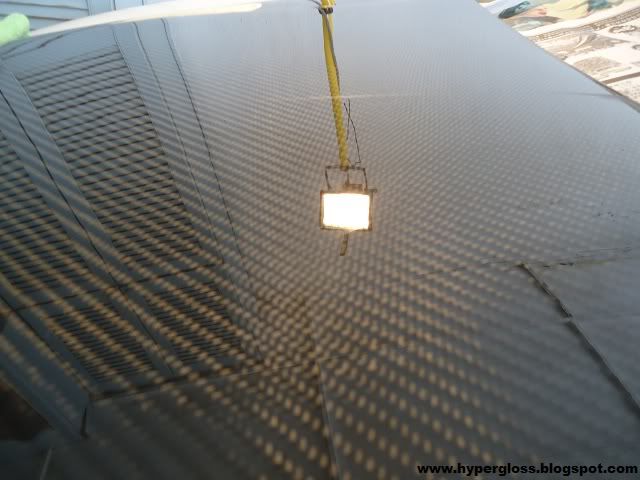
1st test spot was on the carbon fiber hood
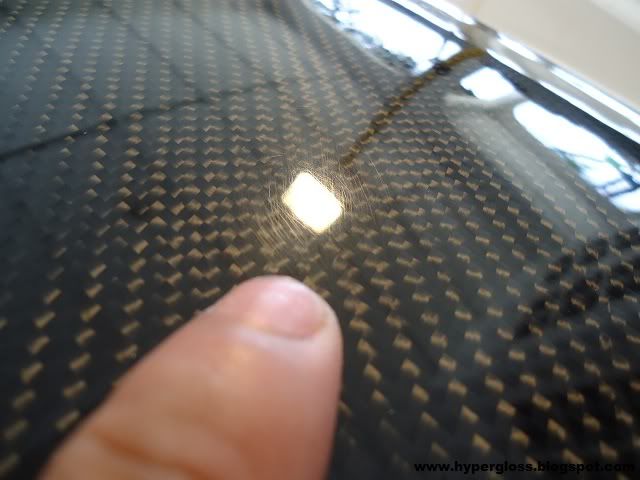
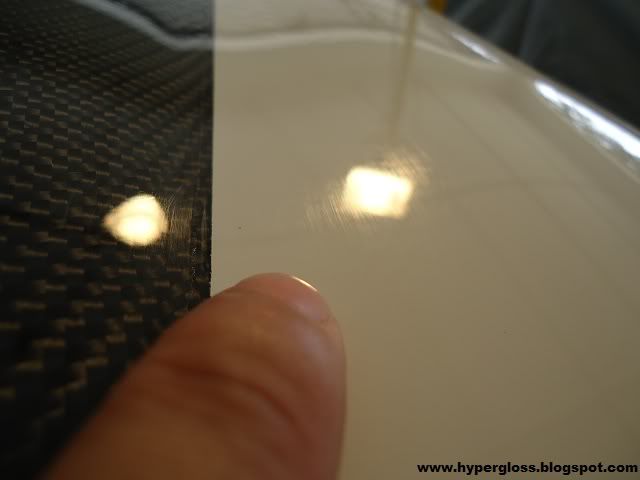
50/50 shot
corrected
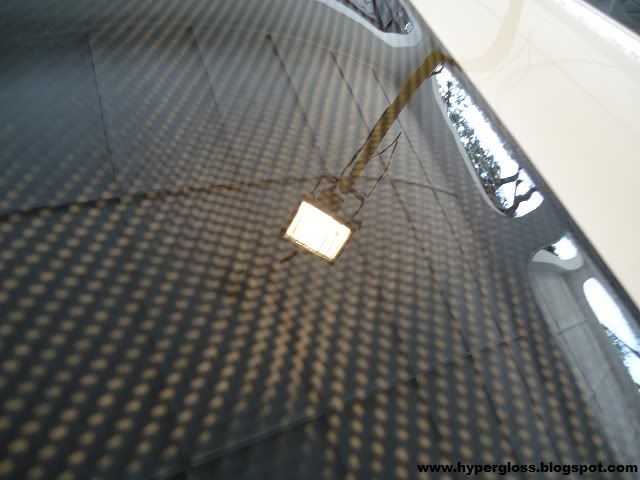
not corrected
before
after
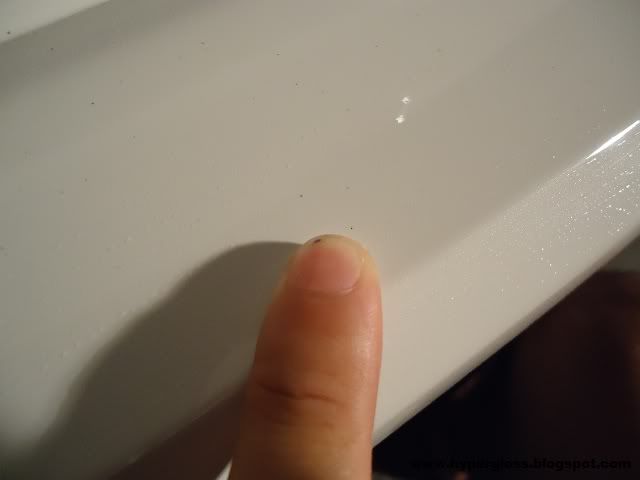
rear door water spot before
after

rear upper arch before
after corrected
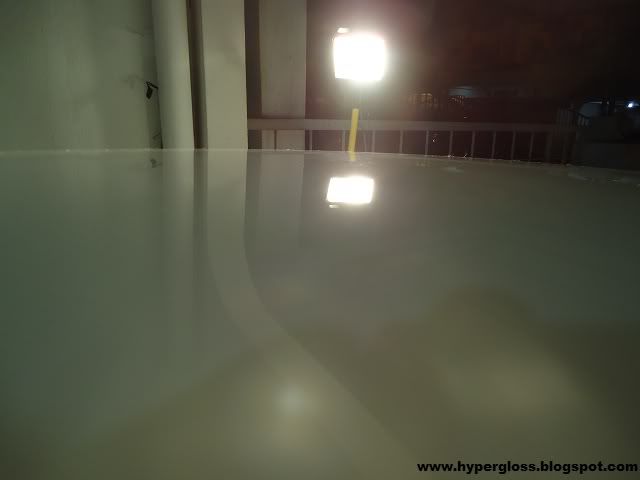
roof water spot before
after
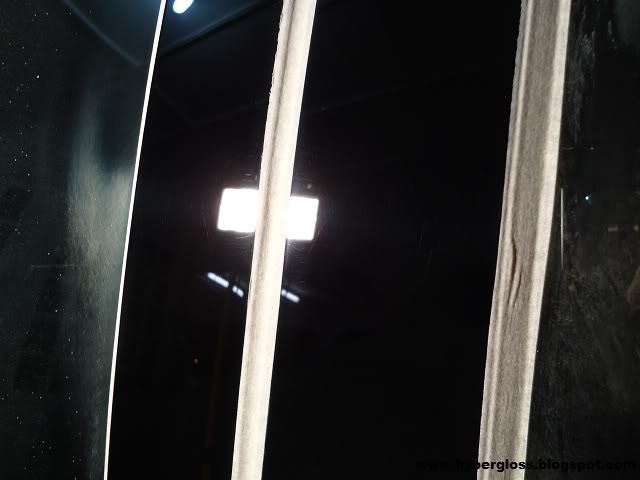
pillar before
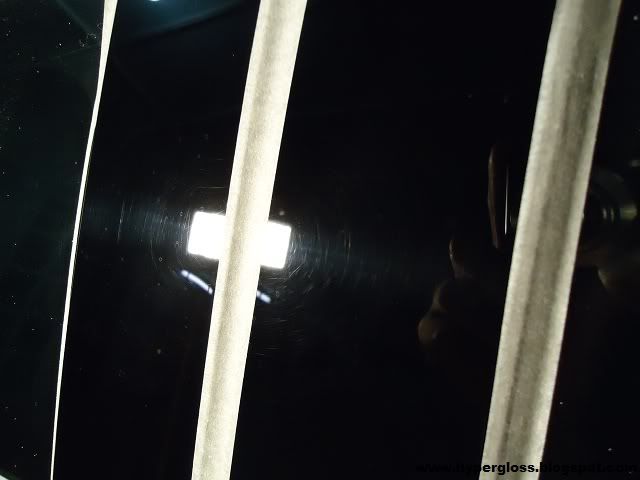
after
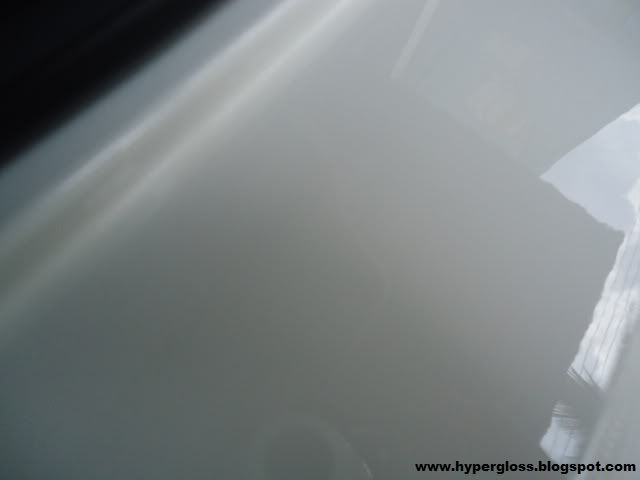
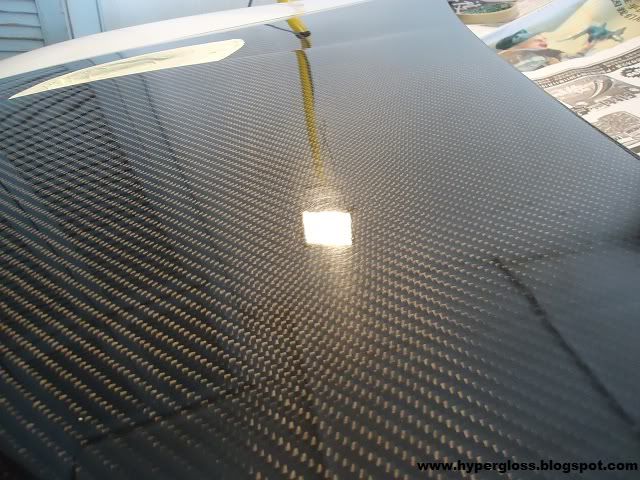
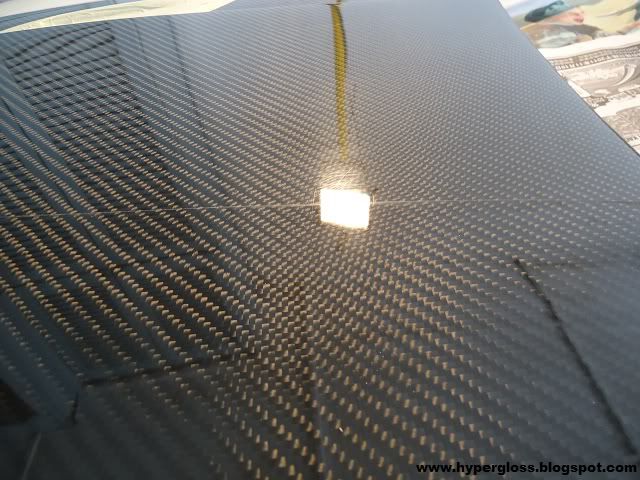
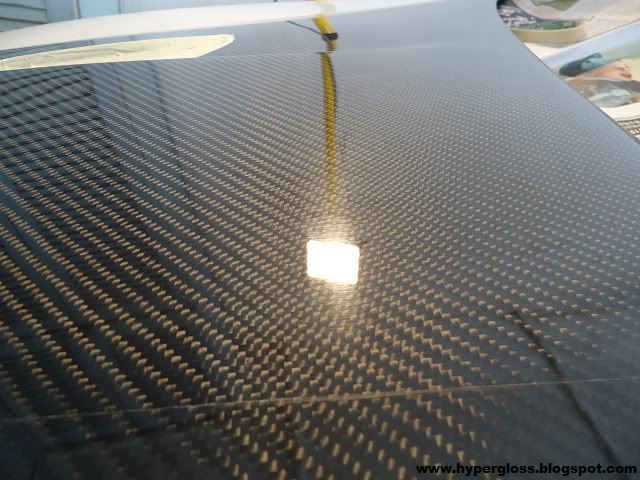
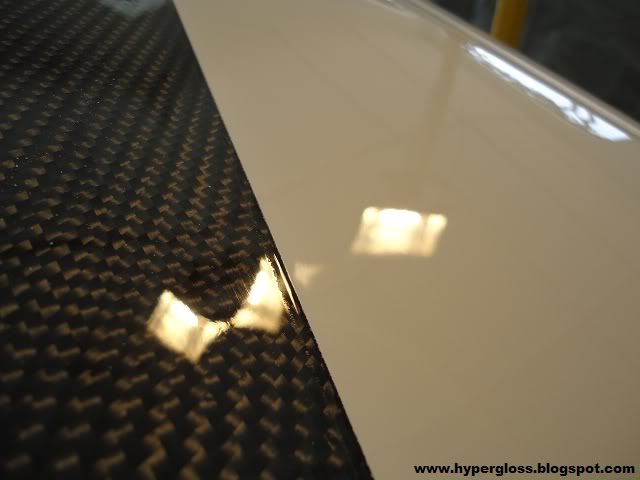
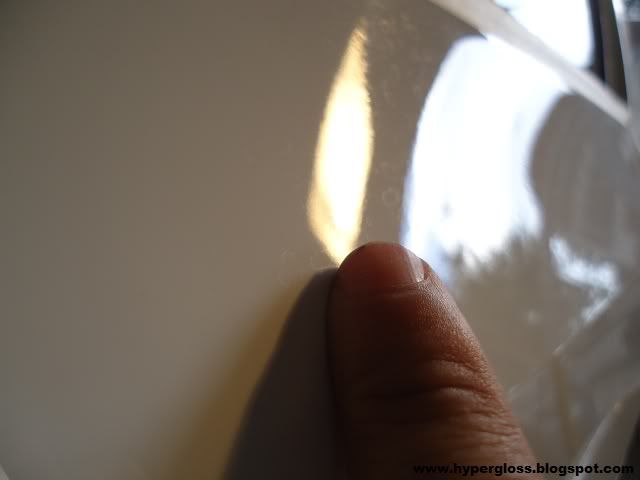
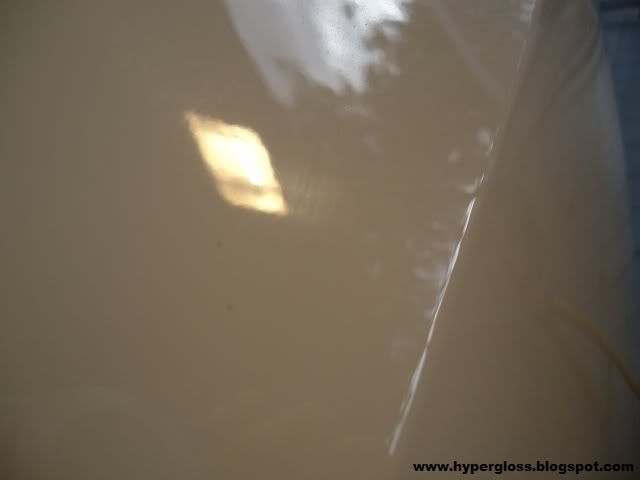
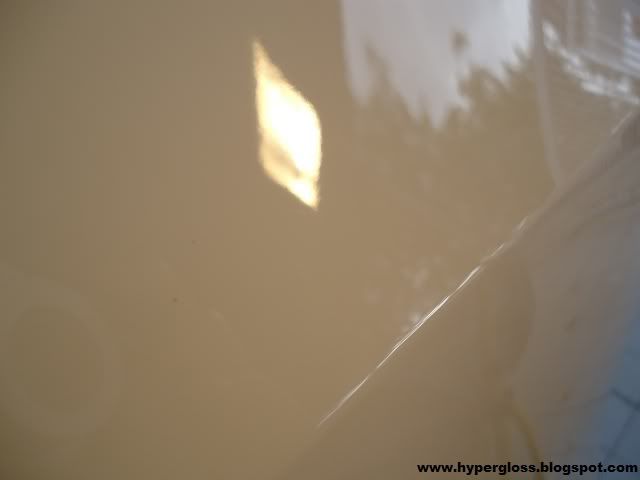
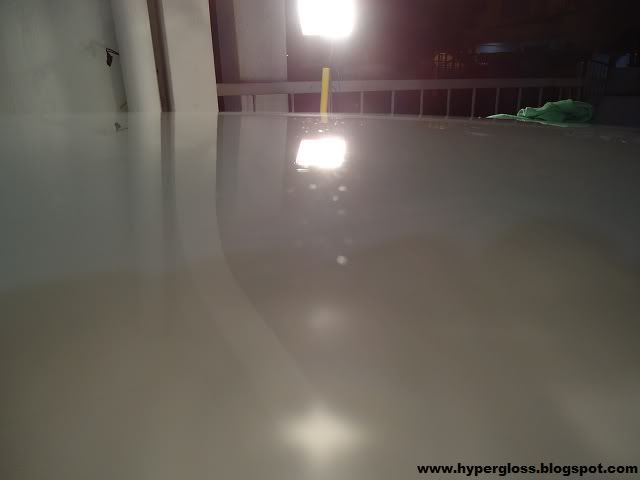
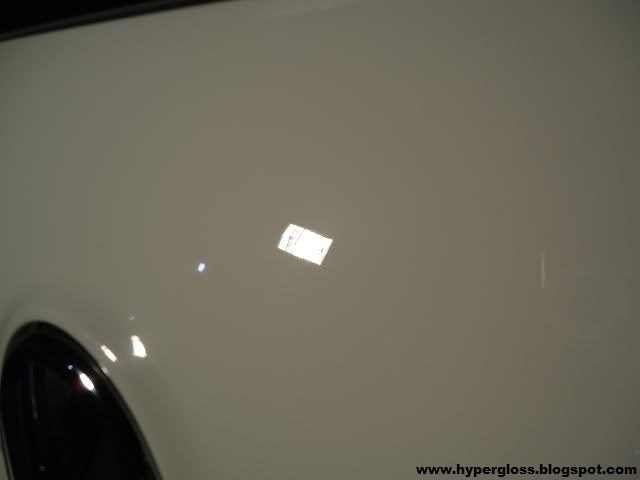
after polish, check out the clarity and depth
how i correct the paint?
1. Makita 9227C
2. compound M105 paired with double sided wool (speed 1 spread, speed 2.5 to correct)
3. OHP paired with double sided red foam (speed 1 spread, speed 2 polish, speed 1 finish)
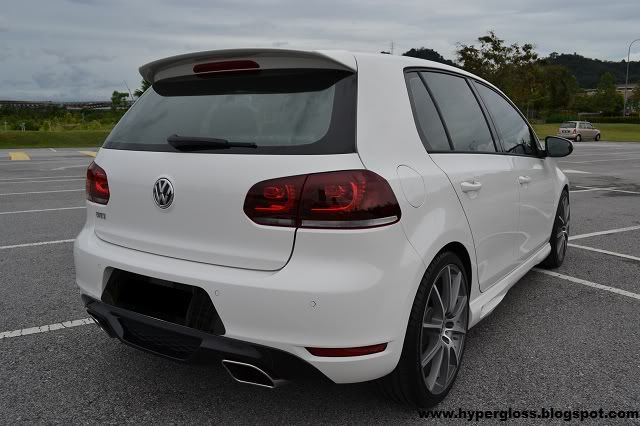
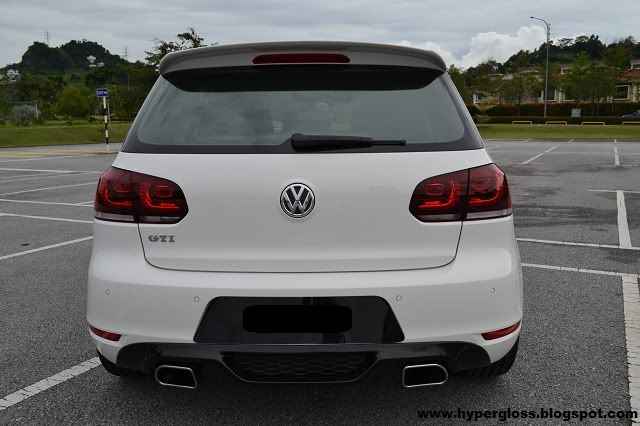
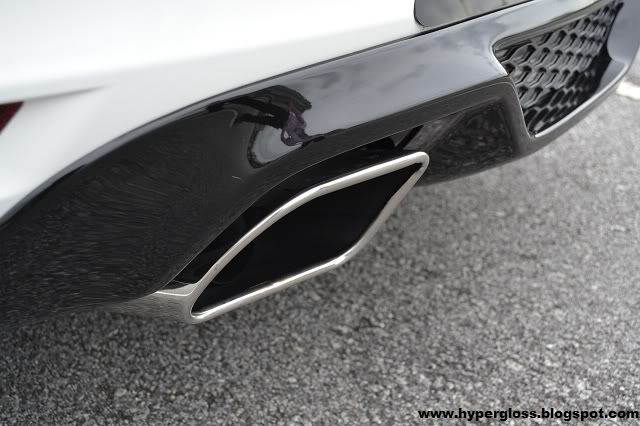
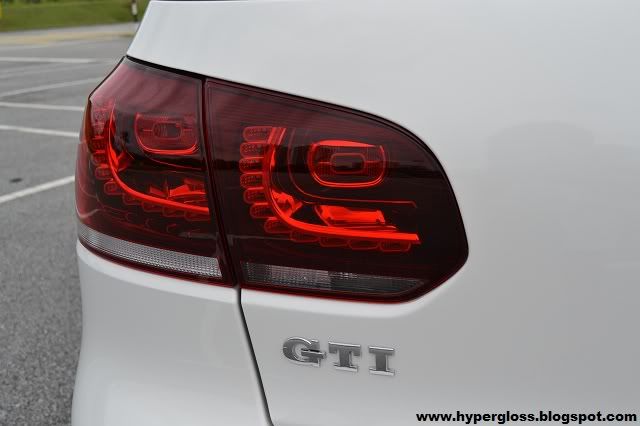
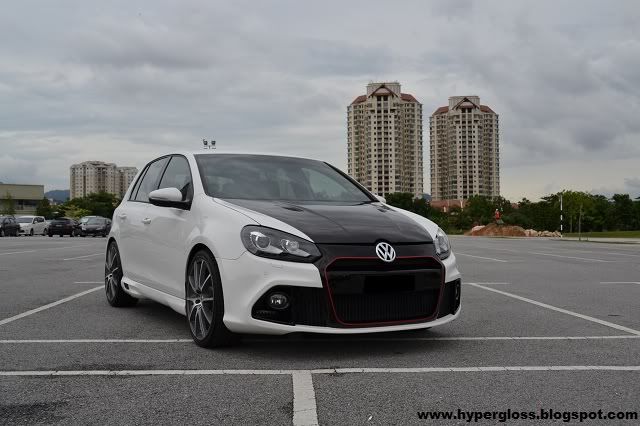
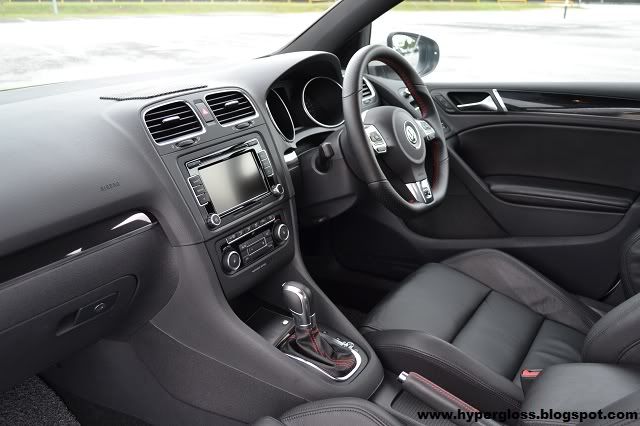
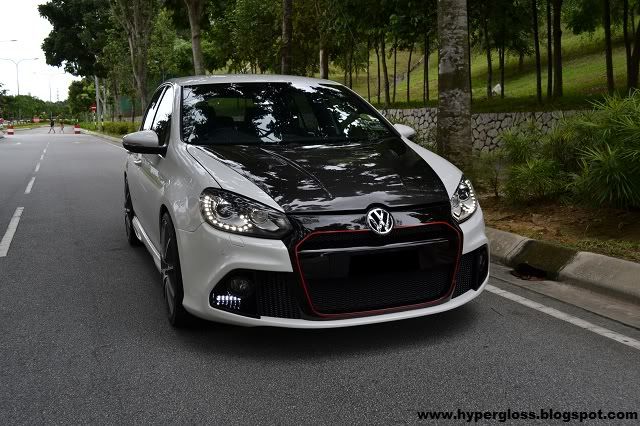
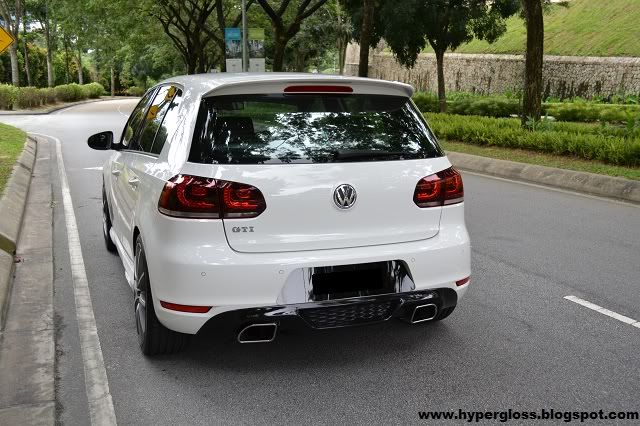
final step, IPA wipe down to remove polish oil/silicone and coated with Opti-Coat. this ride were brought to a place for some photo shoot, too bad there is no sun for me and its gonna rain but anyway, hope you guys enjoy the finishes of this ride! enjoy peeps!

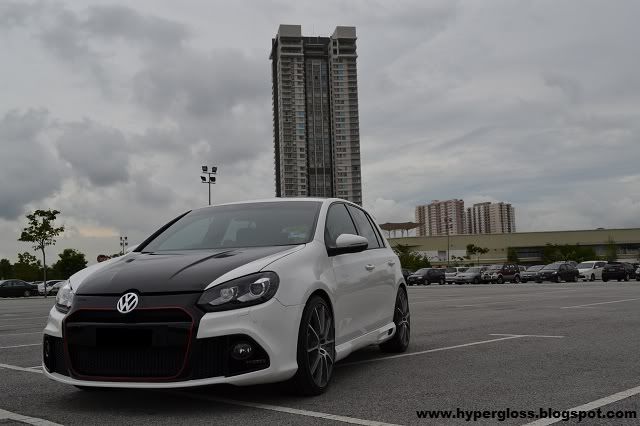

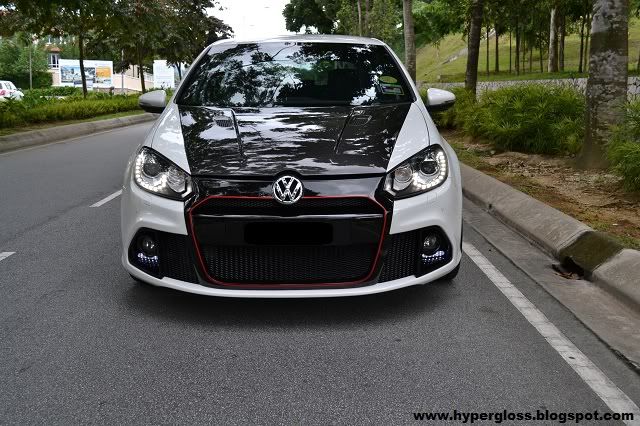
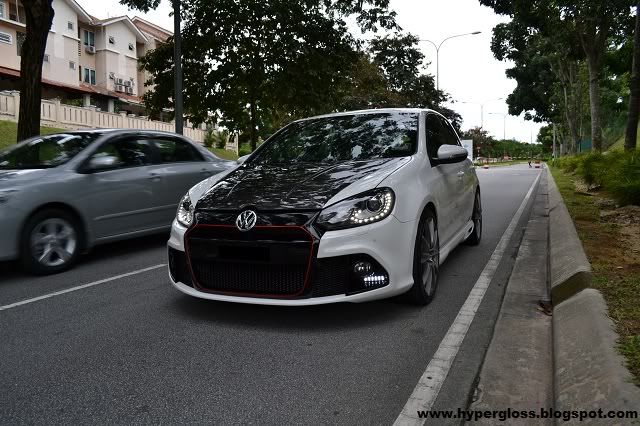
Its been a while since i've last posted. actually this MK6 i detailed since 3months ago and didnt manage to post it up in the forum or my blog. well, not much defects on the paint, just normal washing swirls and water spot on certain panel. lets have a look of the pictures upon arrival..
expensive hood that may need alot of attention
wheels are also covered with alot of brake dust and tars
pardon the way i let the car to cool down
1st step, i just love to work on the dirtiest part which is the wheel
a paint brush also being used for those tight areas
some pictures after cleaning the wheels
tars in the wheel are dissolve with tar remover
after
2nd step, the engine.
sand dropped in through the small vent from the carbon fiber hood
how i work on the engine bay
1. vacuum all the sand and dust
2. OPC diluted 1:4 to clean plastic parts
3. wipe down with ONR
4. protected with OLP
after pictures
3rd step, wash.
how i work on the surface?
1. 3caps of ONR into a pale fill in with 2gallon of water, also a grit guard is attached by not picking up dirts below
2. soak Opti-Mitt and squeeze to balance the ONR solution by not using too much on each panel
3. microfiber was used for tight areas
4. always work on the top first and bottom last
5. wipe dry and move to surface preparation
4th step, surface preparation
after
how i clay?
1. tear your clay bar like the size of your 4 fingers 3inch x 3 inch
2. old clay bar use to work on lower parts (most contaminants)
3. dilute ONR as quick detailer into any bottle
4. spray on surface and move left to right up and down (no circular motion)
5. wipe dry
next day, i woke up late in the afternoon and had my late lunch since i have 3 working days to complete this ride. i didnt want to waste my strength cause i know i need alot of focus on the paint work. and because its white, some swirls or scratches cannot be seen under halogen when the sun is too bright. also the other thing is to locate your halogen at the right angle is important too. alright, lets move to the 4th step, paint work correction.
i taped all the necessary area to avoid any compound dust went through, this is important too cause you'll save up alot time to clean up all the residues especially you have splatter all around.
1st test spot was on the carbon fiber hood
50/50 shot
corrected
not corrected
before
after
rear door water spot before
after
rear upper arch before
after corrected
roof water spot before
after
pillar before
after
after polish, check out the clarity and depth
how i correct the paint?
1. Makita 9227C
2. compound M105 paired with double sided wool (speed 1 spread, speed 2.5 to correct)
3. OHP paired with double sided red foam (speed 1 spread, speed 2 polish, speed 1 finish)
final step, IPA wipe down to remove polish oil/silicone and coated with Opti-Coat. this ride were brought to a place for some photo shoot, too bad there is no sun for me and its gonna rain but anyway, hope you guys enjoy the finishes of this ride! enjoy peeps!
 thanks in advance 1st, but later i tulang patah. haha!

 yeap it will by maybe 0.xxxx mil of micron, i tried remove the coating before using many passes of compound. from my experience for removing the coating i can tell the coating is hard enough. will be getting a paint thickness gauge if i have the budget.

