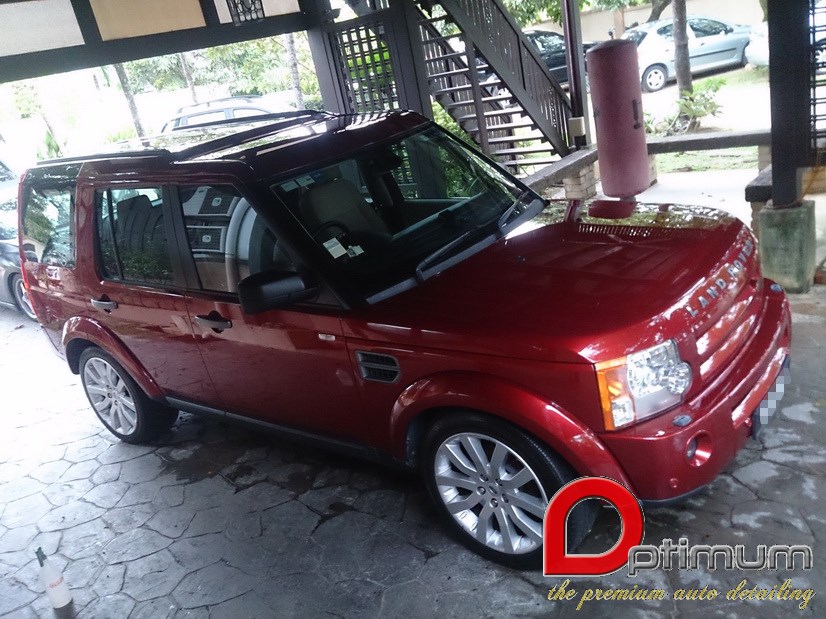
Today we have here with us this beast, utterly neglected, abused, unprotected, heavily utilized for offroads. The owner came to us for a full restoration package and coating application. This was how to went.

Upon arrival, we can see that the car is tinted is shade of grey, thick coats of dust, sand and dirt, unwashed for months. Expecting what we are about to face, we continue on to inspect the surfaces.

As we were saying, thick coats of dust, sand and god knows what else.

Over the years, dist and stains has gotten stuck between the emblems as well.

We founds some very extreme watermark issues on the surface, so extreme that you can feel the humps when gliding your hand through.

Permanent damage is a common scene in these type of off-roading cars.

Scuff marks are practically every where on every panel.


Even on the roof, there were some severe scuff marks.

As we inspected the paint closer, we found the standard swirls underneath many layers of watermark.


On the sides.


Without wasting anymore time, we started on the correction, first was the chemical decontamination. All areas were not neglected.

Trims were all rejuvenated, scrubbed thoroughly

Tar spots are dissolved and removed.

As for the body, 1 single panel consist this amount of dirt stored after the car wash.

A quick flashback for Before.

And After correction.

Emblems were also removed to get the underneath polished.

Some scuff marks were successfully removed.
After completing the paint correction, we moved on to cleaning the engine. Here is a Real Time 50/50, not photoshoped.

A 50/50 on under section of the bonnet.

And finally, after cleaning.

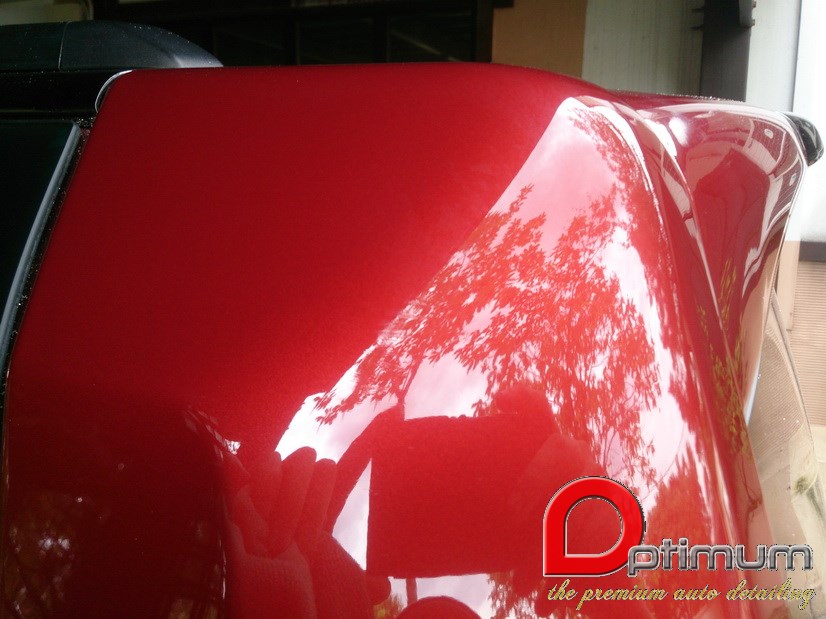
Here are some sneak preview of the after polish.


The wheels are quite bad in shape, having lots of scuff marks, stains. Here is the before.

From the looks of it, it is not that dirty, but just run a finger through, you can see how dirty is it now.


Stains after cleaning.

The look after removing the stains


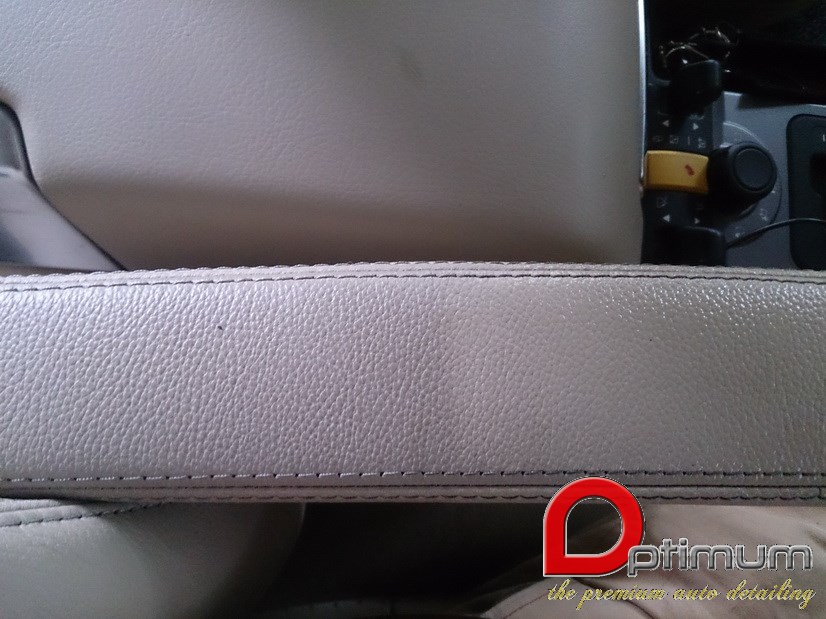
For the interior, we clean and condition the leather. Here is some 50/50 shots
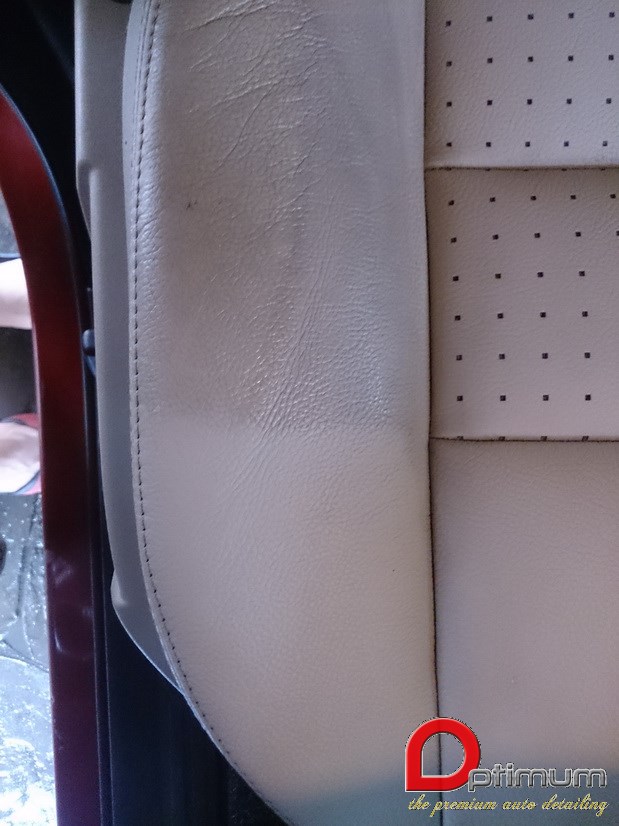
Note the left side of the seat is cleaned, and the right is before.

After restoring the leather.


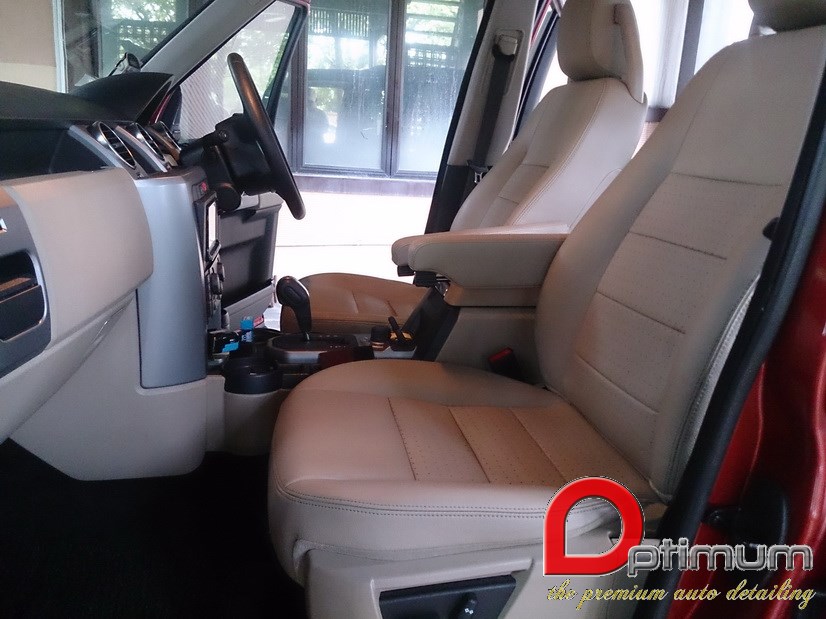
Finally, the cleaned and conditioned interior


The glass had some very irregular contamination on it. It felt like a 300 grid sand paper. So the solution was to clay the glass.

With just half the back window, the clay bar turned out so dirty, it is tar.


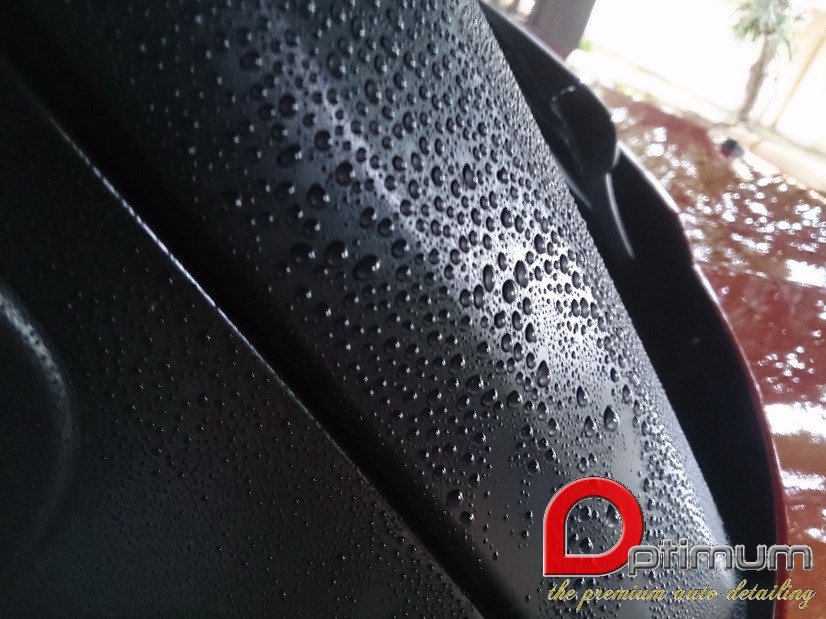
Finally, after 2 days of correction and coating application. Here are the results.