
- Joined
- Nov 18, 2003
- Messages
- 879
- Points
- 3,063
Hi All,
After the Japanese eye surgery the previous time, I have been given the honour to perform yet another eye surgery + skin whitening on a Korean.
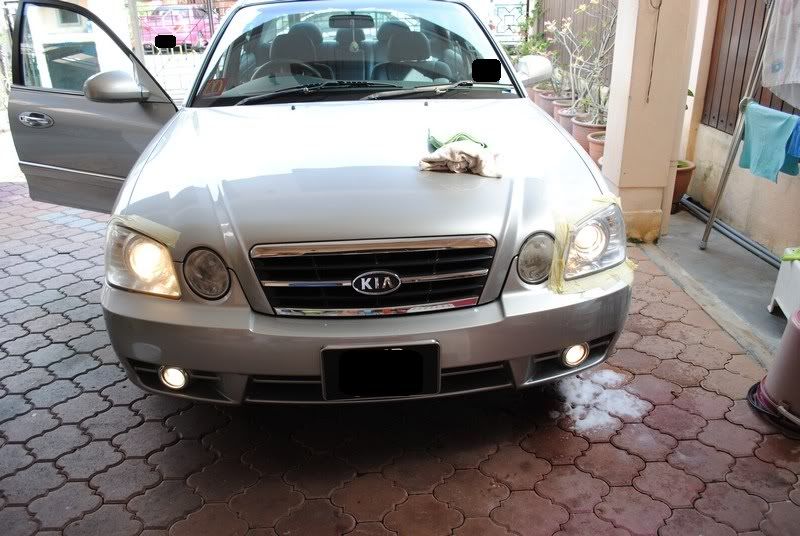
Patient this time is a Kia Optima 2.0 year 2004. Headlamps have been heavily oxidized and owner feels that it is no longer safe to drive at night with this headlamps. A new replacement would have cost a few thousand but lets say we did it at a fraction of the price.
Lets examine the condition of the lamps:
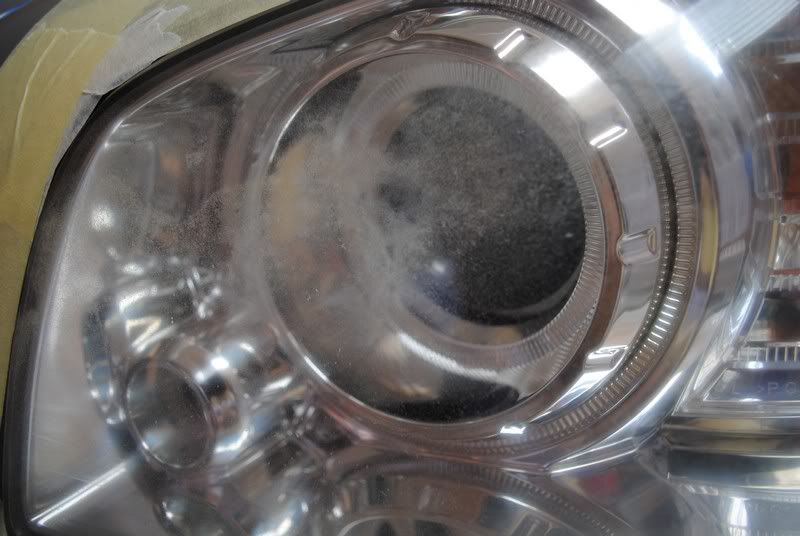
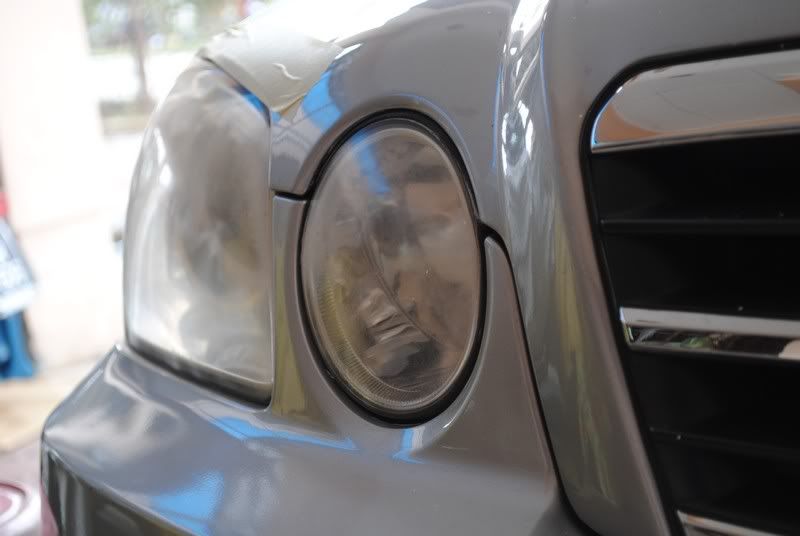
Oxidation from 7 years plus:
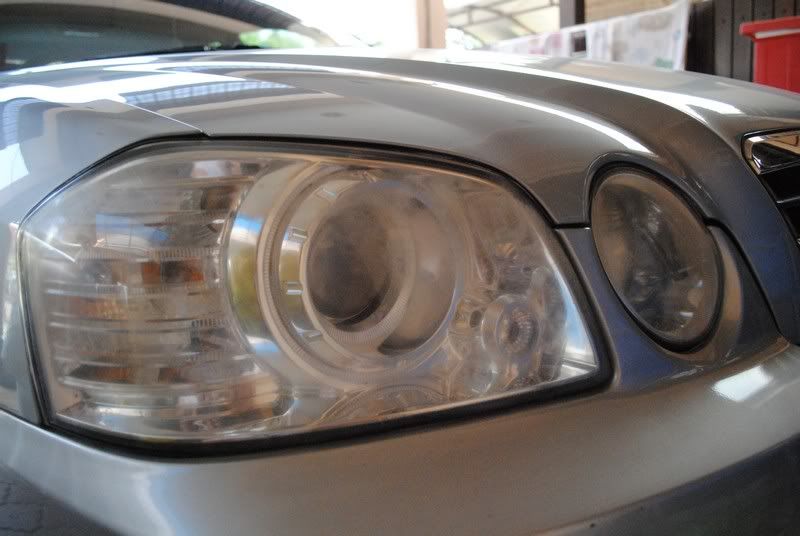
A closer look reviews......hmm... fine cracks and deep scratches
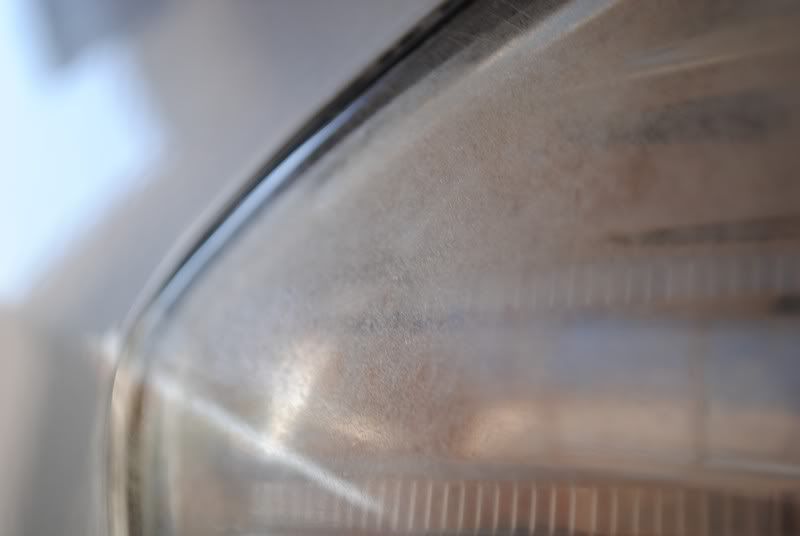
Even the seldom used high beam is not spared.

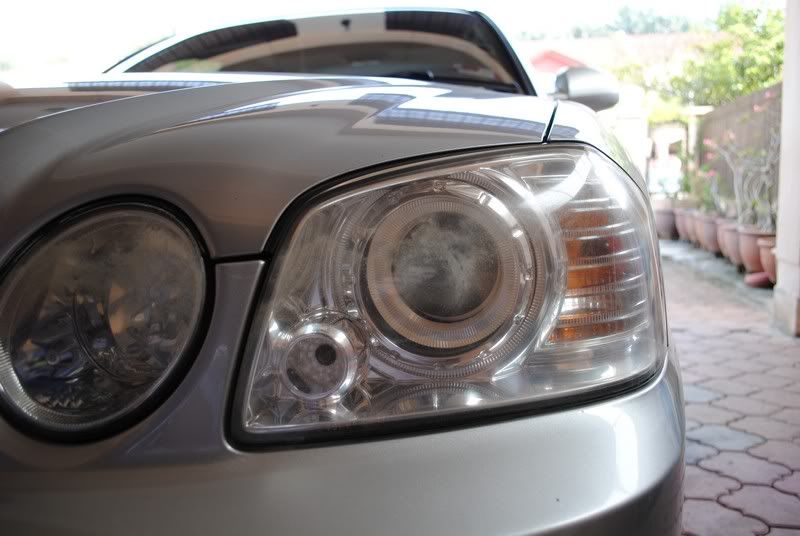
Passenger side headlights..... poor condition
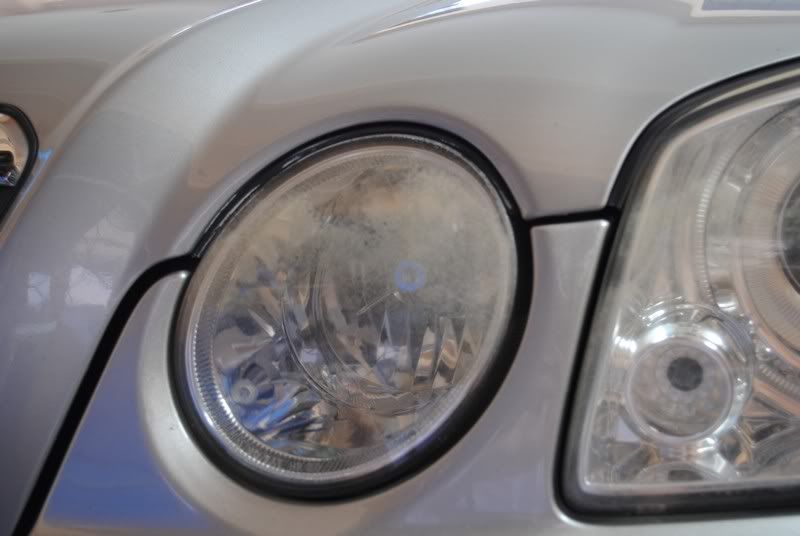
Macam kena rub with some mud leh
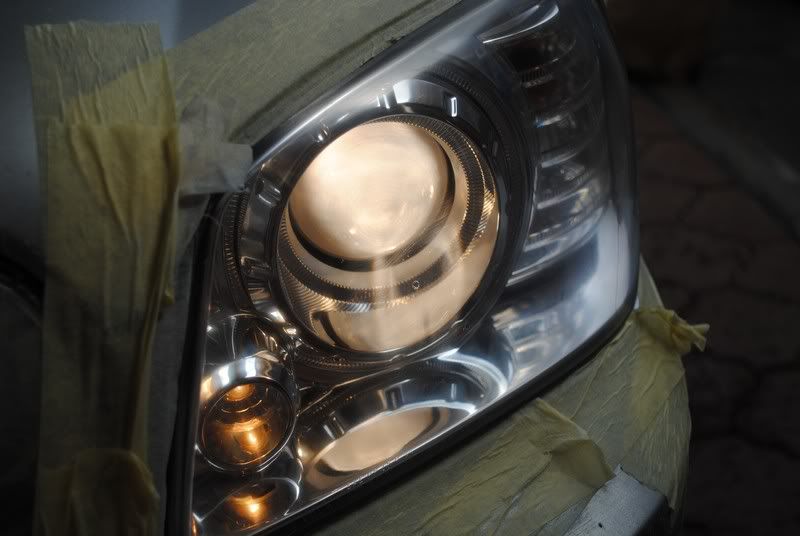
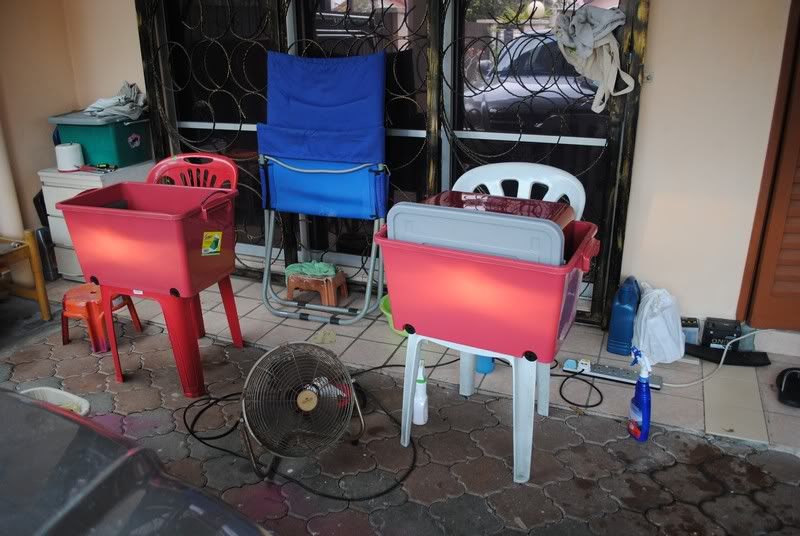
Operation theatre preparation, taped to block of sanding/compounding and polish marks
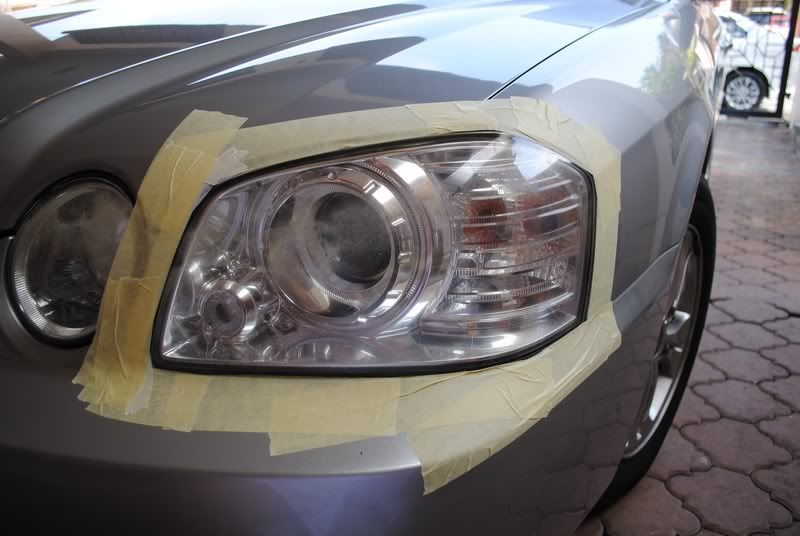
Due to restricted place to tape, the normal beam and the high beam had to be done separately (which took most of my time, instead of two headlights... i was literally doing 4)
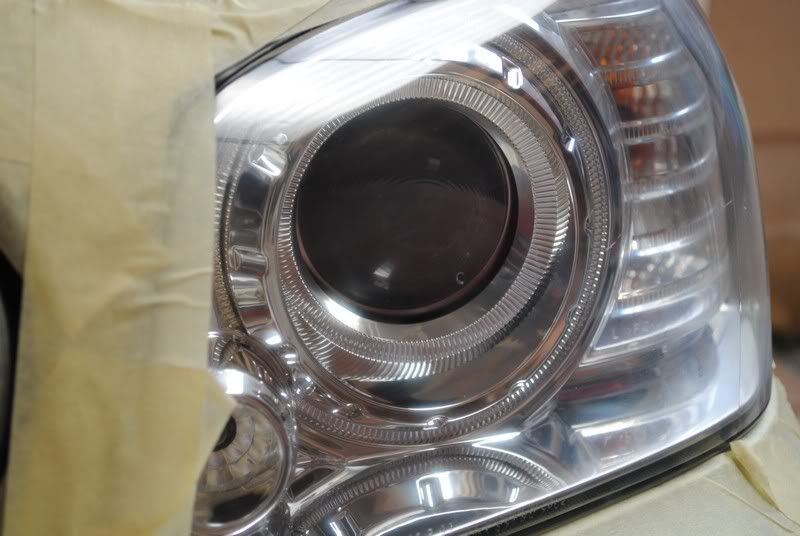
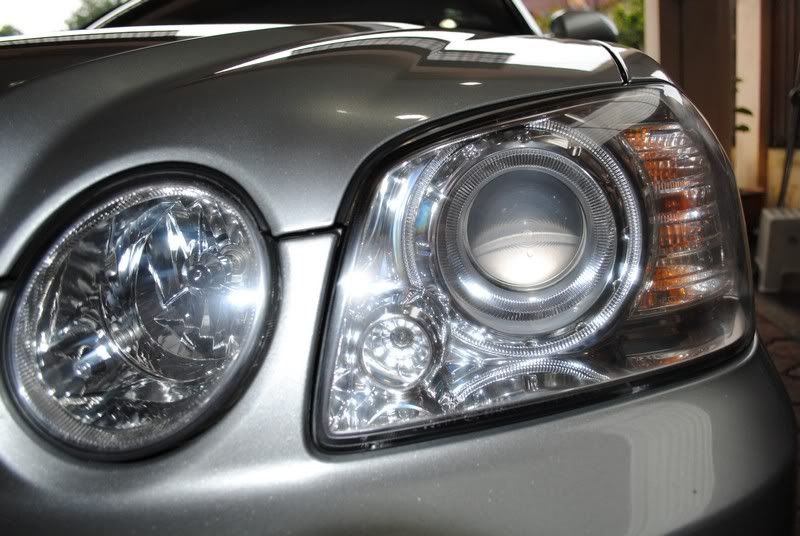
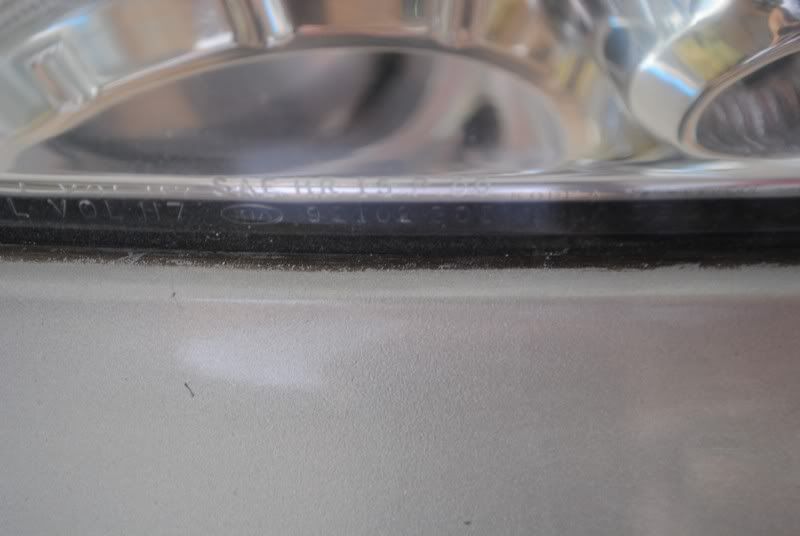
Left eye surgery complete.
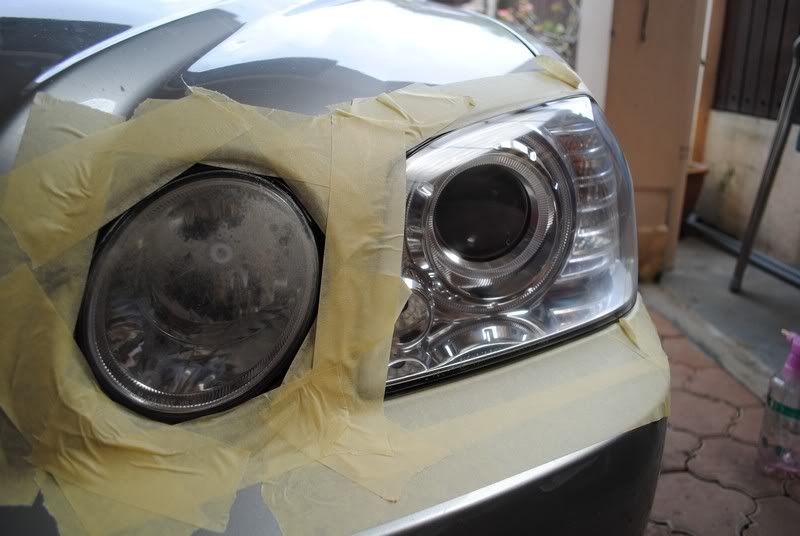
The poor right side before surgery
The new and improved left eye after surgery (this photo was taken after compounding, not yet polish hence the scratch marks around.)
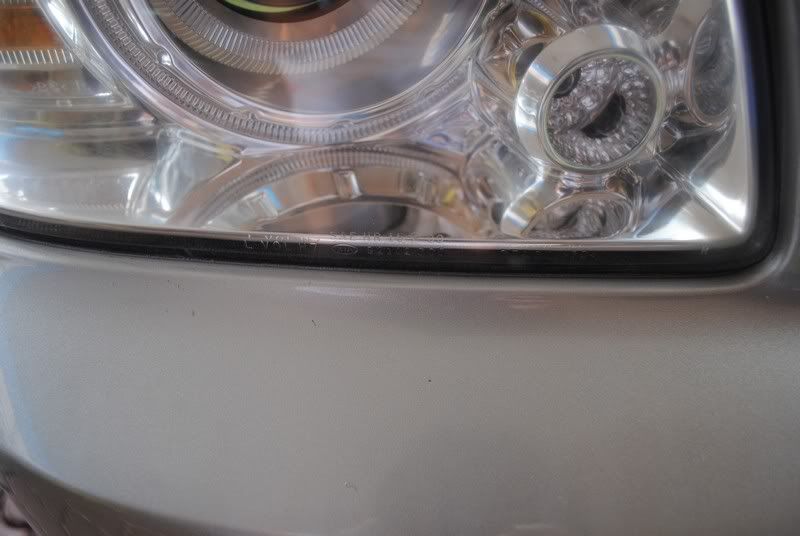
This is how it looks like without lights on
After polishing the headlamp, its time to move on to the high beam....
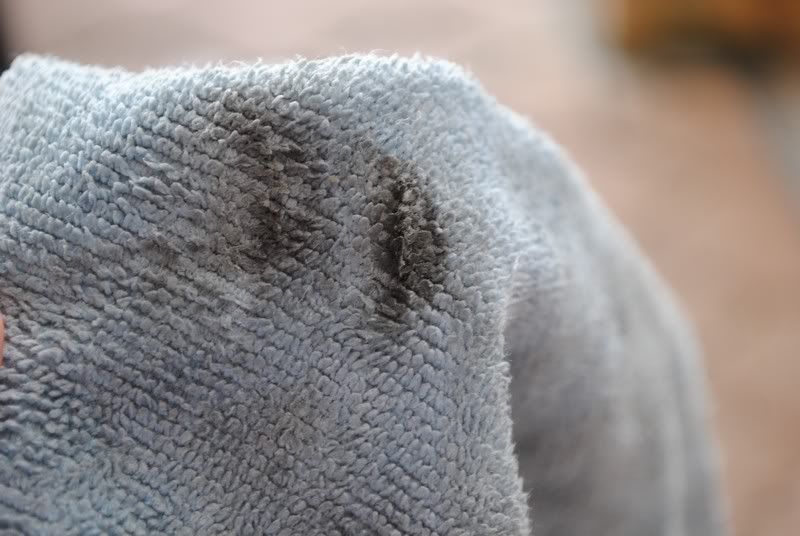
The amount of oxidation on the high beam was...... imagine the sanding residue was dark brown....
Left side surgery completed.... can see clearly with one eye.

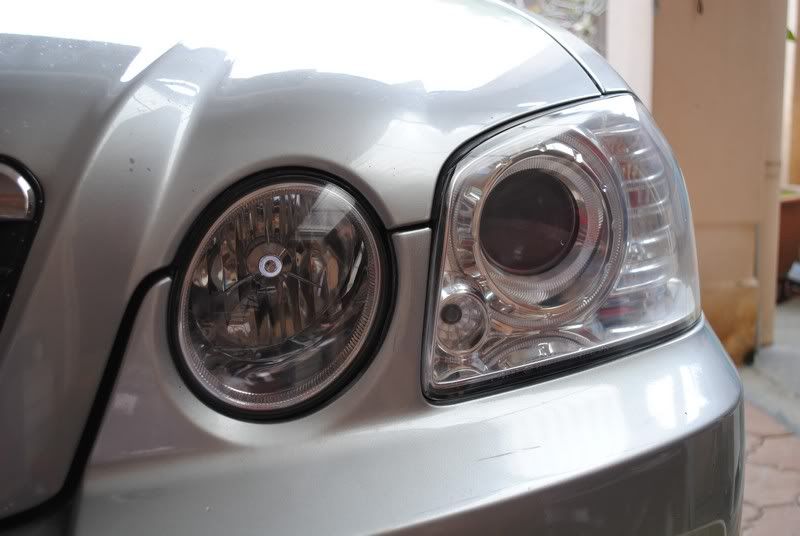
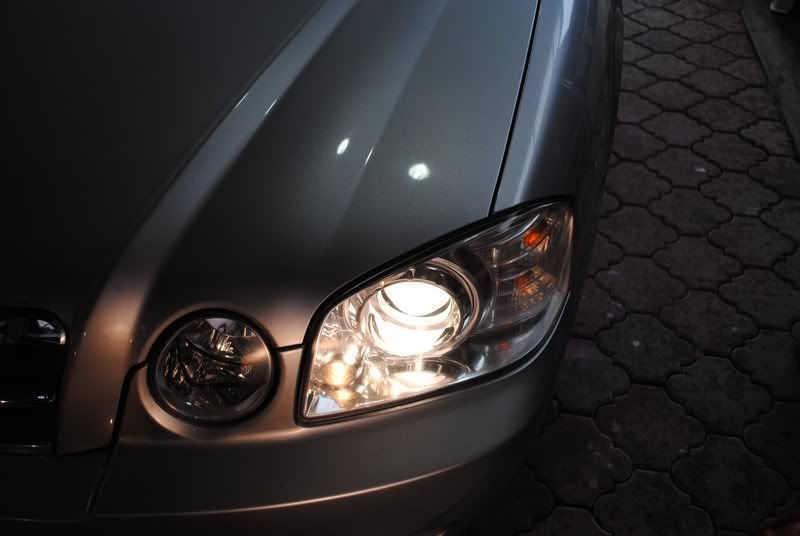
Now is the time to compare the improved VS the neglected. (Right side headlights)
Can you spot the difference in this picture. Both plastic box are the same colour tone and placed exactly the same distance away....
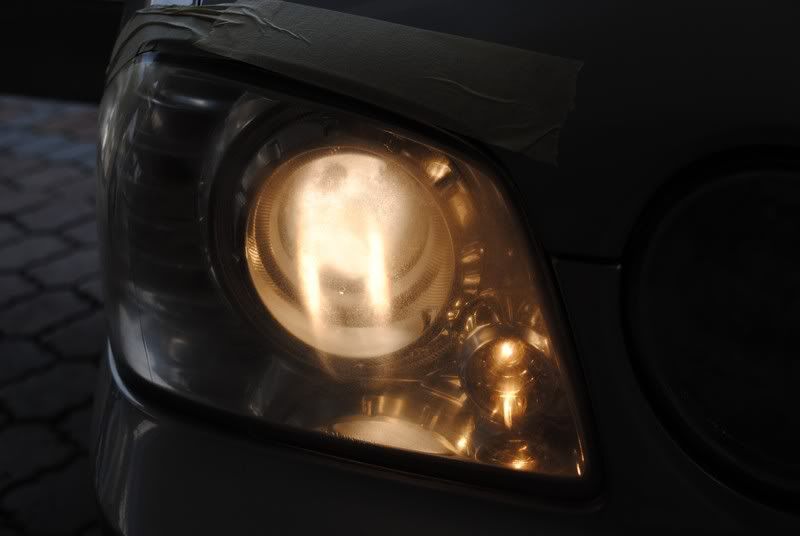
Neglected headlight beam output is undefine and weak
Operated side is clearly defined and brighter.
Now time to test HIGH beam (not much difference....)
Neglected side is weak
Operated side is slightly stronger
This is how I tested the high beam.....towel cover over normal beam
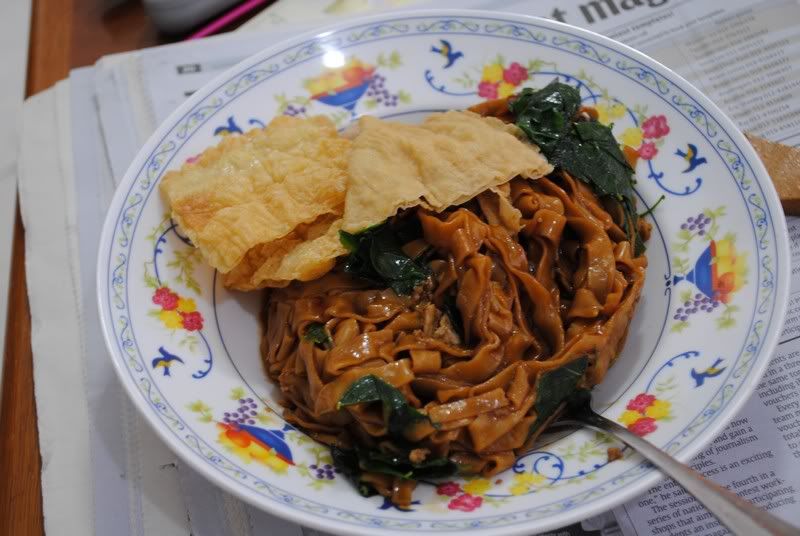
Before starting on the right side, MAKAN TIME.... ( I spend like 3 hours doing one side only. )
This PAN MEE taste bad.... really bad, i could not finish it and there was a stray cat nearby, kasi dia percuma also the fella dun wanna makan.....
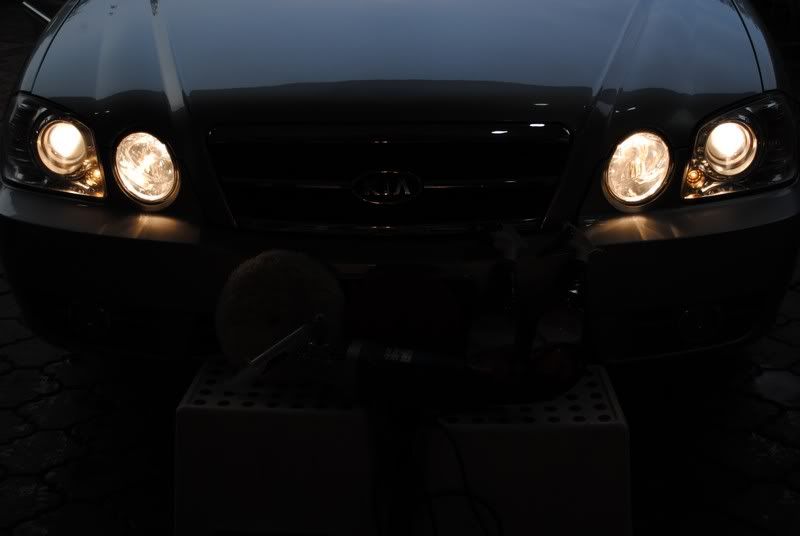
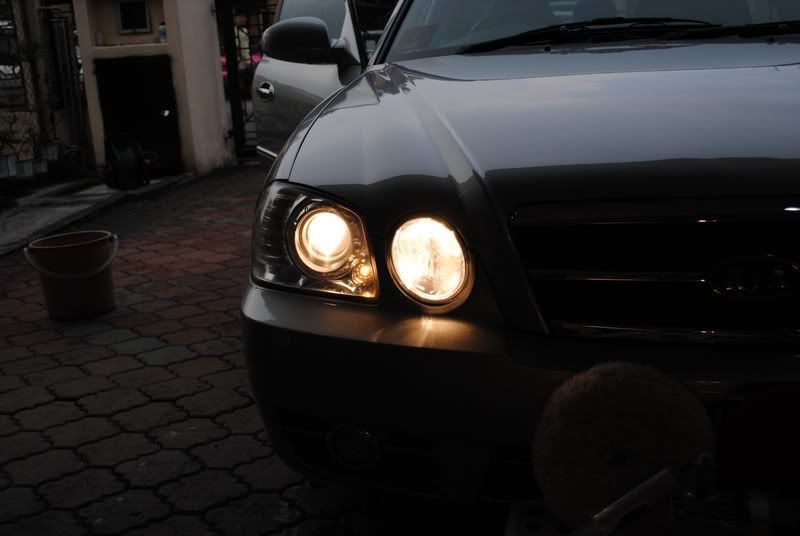
Operation Right and Left completed.... time for another comparison
Both output is similar, clearly defined and strong
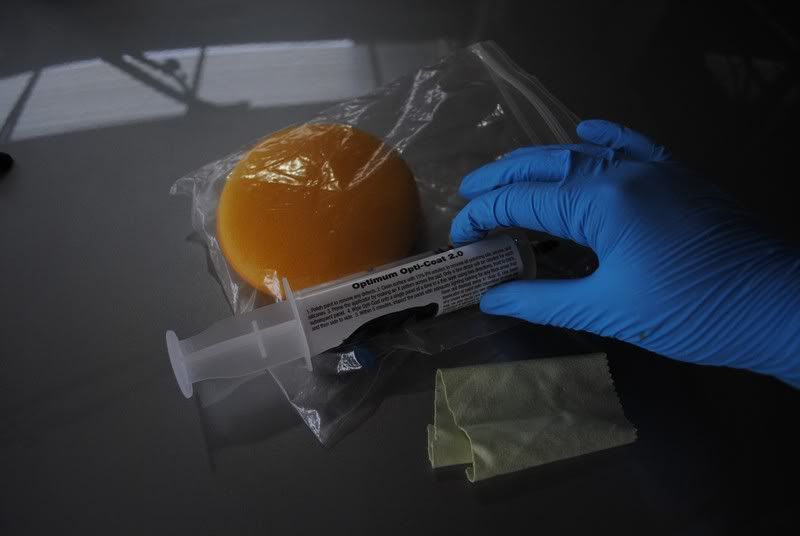
How to make this permanent or at least last longer? Opti-Coat 2.0 to da rescue
Gloves is a must
Shiny results
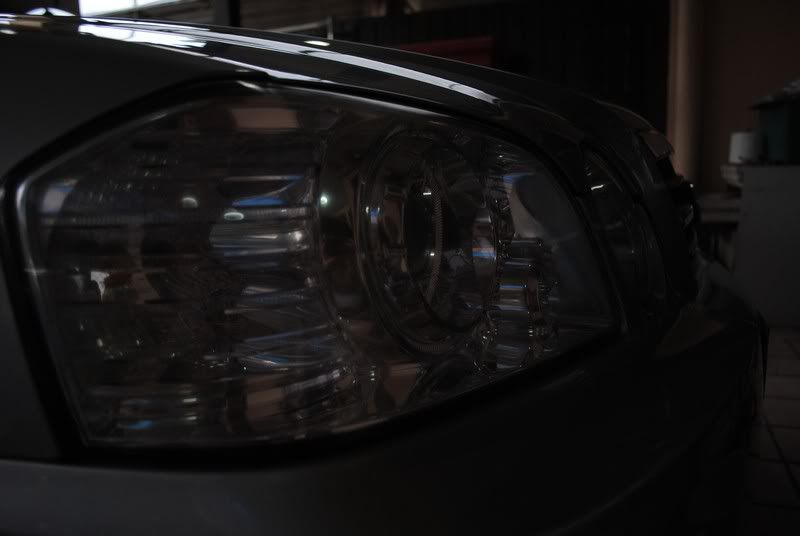
Forgive the slight haziness, its actually the inside of the headlamp that is dirty and hazy. Opti-Coated = longer protection and glossiness max
Shiok boh
Both headlights in action
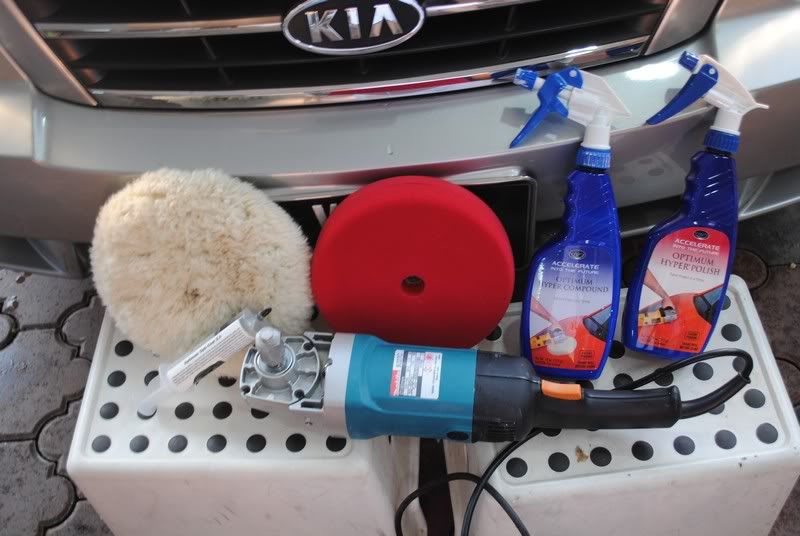
Product used to archive this result (picture missing 600, 800, 1500 and 2000 grid sandpaper)
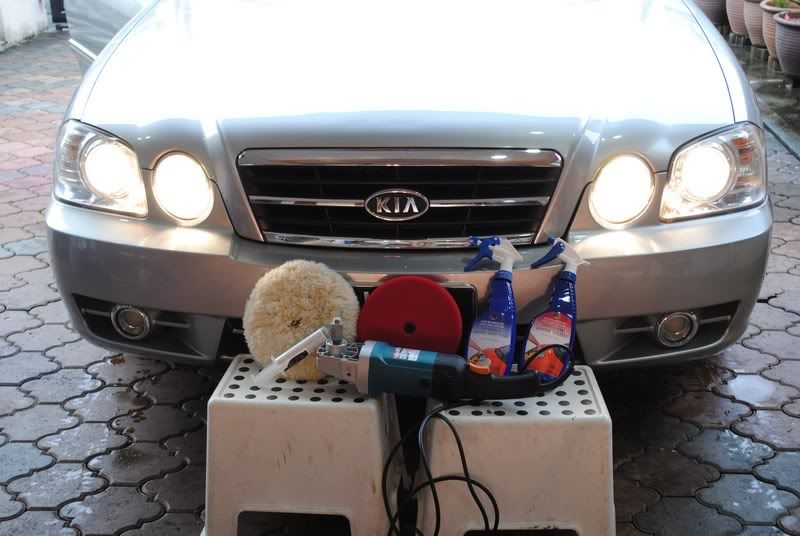
Optimum Hyper Compound, Hyper Polish, Double-sided wool pad, foam pad. Makita 9227 and Opti-Coat 2.0
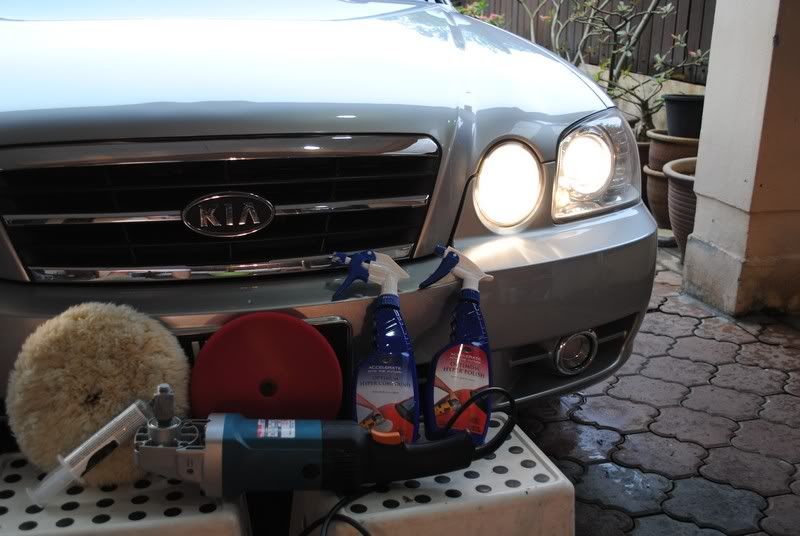
Closer look at the finished result
Along with the products that made this possible
So...... what happens to the car? Is it washed or neglected after the operation was done? Nope, the Opti-Coating was actually done after a car wash.
DA CAR WASH CHAPTER
After all the compounding and polishing, its time to clean up. Before we clean up, lets inspect the car now
Some unknown stain....oil stain kot?
Amount of dust on the bonnet after operation
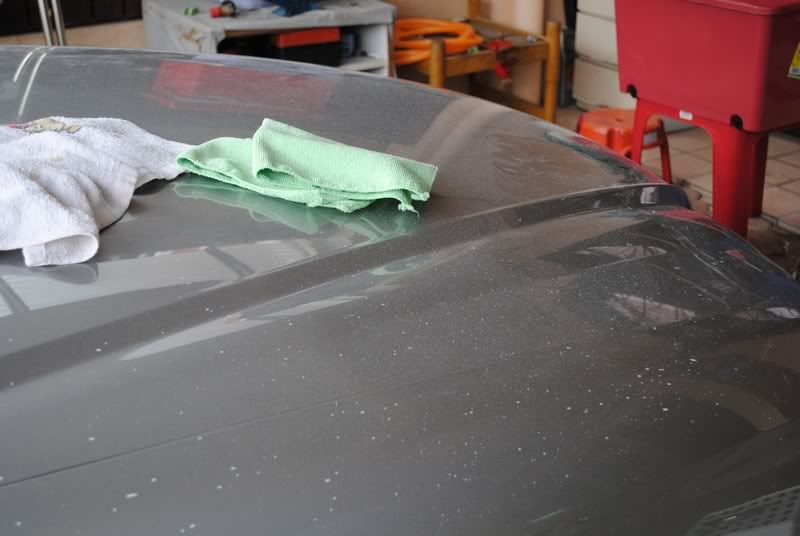
Wax residue from previous detailer ( apparently owner sent this car for waxing bout 3 years back )
Macam got nothing dirty here also?
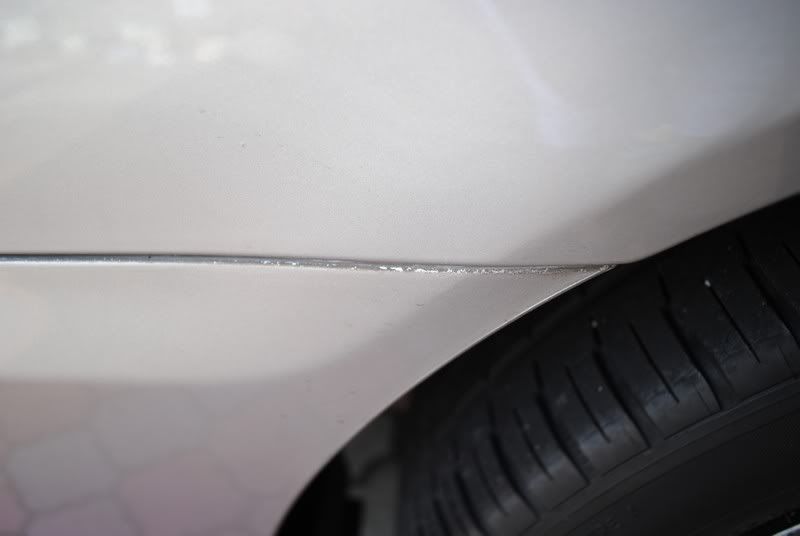
Look closer..... ehhh, what is that? This is stain that no road side wash or "polishing shop" will bother with cause its tedious
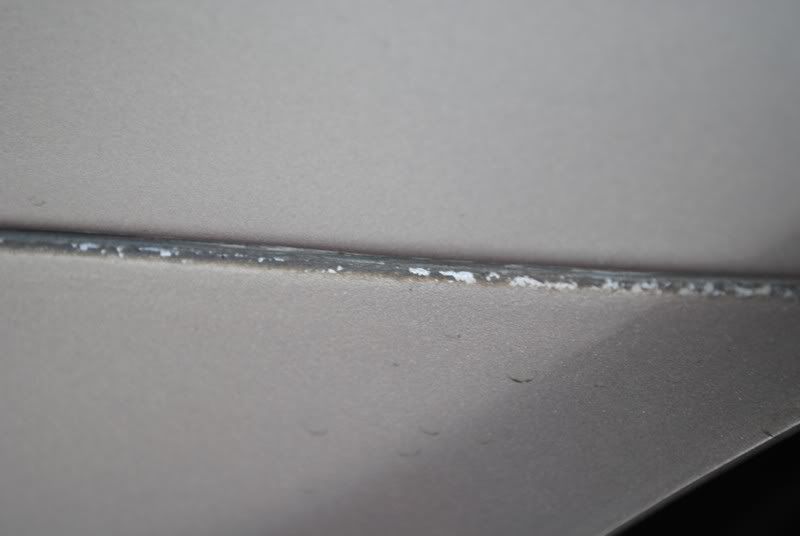
Its all over the place
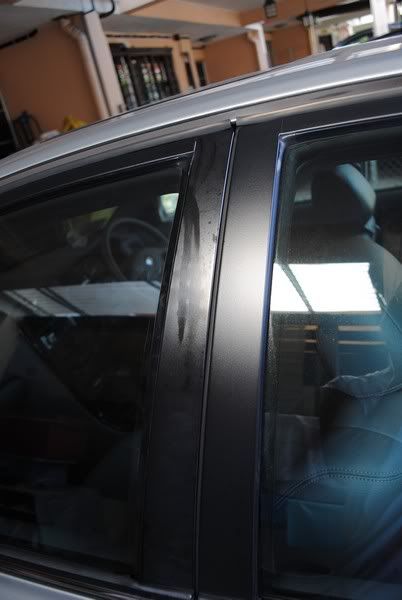
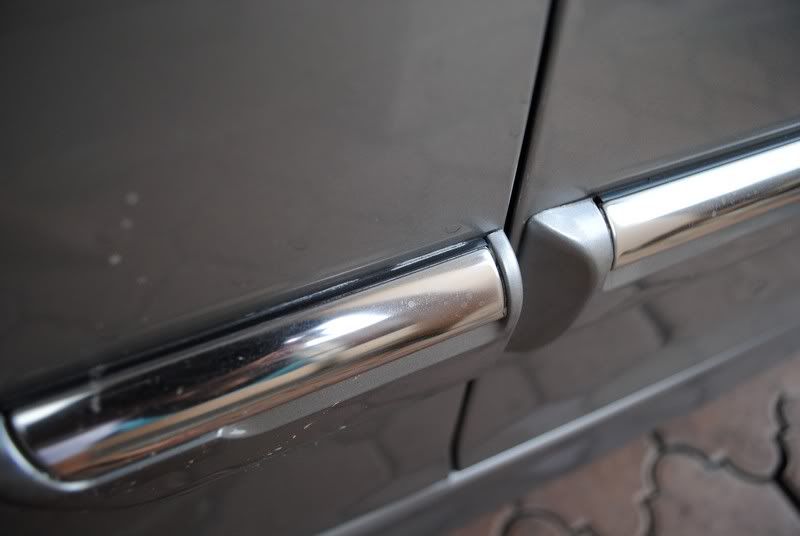
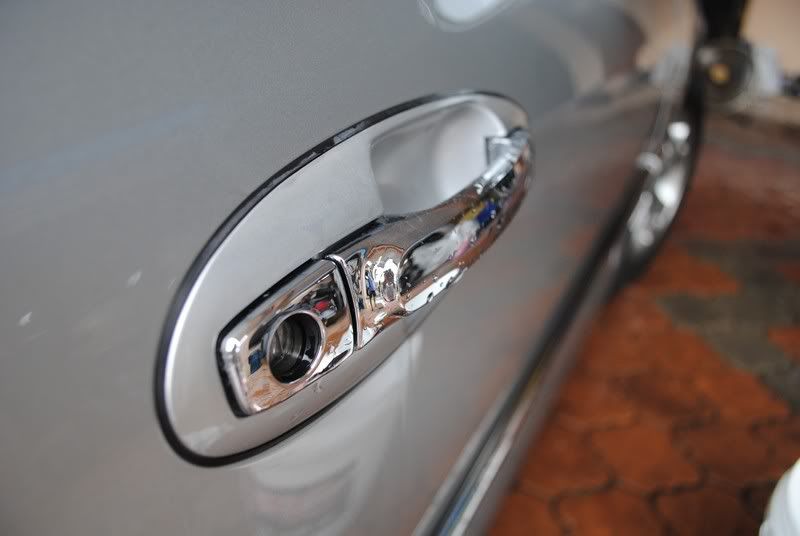
This is how it should look like.... nice, clean and bright
Makes the bumper and fender looks like its flushed instead of separated by a dark thick line
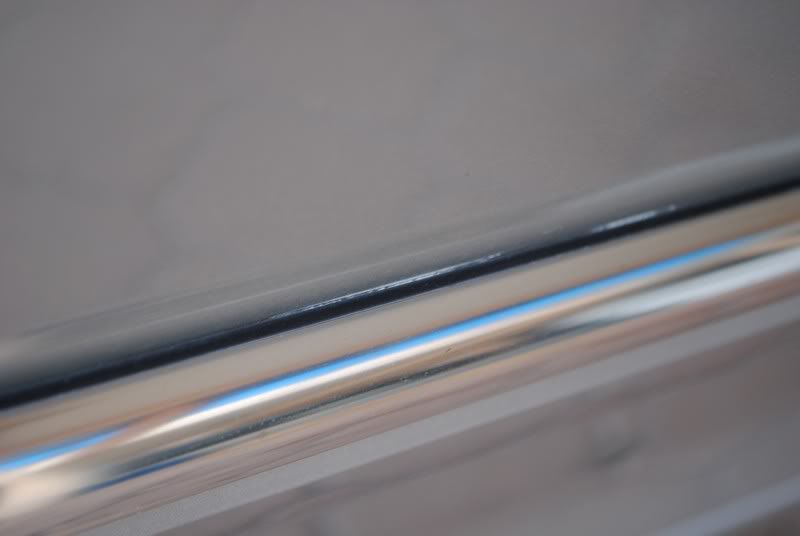
More wax residue
More of those black marks
Begone was the word said by OPC
This is what was lifted from that small spot
More wax residue.... just how clumsy was the previous "detailer"
Even more residue
Its all over????
After cleaning......
Then... found EVEN MORE RESIDUE
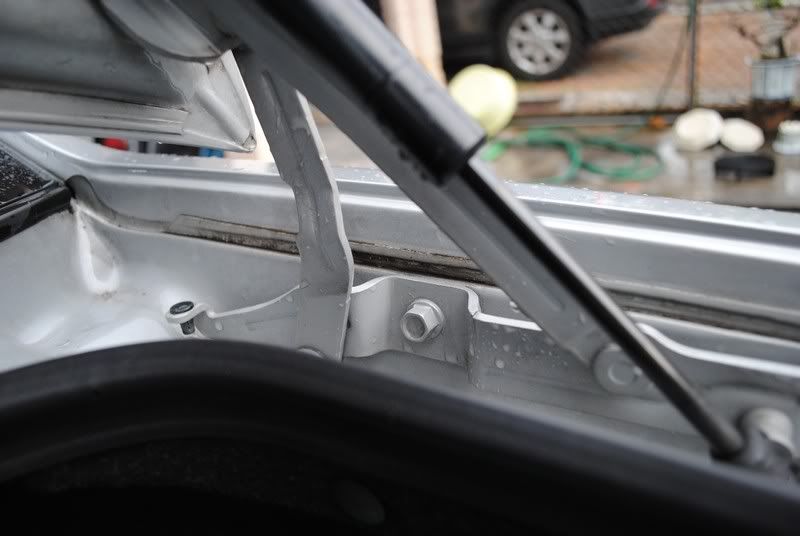
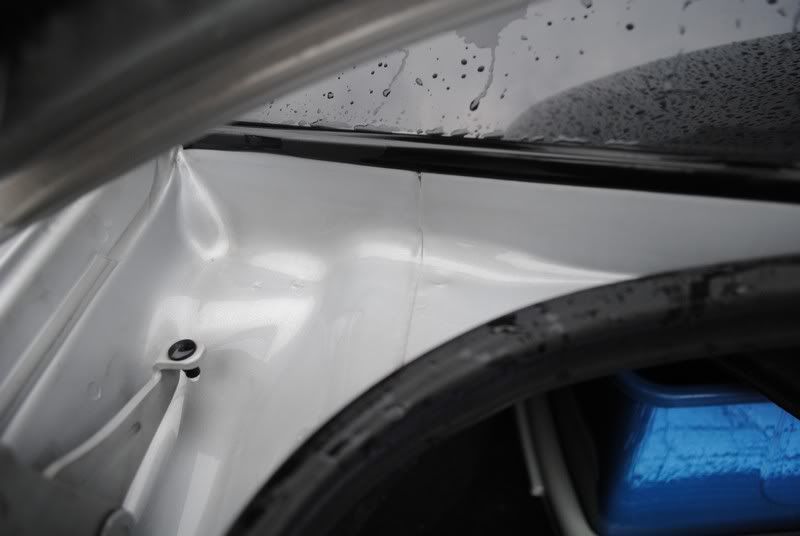
Ok, enough of my rambling bout how terrible the previous wax dude was. Moving on, cleaning places people normally overlook. The rear bonnet area
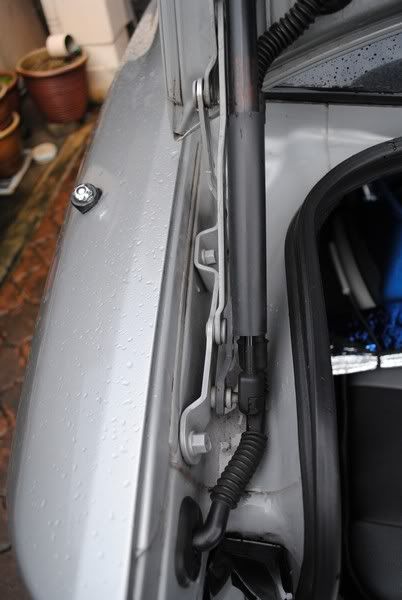
Look at the dirt
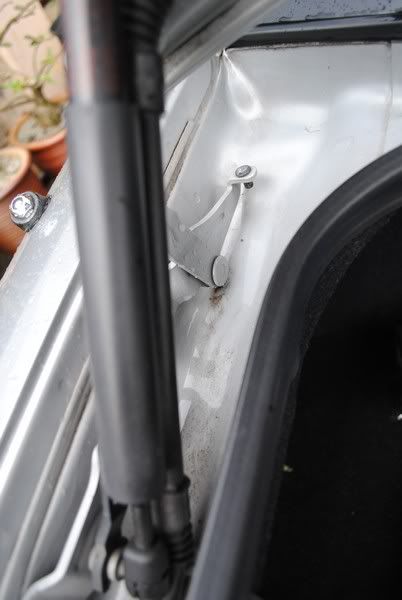
Uneven surface causes water to retain in certain spots and this... the black slippery jelly like stuff....
OPC 1:5 and its gone
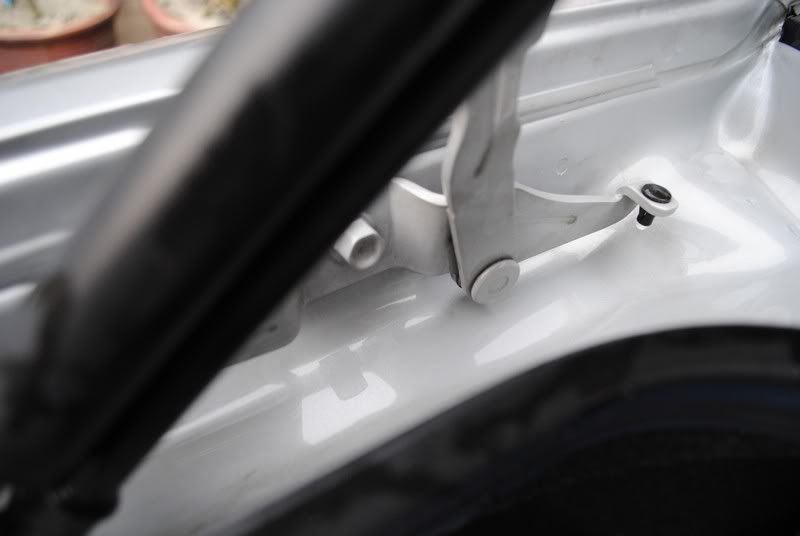
OK, i admit, i had to use OPC with a brush to make it gone
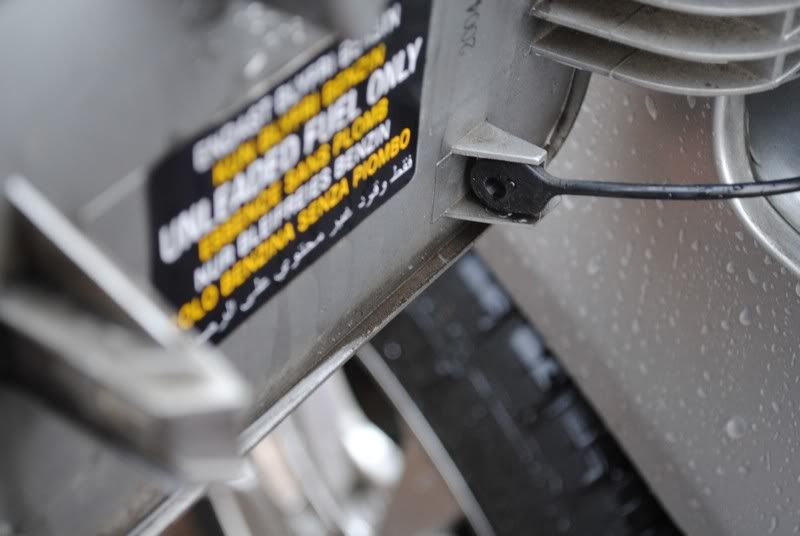
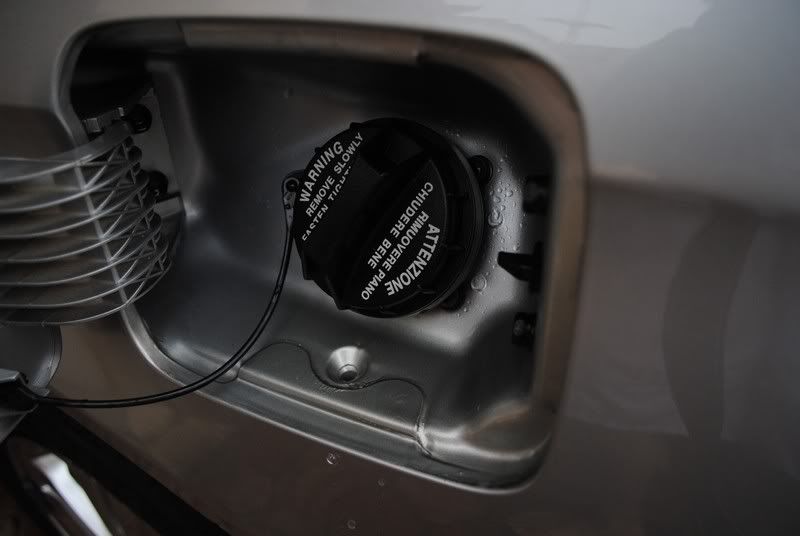
Fuel cap area.... the place that makes you think "I shall clean this part the next time i wash my car" when you are pumping petrol but sure to forget when you do wash your car
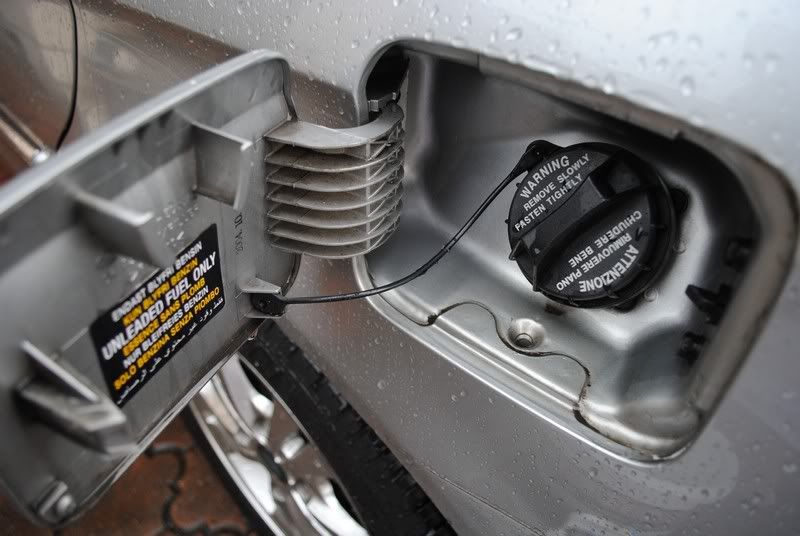
Even the lid is not spared from dirt over so many years
OPC 1:3 with a brush and.......
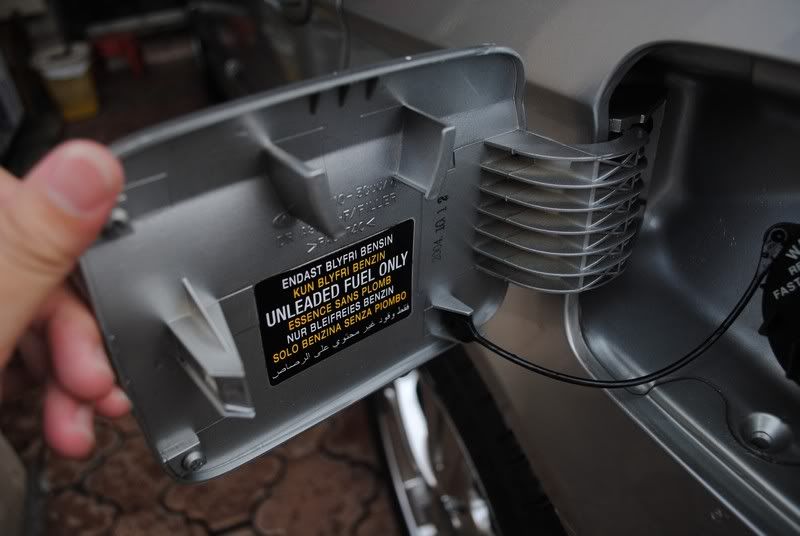
Now can refuel with ease and joy.
The RIMS before wash
After wash.....well, not much difference, the wheels were really clean when I took the car.
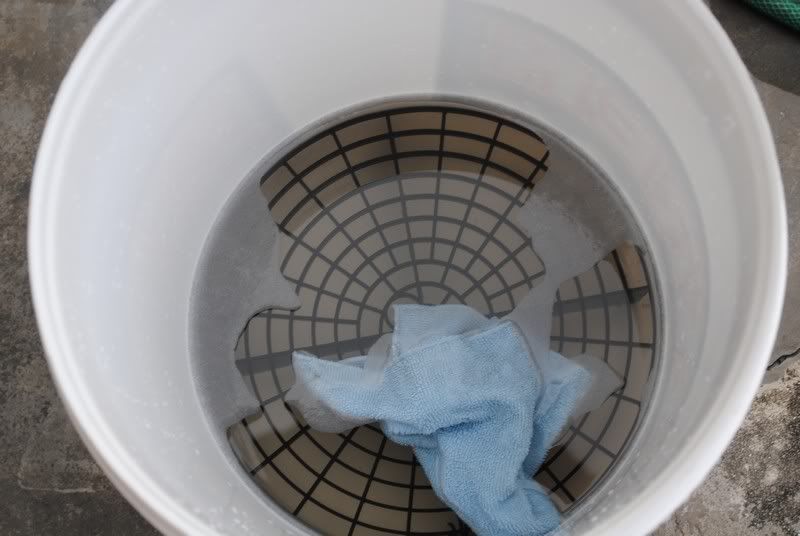
This is the plastic marks from the sanding earlier..... took really a lot away from the headlights...
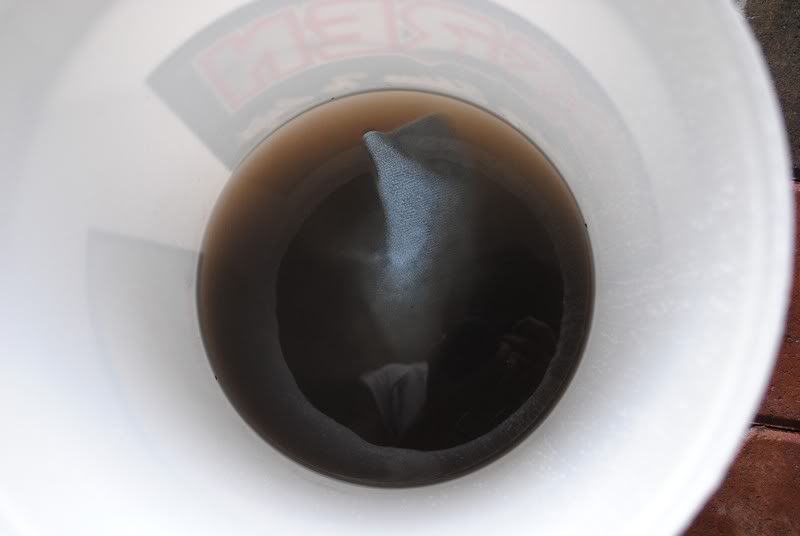
This is how dirty the water was after OPC entire car surface.
This is how dirty the water was after OPC the small small spots
Rain = water droplets. (car was Optimum Car Wax before it rained AGAIN)
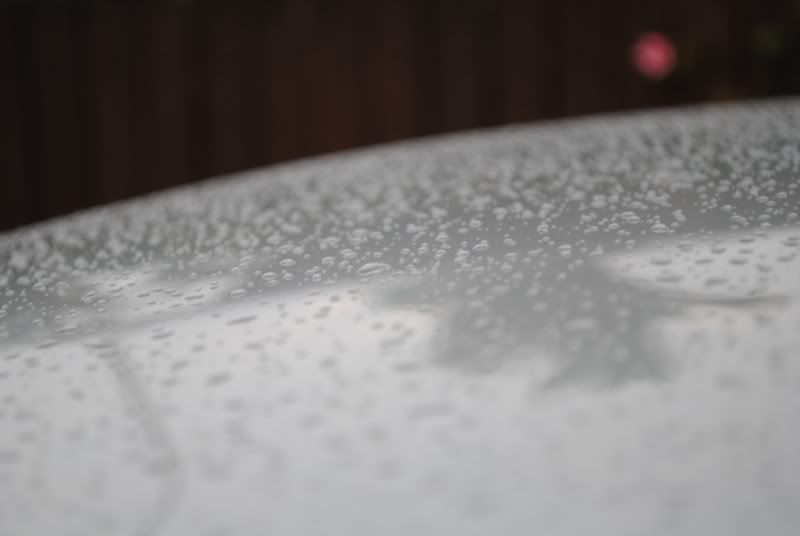
Finally the end of the washing chapter...btw, that's my White Knight in the background....again

Chronology of events that took place (It was dramatic):
- After done with both headlights, started to OPC the smaller gaps and hidden spots
- Sky turned dark after I was done with the Front and 1 door
- Rain started and had to continue OPC the rest of the car's small places.
- Had to wash the car with Osren Bubble and Wash while it was raining heavily....
- Luckily, rain slowed to a drizzle when I started OPC the entire car surface
- After OPC, rain stopped, hence good chance to OCW the entire car.
- After OCW, went upstairs to get my Opti-Coat and came down to a surprised shower....
- Luckily again, headlights were under the roof.
- Continue Opti-Coating.
Time spend: 9hours (inclusive of washing the car)
Satisfaction level: High
Products used today: OHP, OHC, Opti-Seal. Osren B&W, ONR, OCW, Opti Coat 2.0 ,600/800/1500/2000 grid sandpaper
Some tutorial:
- Kia Optima's highbeam and normal beam is separated..... remember to charge double as it uses twice the time and product as opposed to those headlights with normal + high beam in one casing
- Get a machine to do the sanding.... my fingers are numb from 6 hours of sanding.
- Get better tape (the ones I used were RM16 for 6 rolls from Giant, once get wet for a period of time, it comes off so have to waste more time and effort to re-tape)
- Putra Heights pan mee store is crap..... go buy from some other place.
Any comments (good or bad) is much appreciated.
After the Japanese eye surgery the previous time, I have been given the honour to perform yet another eye surgery + skin whitening on a Korean.
Patient this time is a Kia Optima 2.0 year 2004. Headlamps have been heavily oxidized and owner feels that it is no longer safe to drive at night with this headlamps. A new replacement would have cost a few thousand but lets say we did it at a fraction of the price.
Lets examine the condition of the lamps:
Oxidation from 7 years plus:
A closer look reviews......hmm... fine cracks and deep scratches
Even the seldom used high beam is not spared.
Passenger side headlights..... poor condition
Macam kena rub with some mud leh
Operation theatre preparation, taped to block of sanding/compounding and polish marks
Due to restricted place to tape, the normal beam and the high beam had to be done separately (which took most of my time, instead of two headlights... i was literally doing 4)
Left eye surgery complete.
The poor right side before surgery
The new and improved left eye after surgery (this photo was taken after compounding, not yet polish hence the scratch marks around.)
This is how it looks like without lights on
After polishing the headlamp, its time to move on to the high beam....
The amount of oxidation on the high beam was...... imagine the sanding residue was dark brown....
Left side surgery completed.... can see clearly with one eye.
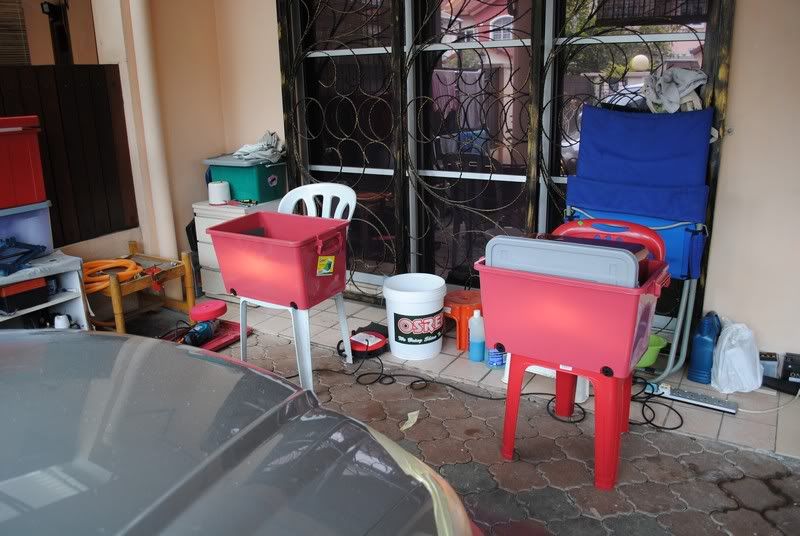
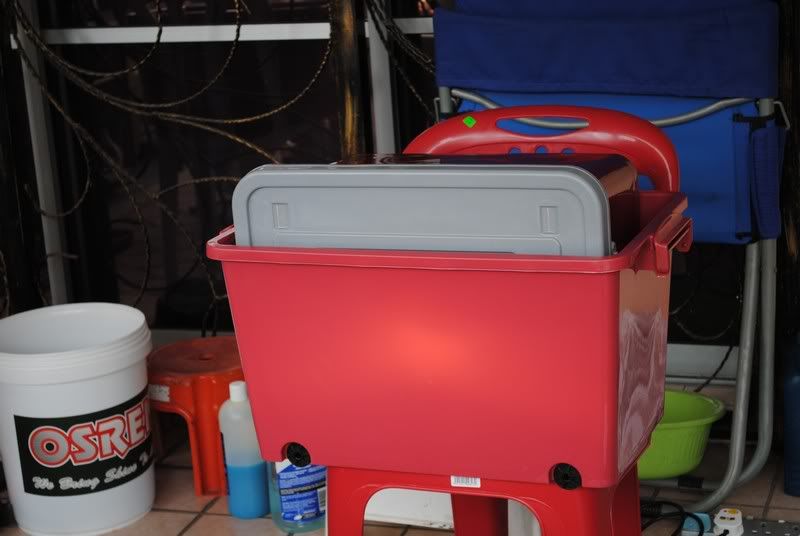
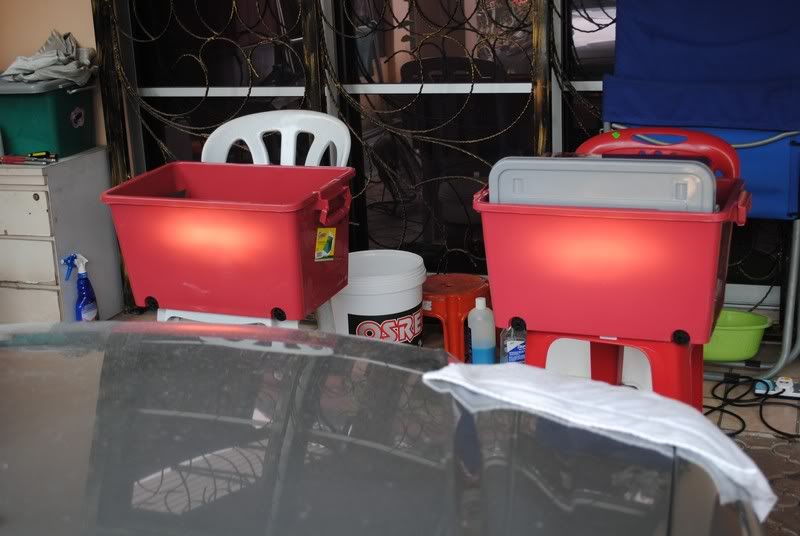
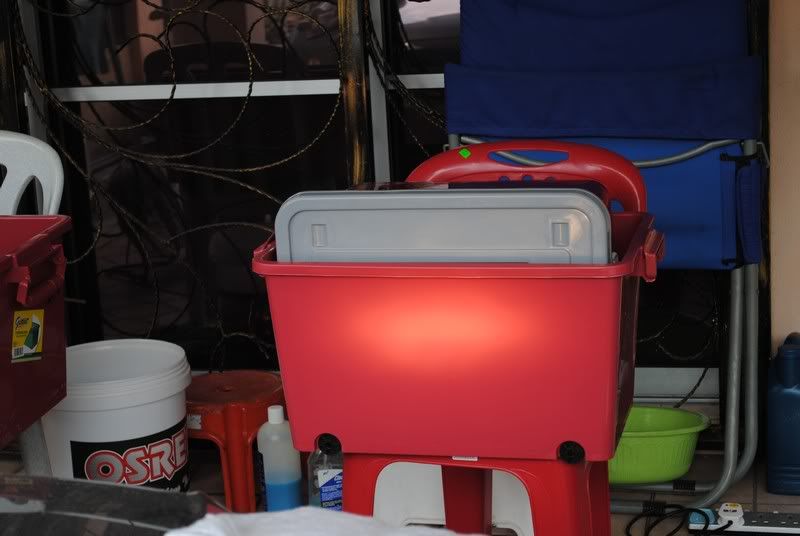
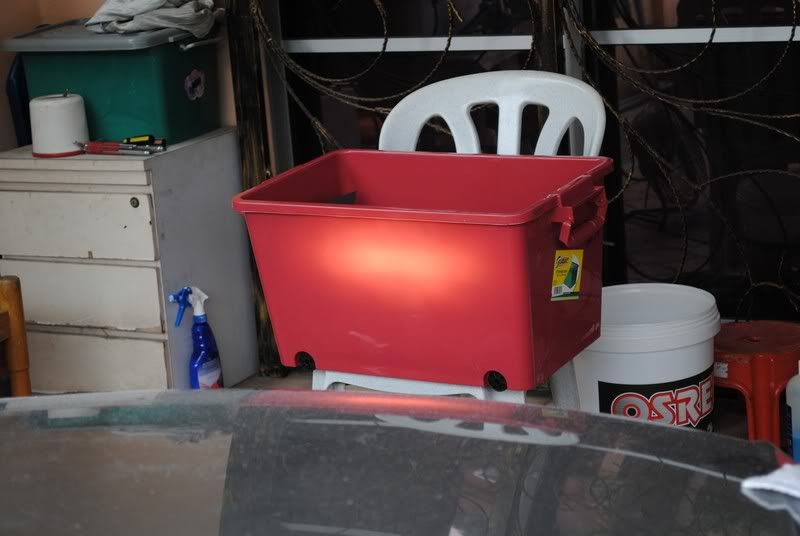
Now is the time to compare the improved VS the neglected. (Right side headlights)
Can you spot the difference in this picture. Both plastic box are the same colour tone and placed exactly the same distance away....
Neglected headlight beam output is undefine and weak
Operated side is clearly defined and brighter.
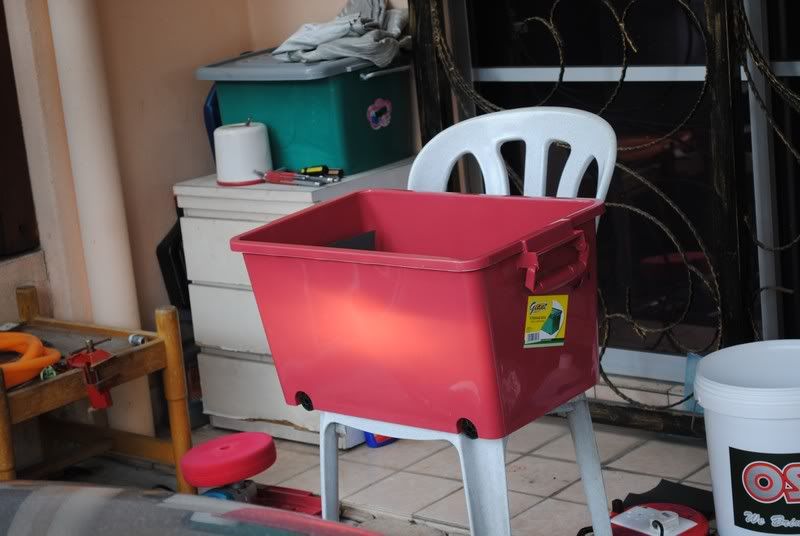
Now time to test HIGH beam (not much difference....)
Neglected side is weak
Operated side is slightly stronger
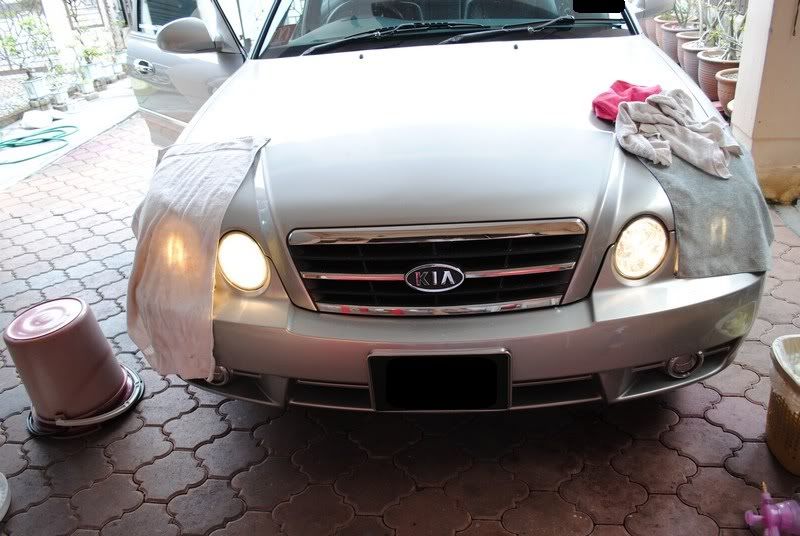
This is how I tested the high beam.....towel cover over normal beam
Before starting on the right side, MAKAN TIME.... ( I spend like 3 hours doing one side only. )
This PAN MEE taste bad.... really bad, i could not finish it and there was a stray cat nearby, kasi dia percuma also the fella dun wanna makan.....
Operation Right and Left completed.... time for another comparison
Both output is similar, clearly defined and strong
How to make this permanent or at least last longer? Opti-Coat 2.0 to da rescue
Gloves is a must
Shiny results
Forgive the slight haziness, its actually the inside of the headlamp that is dirty and hazy. Opti-Coated = longer protection and glossiness max
Shiok boh
Both headlights in action
Product used to archive this result (picture missing 600, 800, 1500 and 2000 grid sandpaper)
Optimum Hyper Compound, Hyper Polish, Double-sided wool pad, foam pad. Makita 9227 and Opti-Coat 2.0
Closer look at the finished result
Along with the products that made this possible
So...... what happens to the car? Is it washed or neglected after the operation was done? Nope, the Opti-Coating was actually done after a car wash.
DA CAR WASH CHAPTER
After all the compounding and polishing, its time to clean up. Before we clean up, lets inspect the car now
Some unknown stain....oil stain kot?
Amount of dust on the bonnet after operation
Wax residue from previous detailer ( apparently owner sent this car for waxing bout 3 years back )
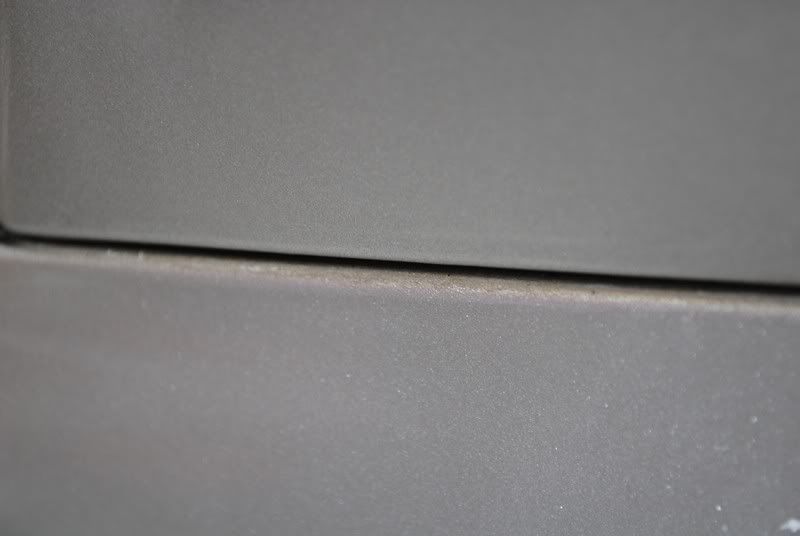
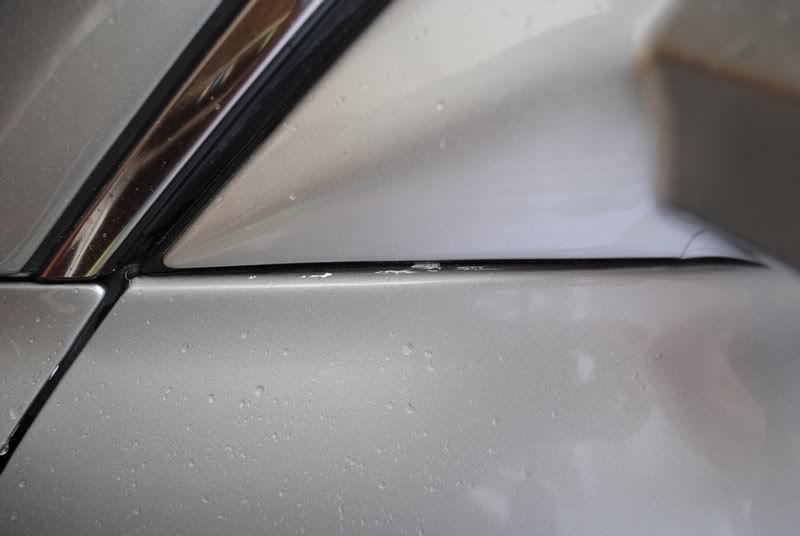
Macam got nothing dirty here also?
Look closer..... ehhh, what is that? This is stain that no road side wash or "polishing shop" will bother with cause its tedious
Its all over the place
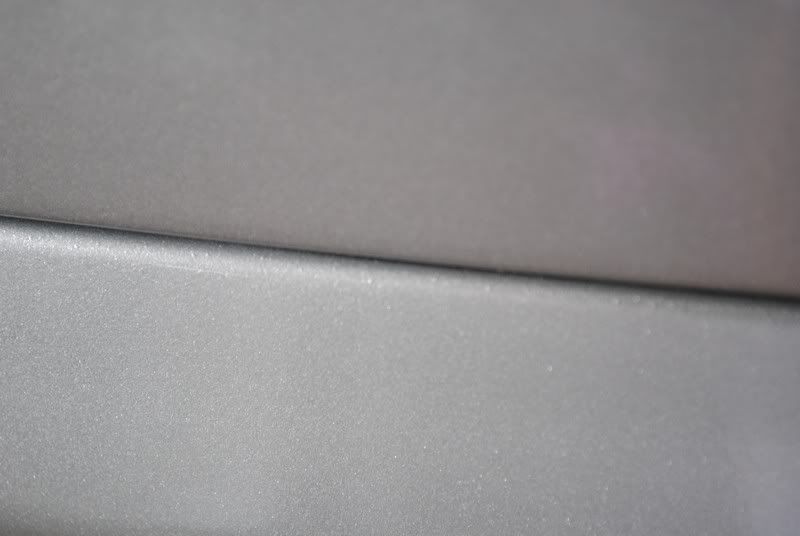
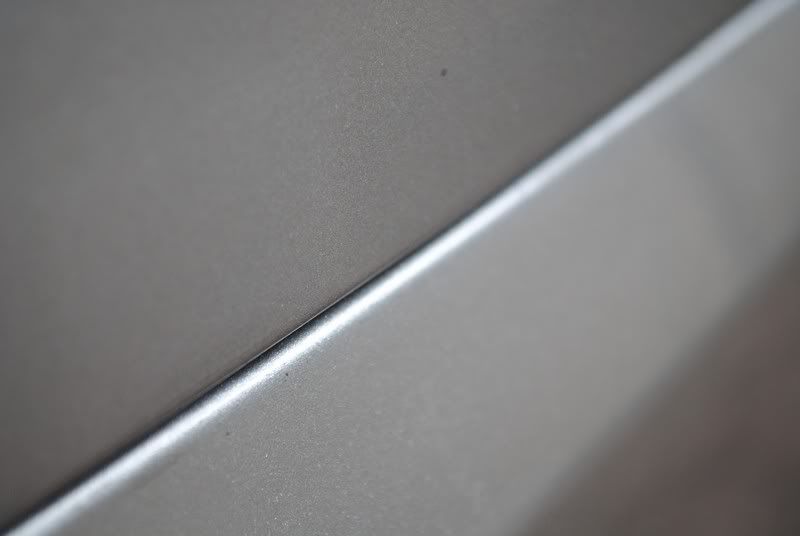
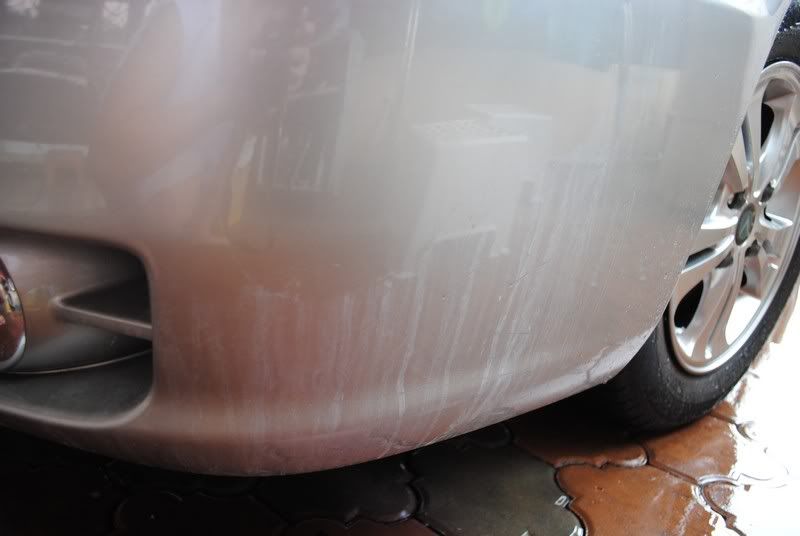
This is how it should look like.... nice, clean and bright
Makes the bumper and fender looks like its flushed instead of separated by a dark thick line
More wax residue
More of those black marks
Begone was the word said by OPC
This is what was lifted from that small spot
More wax residue.... just how clumsy was the previous "detailer"
Even more residue
Its all over????
After cleaning......
Then... found EVEN MORE RESIDUE
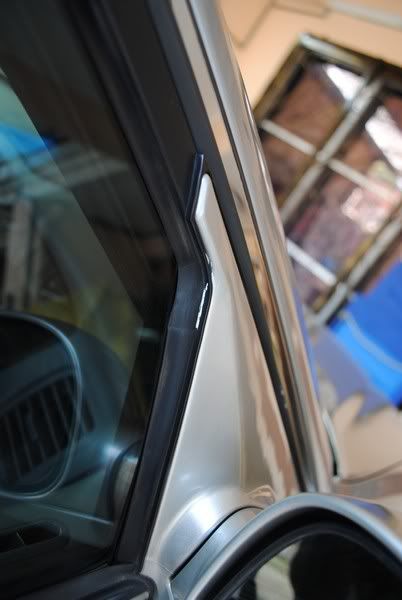
Ok, enough of my rambling bout how terrible the previous wax dude was. Moving on, cleaning places people normally overlook. The rear bonnet area
Look at the dirt
Uneven surface causes water to retain in certain spots and this... the black slippery jelly like stuff....
OPC 1:5 and its gone
OK, i admit, i had to use OPC with a brush to make it gone
Fuel cap area.... the place that makes you think "I shall clean this part the next time i wash my car" when you are pumping petrol but sure to forget when you do wash your car
Even the lid is not spared from dirt over so many years
OPC 1:3 with a brush and.......
Now can refuel with ease and joy.
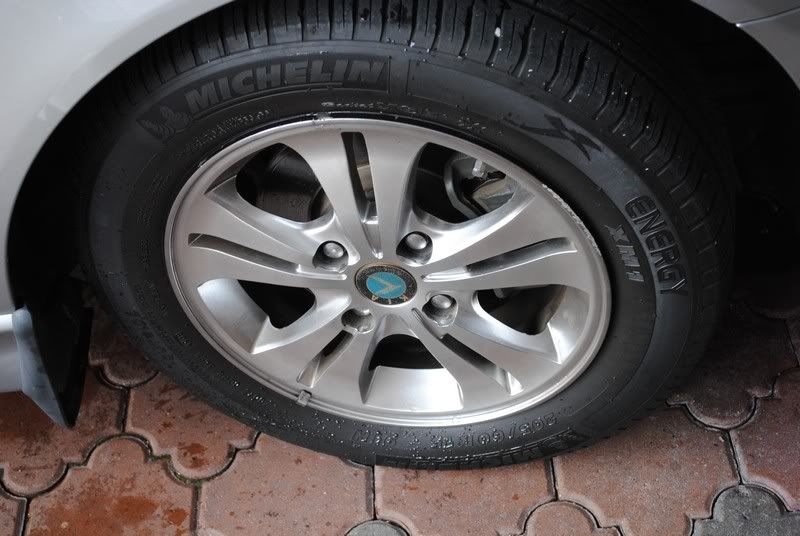
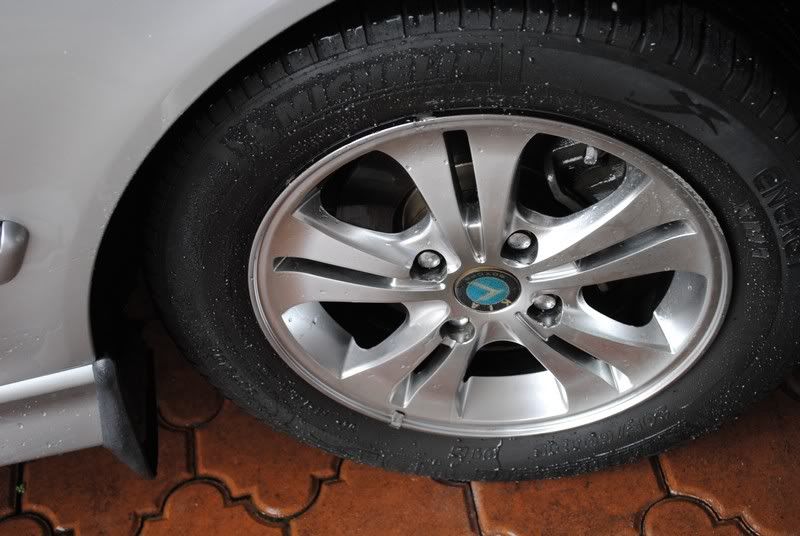
The RIMS before wash
After wash.....well, not much difference, the wheels were really clean when I took the car.
This is the plastic marks from the sanding earlier..... took really a lot away from the headlights...
This is how dirty the water was after OPC entire car surface.
This is how dirty the water was after OPC the small small spots
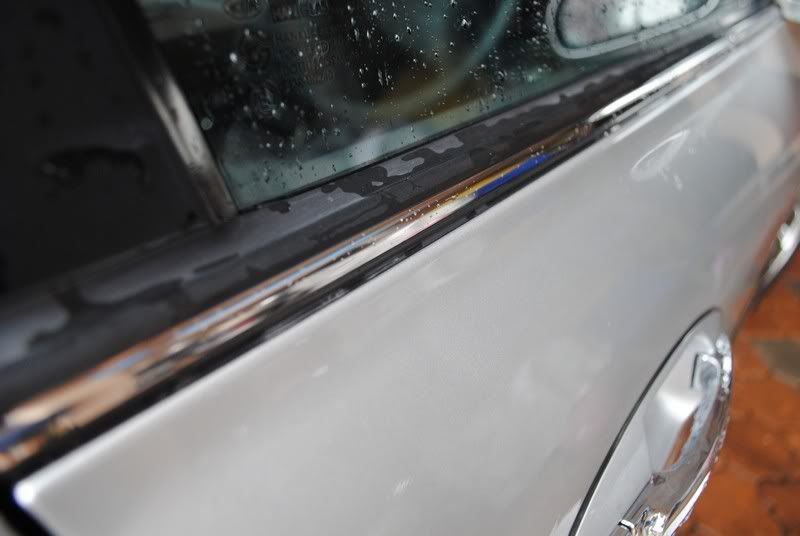
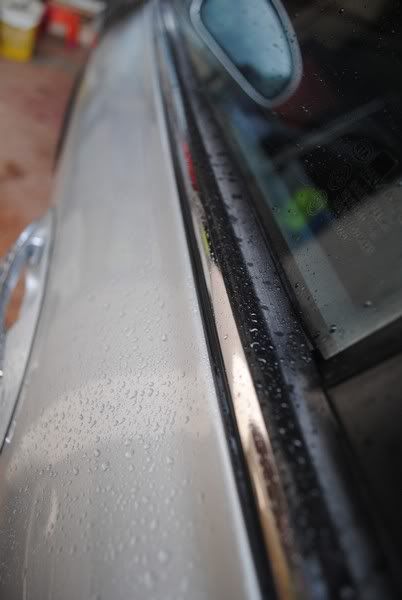
Rain = water droplets. (car was Optimum Car Wax before it rained AGAIN)
Finally the end of the washing chapter...btw, that's my White Knight in the background....again
Chronology of events that took place (It was dramatic):
- After done with both headlights, started to OPC the smaller gaps and hidden spots
- Sky turned dark after I was done with the Front and 1 door
- Rain started and had to continue OPC the rest of the car's small places.
- Had to wash the car with Osren Bubble and Wash while it was raining heavily....
- Luckily, rain slowed to a drizzle when I started OPC the entire car surface
- After OPC, rain stopped, hence good chance to OCW the entire car.
- After OCW, went upstairs to get my Opti-Coat and came down to a surprised shower....
- Luckily again, headlights were under the roof.
- Continue Opti-Coating.
Time spend: 9hours (inclusive of washing the car)
Satisfaction level: High
Products used today: OHP, OHC, Opti-Seal. Osren B&W, ONR, OCW, Opti Coat 2.0 ,600/800/1500/2000 grid sandpaper
Some tutorial:
- Kia Optima's highbeam and normal beam is separated..... remember to charge double as it uses twice the time and product as opposed to those headlights with normal + high beam in one casing
- Get a machine to do the sanding.... my fingers are numb from 6 hours of sanding.
- Get better tape (the ones I used were RM16 for 6 rolls from Giant, once get wet for a period of time, it comes off so have to waste more time and effort to re-tape)
- Putra Heights pan mee store is crap..... go buy from some other place.
Any comments (good or bad) is much appreciated.

