
- Joined
- Nov 18, 2003
- Messages
- 879
- Points
- 3,063
Hi All,
I was given an almost impossible task to remove severe road rage aftermath and correct a mistake by a particular manufacturer with limited brain power.
Road Rage
An act of violence resulted from a dispute or dissatisfaction or two or more party. In this case, the owner of the car was a victim of an ignorant road rager whom stepped/kicked his car causing deep scratches.
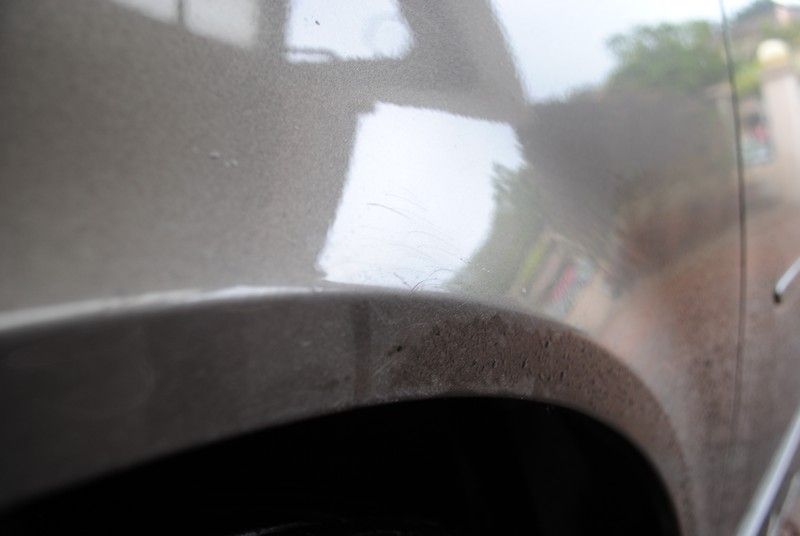
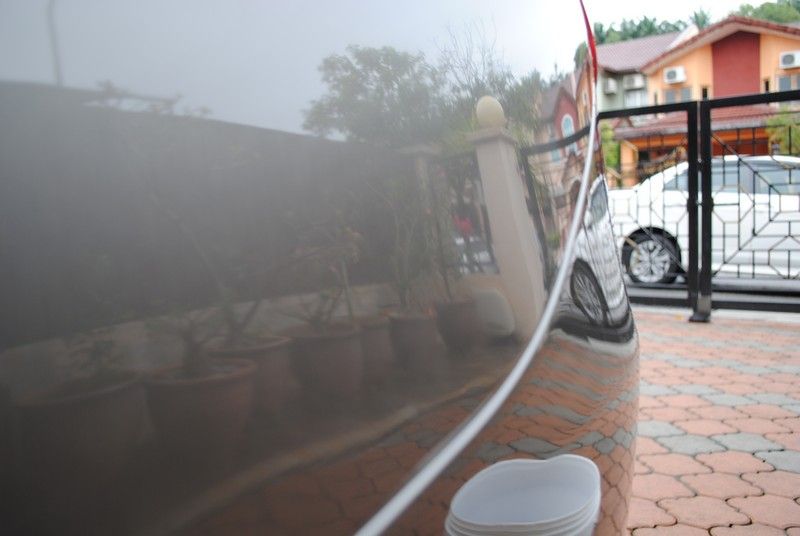
Without further delay, lets move on to the condition of the car at arrival:
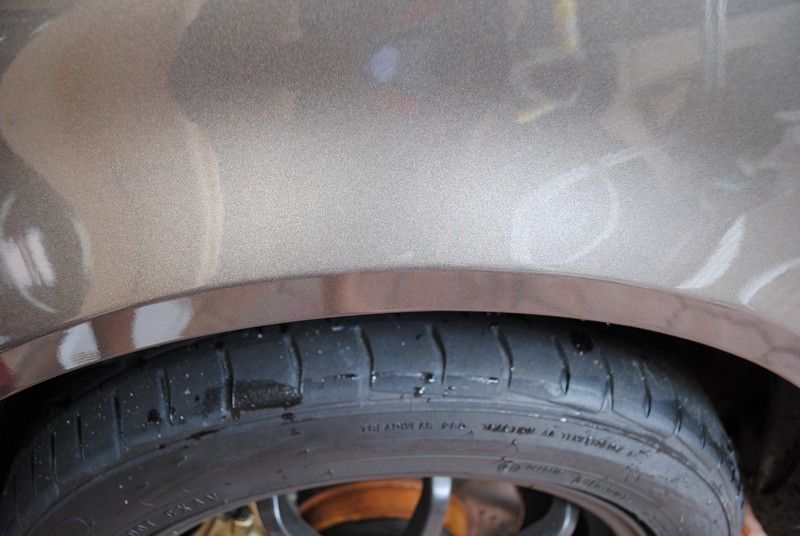
not much scratch wert? (front left fender)
Rear left fender
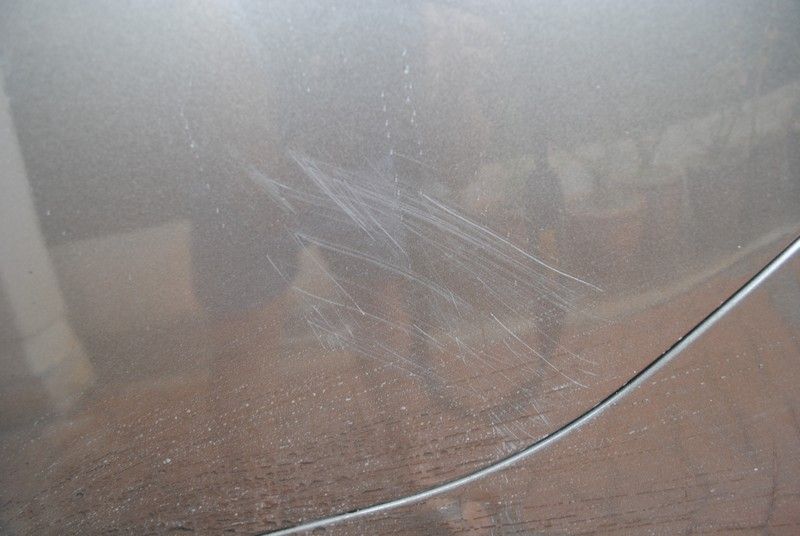
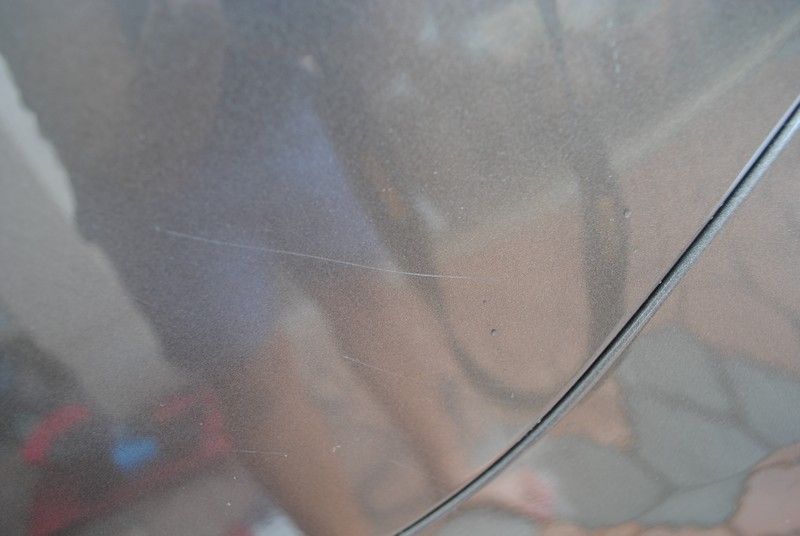
After a quick ONR/ANR bath, all is revealed
After a quick bath at the rear too....
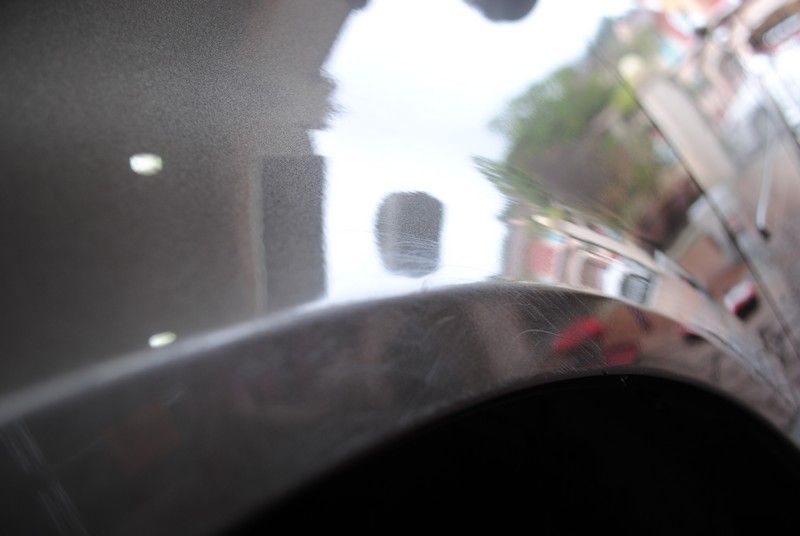
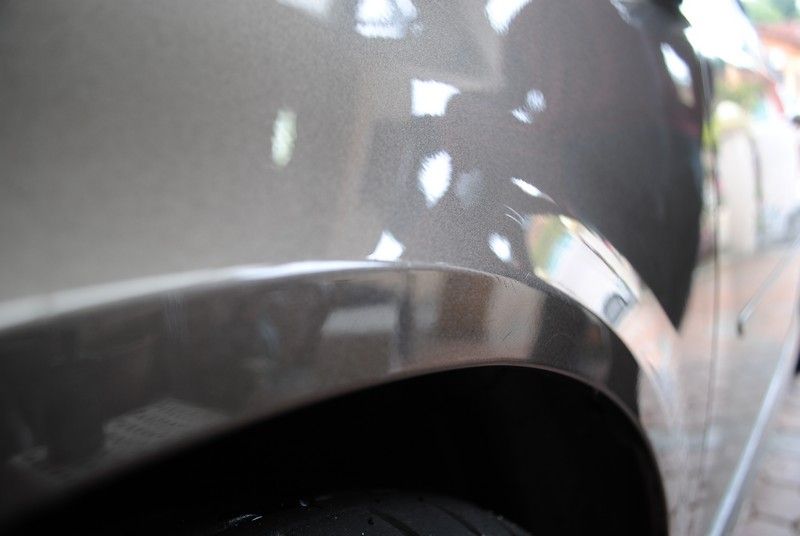
After correction.... shock boh
Actually some of the scratches were too deep and too risky to remove, there are leftovers but would say that it reduced by probably 80%
After 1X compound and few times polish
Decided to do wet sanding and was greeted with much better result, however, I decide to stop wet sanding on this panel due to following reasons:
- Have already sanded down a lot
- Risking overly thin clearcoat which in time may occur flaking from clearcoat
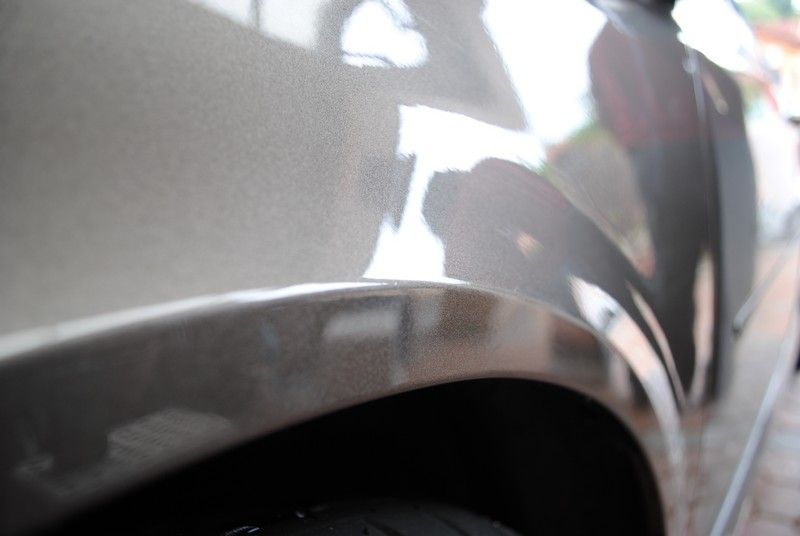
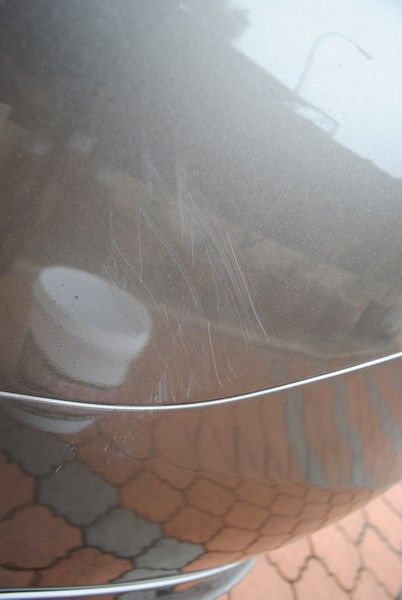
From another view and at a glance, the scratches are not that visible
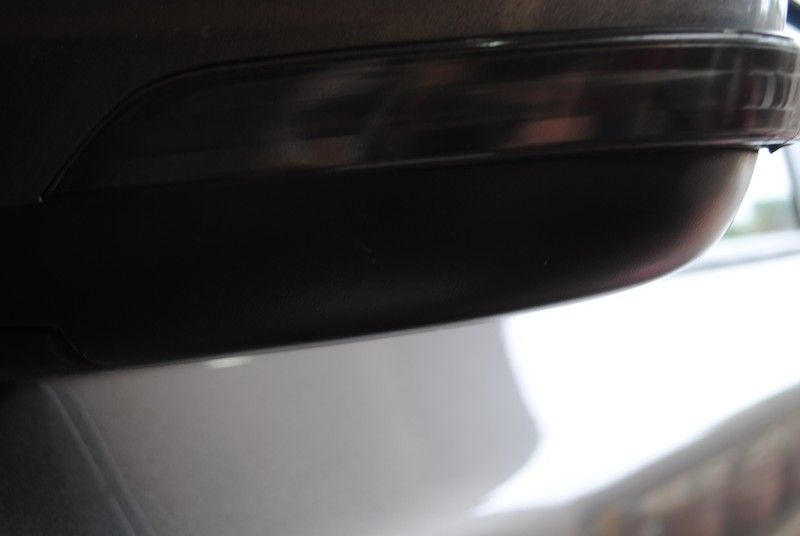
Some foreign transfer on the side mirror
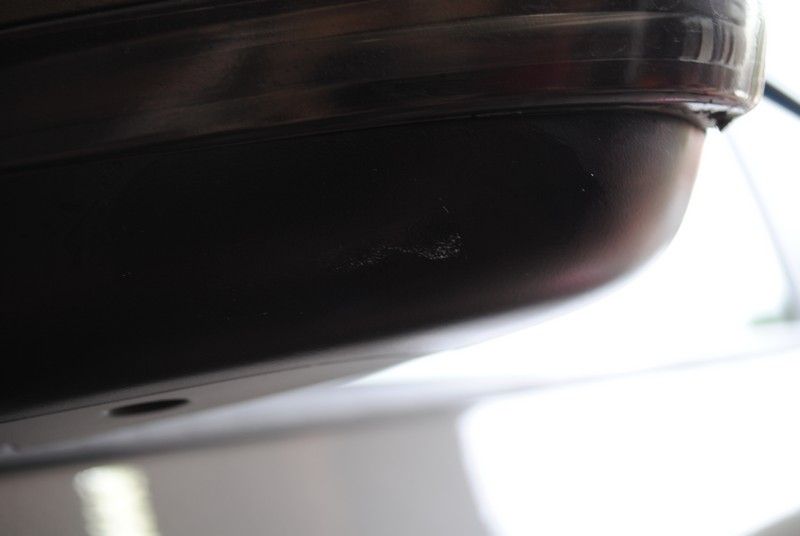
Easily removed with Optimum Power Clean aka Alien Clean + toothbrush combo
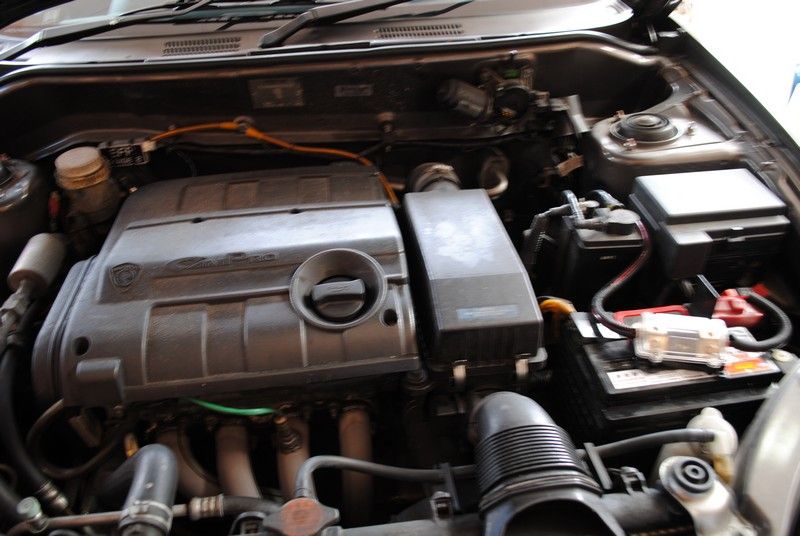
Da Engine Chapter
Now we move on to the Engine Compartment which is...... i will let the picture speak for itself
Horrendous
Hmmm......

aiyo......
and an Angel came down and gave it a little magic.
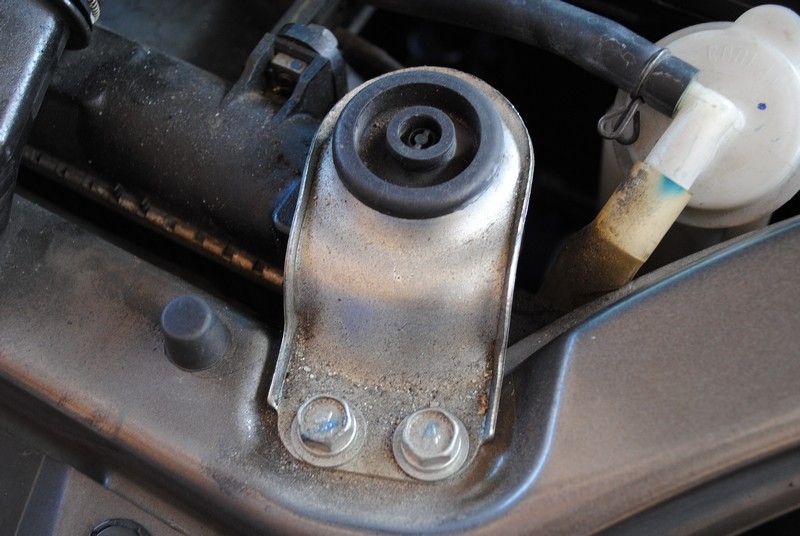
Just check this out.... filthy and an eyesore
Swing the magic wand a bit and WAH LAH
Note, this is not dirt or dust

This was cleaned with thinner and not the OPC or Alien Clean we normally use.... why you ask? To be explained further down
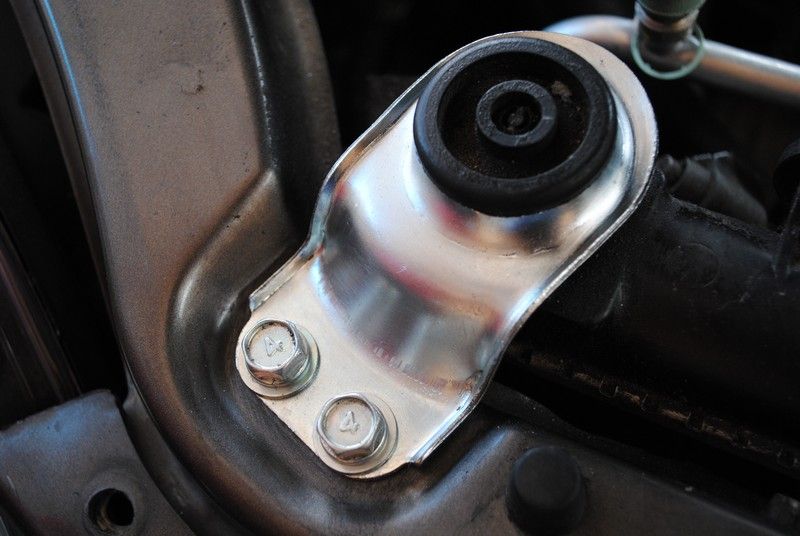
After fully cleaned. These are actually overspray from a layer of coat to make the plastic look black that was done at the factory...... kinda dumb of the manufacturer to spray these kinda crap when the parts are in the engine bay. To be explained further down
From an eyesore
To a view to be awe

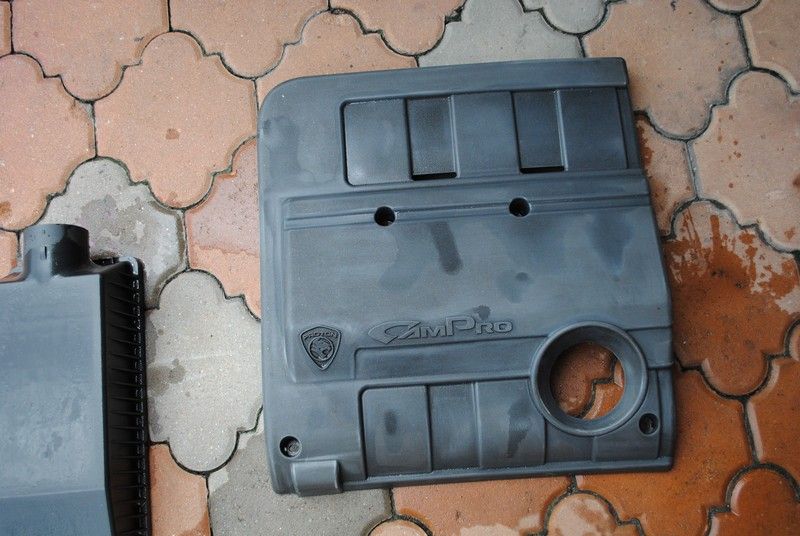
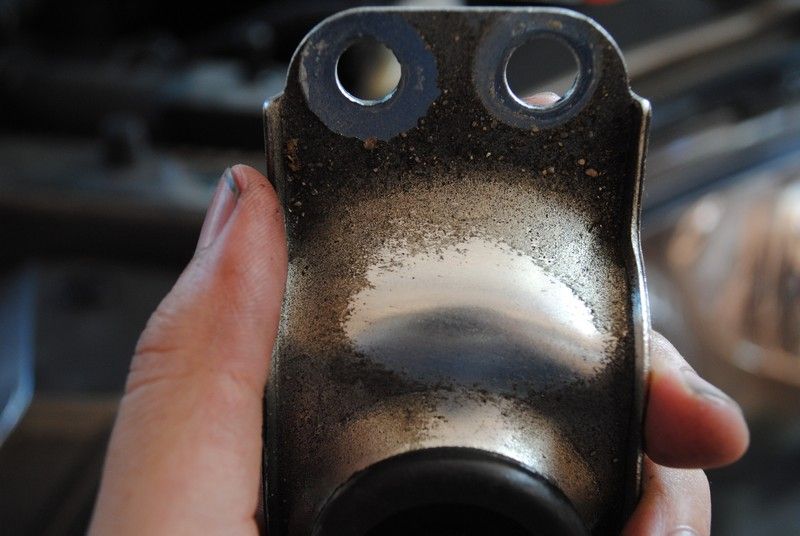
This is the plastic component that was sprayed with the black coat to make it glossy and all but was actually a real pain in da ass.... as it is sticky and thick, sand and dust got stuck to it and is super hard to remove (at first I thought it was rough black surface similar to Honda), until I OPC half half

From the other side
Owner decided to do secret project so we stopped cleaning and went to SANDING with 150 grid sandpaper. My sandpaper kinda hancur......that is how rough the surface was
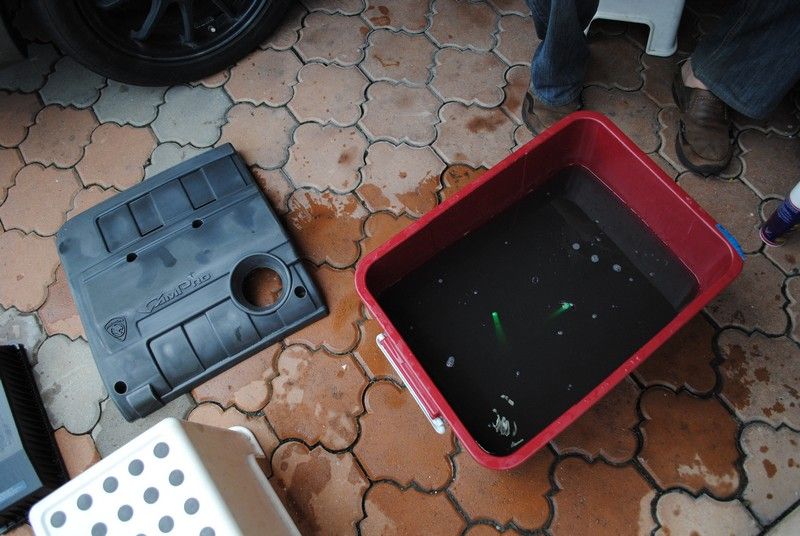
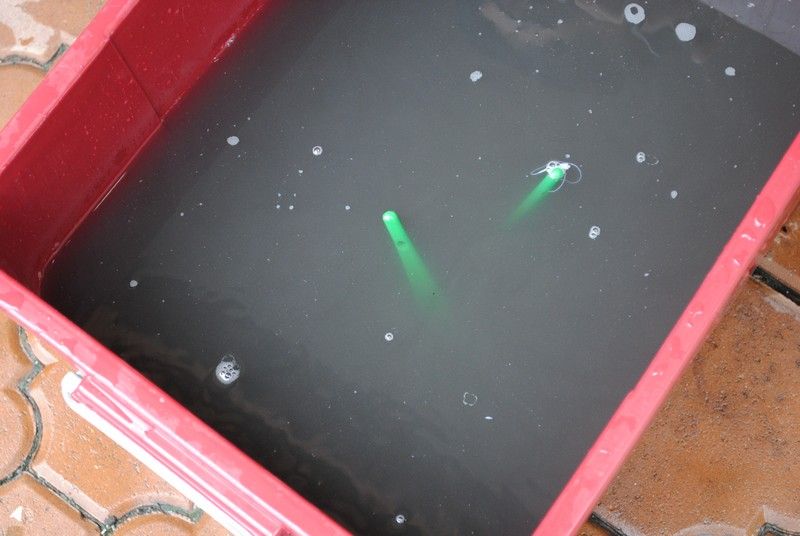
My brush is disappearing into this container.... something worth noting..... this is ONLY from the engine cover.... NOTHING ELSE
End result after sanding. We will pick it up again later
Aircond pipe... always wet and condense + dust and dirt = a good candidate for a 50/50 shot
Hehe
More of the earlier mentioned overspray (apparently only certain Persona has this problem)
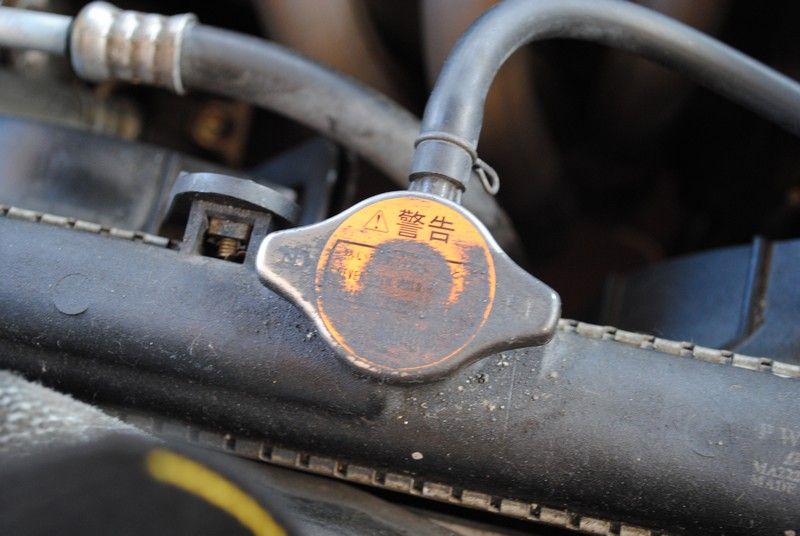
And now it reads... "NEVER OPEN"
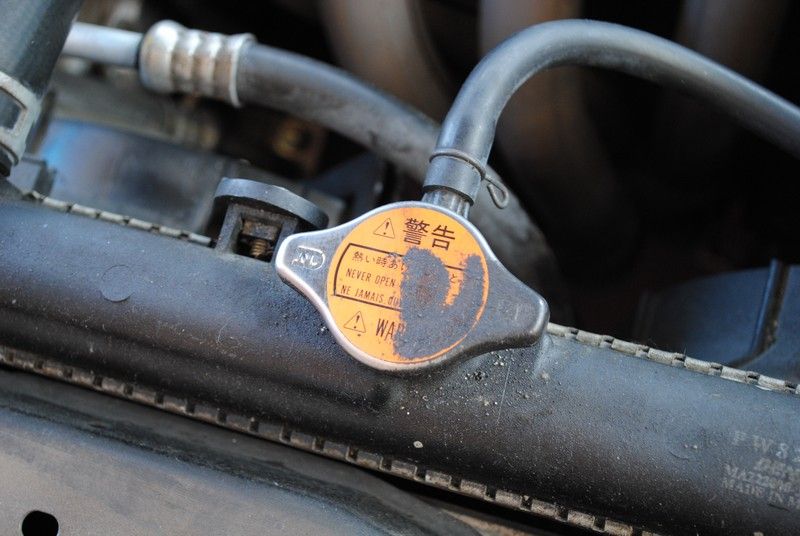
Message properly convey after cleaning with thinner
More of that crappy overspray
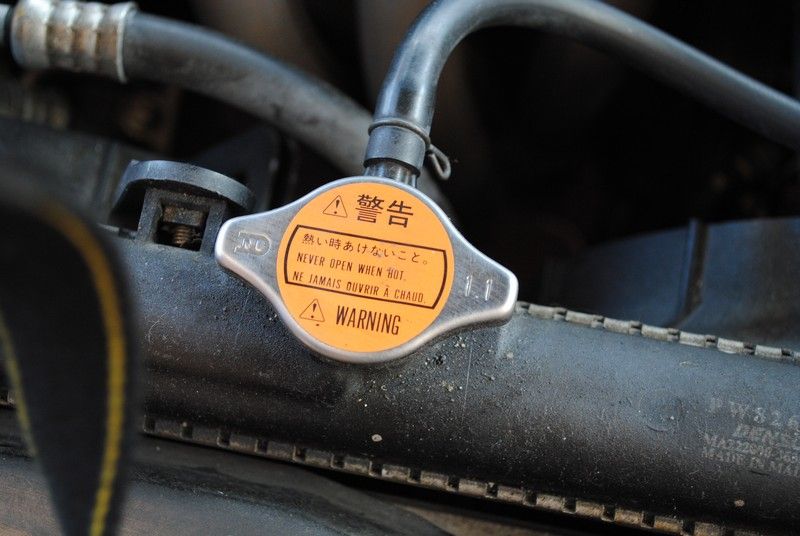
Which can be transformed to this
By using thinner and lots of elbow grease
This is how it should be..... not with some crappy overspray + dirt + sand
Cleaned the radiator pipe next to it and you get....slurp
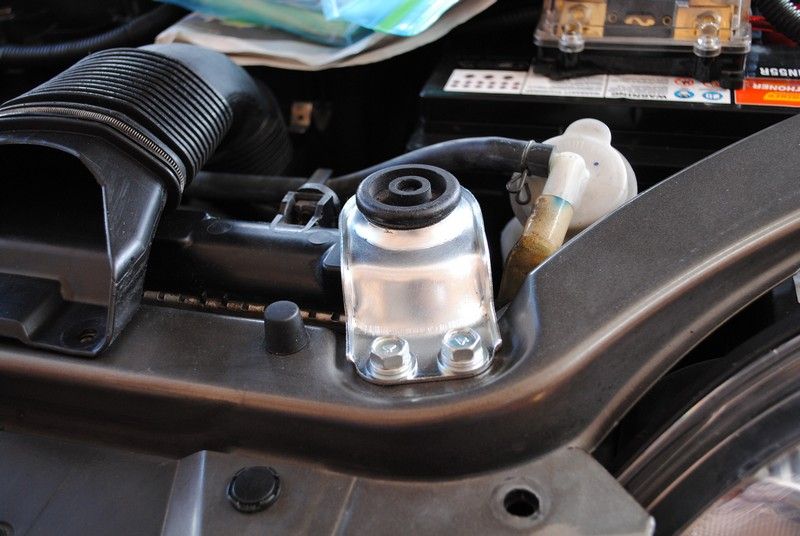
Hmm..... how often do you see the positive terminal cover this red and nice
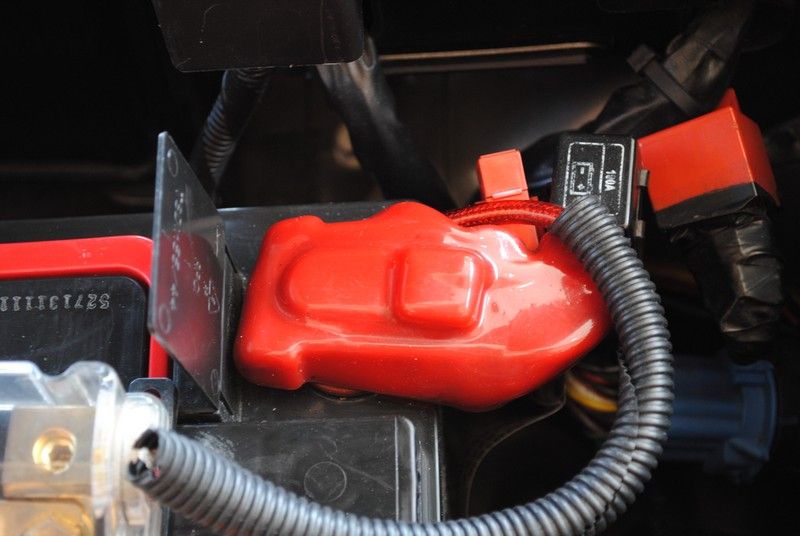
And the alarm.... clean too
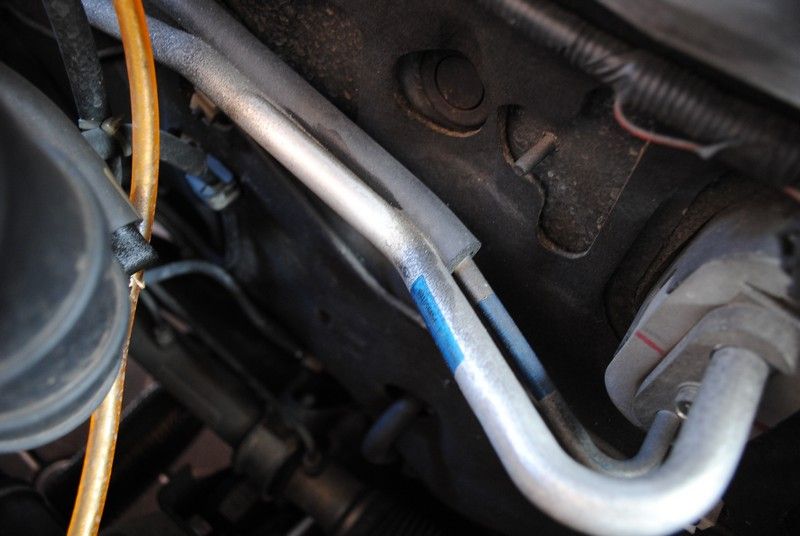
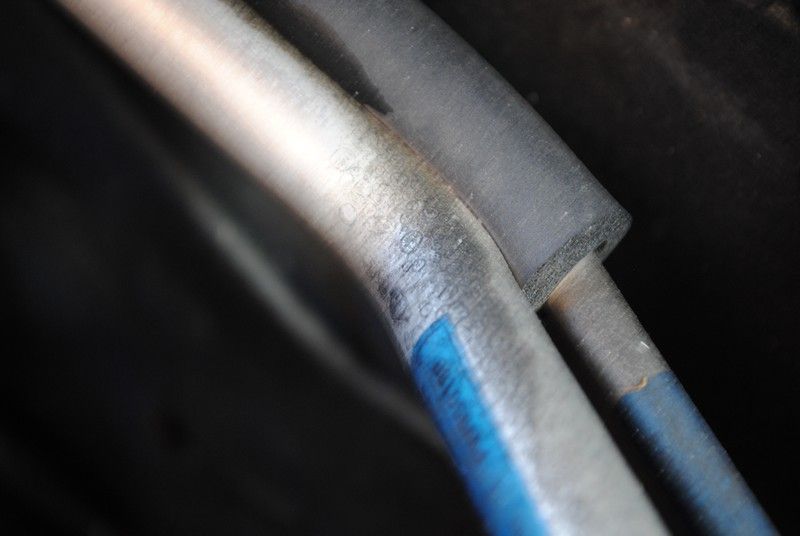
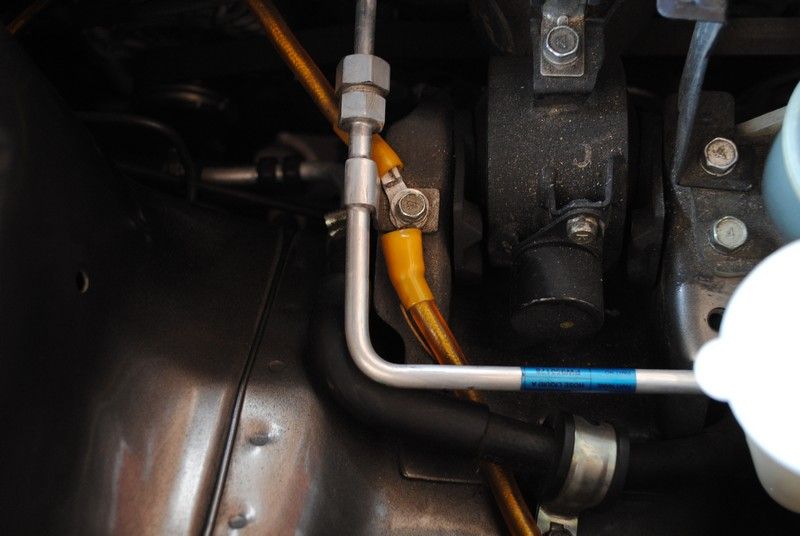
And did you know, your pipes are this color? well most of it actually and not all

From this picture, you can clearly see that the overspray has even reached lower and beyond, too difficult to clean and I would not advice using thinner on car paint/rubber parts/plastic parts
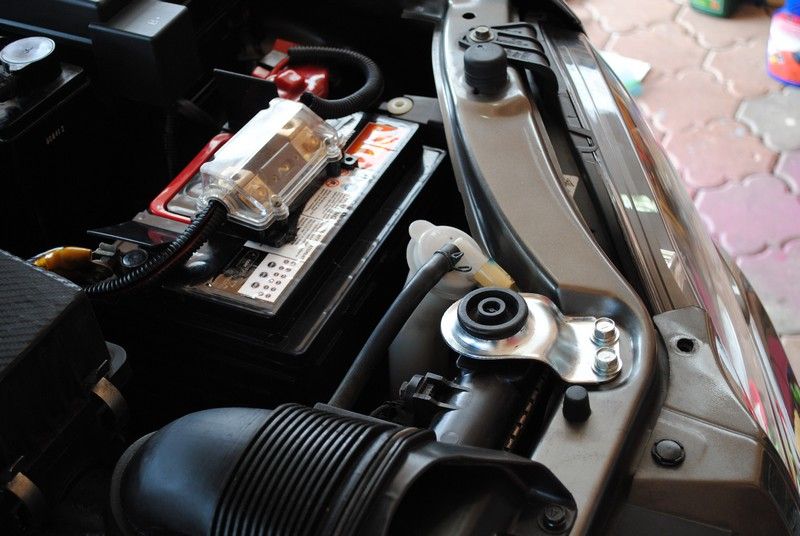
Overview of this section
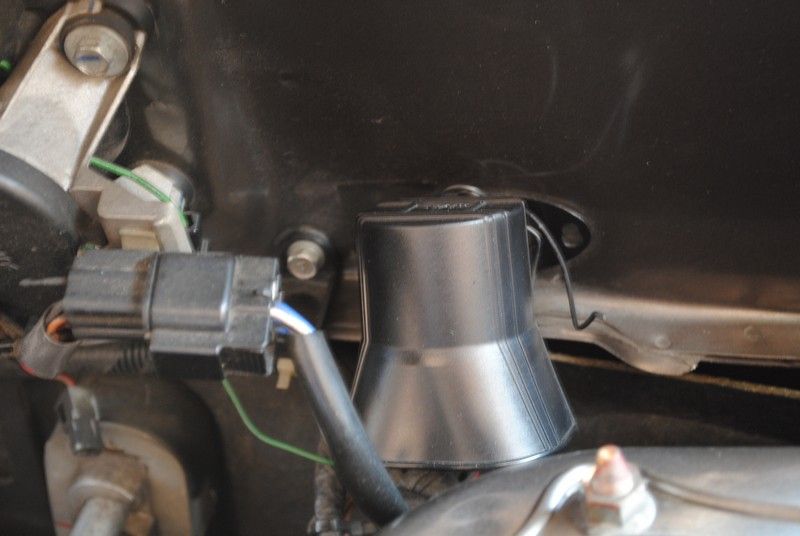
Dun forget the radiator fans as well
Look in detail. How come engine cover change color wan? and what is that carbon fiber filter box?
Well, because of the crappy stuff that was sprayed over it, owner decides to change the color of the engine cover after sanding and carbon fiber the filter box. Makes it look pretty pleasant and different. SWEET BOH? *owner's friend ask him to find gold color paint and make it look like IronMan*
Remember this container, remember that this is only the engine cover ALONE
After i cincai cincai drain, this is what is left over, some shiny dust, some sand..... ok, not "some" but was LOTS
And this is the result of a wipe down of the engine bay
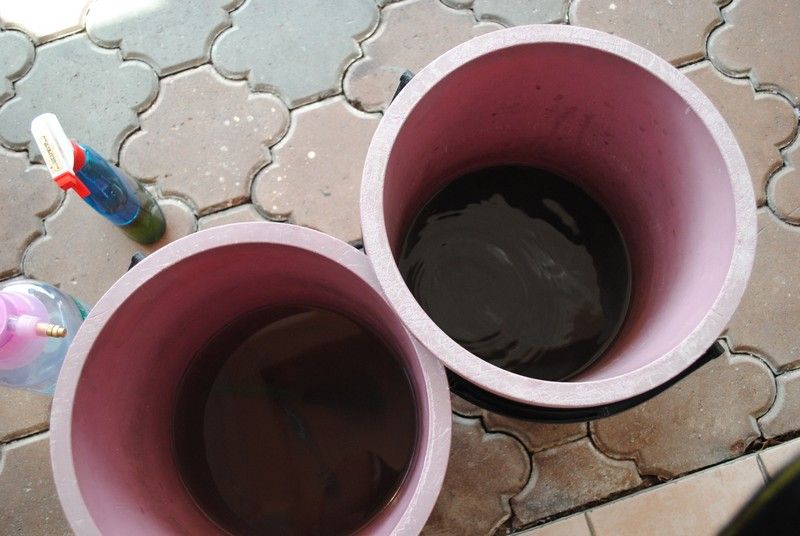
Two buckets of water...... 1 brush is visible (on da left bucket) and 1 brush is actually in the right bucket which is not visible.....
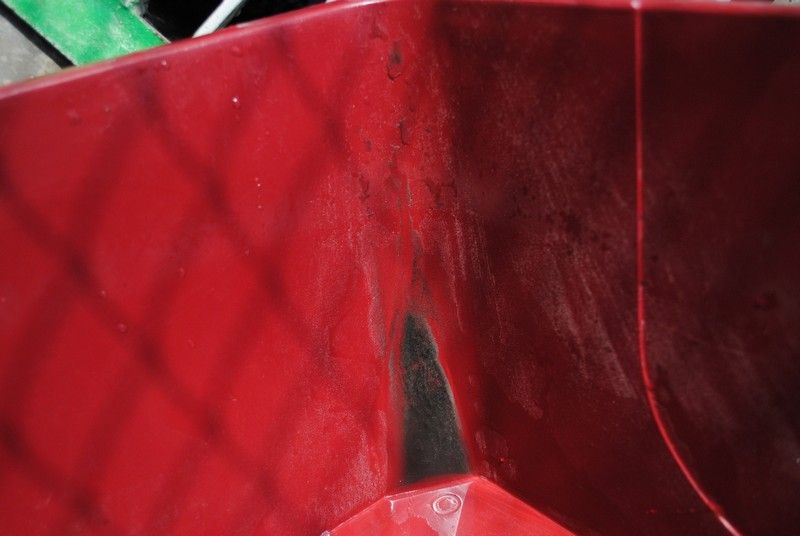
Those with sharp eyes would notice the engine cover spray is kinda bad.... well.... i blame it on the spray can that was dripping and leaking instead of just spraying
You can see the drips clearly and my hands actually looks as if I killed someone (not photographed as I wun wanna touch my DSLR with those hands)
And I thought this brand was good..... avoid it ya

Time spend: 8 hours (inclusive of washing the car)
Satisfaction level: Partly High and partly disappointed
Products used today: Thinner, OPC 1:3, 1:5 1:0, ONR, Osren B&W, OHP, OHC, Makita 9227C and Osren Ultramate (me new toy, hehe)
Some personal comments:
- The overspray is a real PAIN in da lower hind region
- DPI brand of paint is crap (not all, just this particular can that really really made me mad)
- The cloth that was used for the thinner, was sacrificed and now sits neatly in the rubbish bin.
- The cloth that was used for the engine bay wipe down is also in the rubbish bin (yes, that is how dirty this engine bay was)
- road ragers are bastards (sorry for the language)
- When using thinner, wear proper protective gloves, my fingers are numb d... and probably will be for another day or two.
Do leave your comments (good or bad) as it is much appreciated.
I was given an almost impossible task to remove severe road rage aftermath and correct a mistake by a particular manufacturer with limited brain power.
Road Rage
An act of violence resulted from a dispute or dissatisfaction or two or more party. In this case, the owner of the car was a victim of an ignorant road rager whom stepped/kicked his car causing deep scratches.
Without further delay, lets move on to the condition of the car at arrival:
not much scratch wert? (front left fender)
Rear left fender
After a quick ONR/ANR bath, all is revealed
After a quick bath at the rear too....
After correction.... shock boh
Actually some of the scratches were too deep and too risky to remove, there are leftovers but would say that it reduced by probably 80%
After 1X compound and few times polish
Decided to do wet sanding and was greeted with much better result, however, I decide to stop wet sanding on this panel due to following reasons:
- Have already sanded down a lot
- Risking overly thin clearcoat which in time may occur flaking from clearcoat
From another view and at a glance, the scratches are not that visible
Some foreign transfer on the side mirror
Easily removed with Optimum Power Clean aka Alien Clean + toothbrush combo
Da Engine Chapter
Now we move on to the Engine Compartment which is...... i will let the picture speak for itself
Horrendous
Hmmm......
aiyo......
and an Angel came down and gave it a little magic.
Just check this out.... filthy and an eyesore
Swing the magic wand a bit and WAH LAH
Note, this is not dirt or dust
This was cleaned with thinner and not the OPC or Alien Clean we normally use.... why you ask? To be explained further down
After fully cleaned. These are actually overspray from a layer of coat to make the plastic look black that was done at the factory...... kinda dumb of the manufacturer to spray these kinda crap when the parts are in the engine bay. To be explained further down
From an eyesore
To a view to be awe
This is the plastic component that was sprayed with the black coat to make it glossy and all but was actually a real pain in da ass.... as it is sticky and thick, sand and dust got stuck to it and is super hard to remove (at first I thought it was rough black surface similar to Honda), until I OPC half half
From the other side
Owner decided to do secret project so we stopped cleaning and went to SANDING with 150 grid sandpaper. My sandpaper kinda hancur......that is how rough the surface was
My brush is disappearing into this container.... something worth noting..... this is ONLY from the engine cover.... NOTHING ELSE
End result after sanding. We will pick it up again later
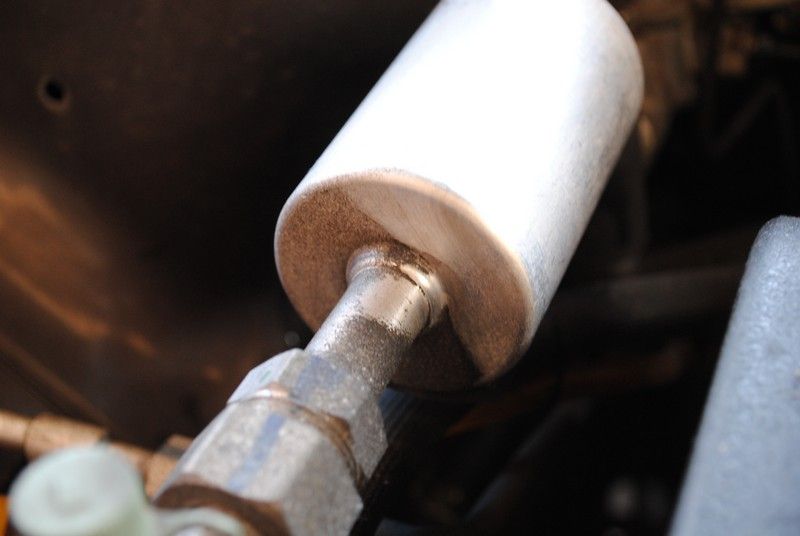
Aircond pipe... always wet and condense + dust and dirt = a good candidate for a 50/50 shot
Hehe
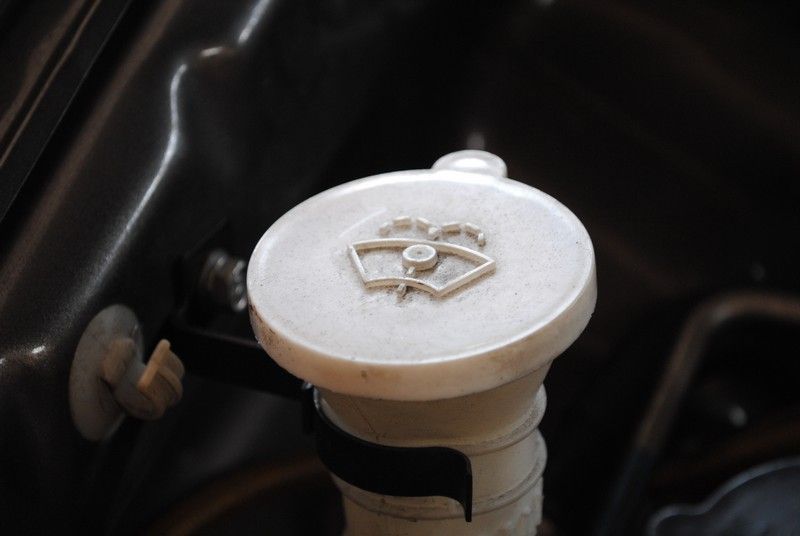
More of the earlier mentioned overspray (apparently only certain Persona has this problem)
And now it reads... "NEVER OPEN"
Message properly convey after cleaning with thinner
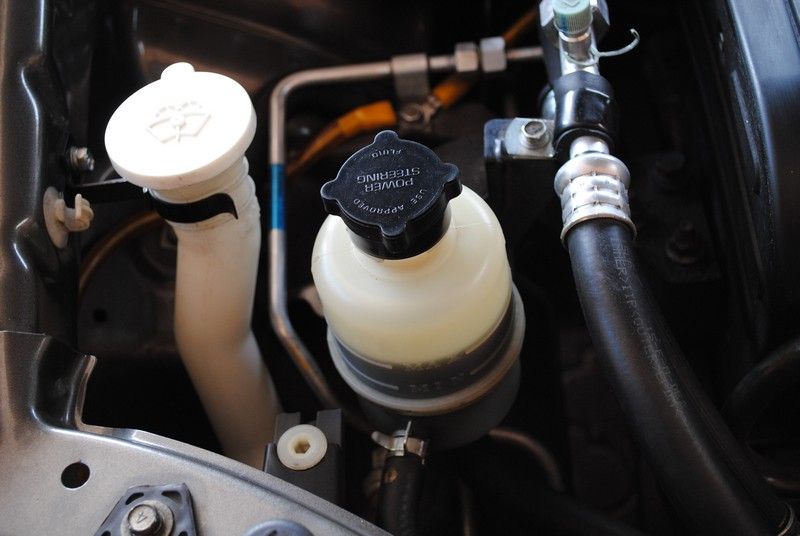
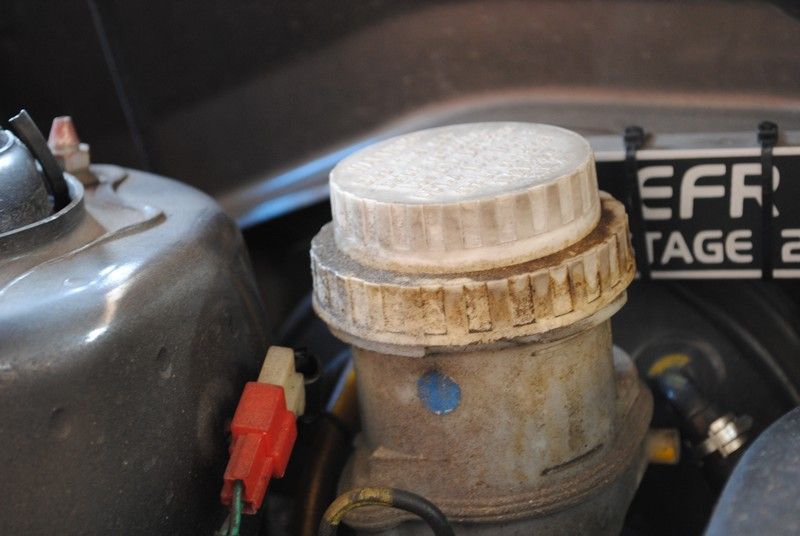
More of that crappy overspray
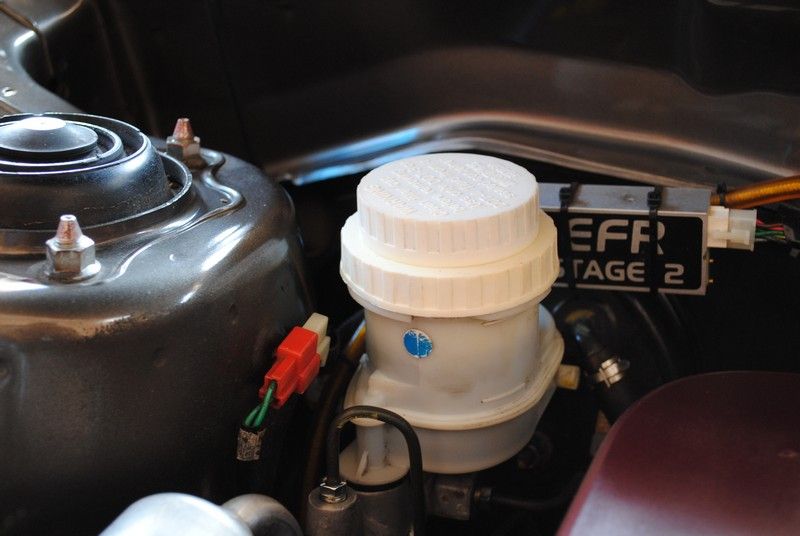
Which can be transformed to this
By using thinner and lots of elbow grease
This is how it should be..... not with some crappy overspray + dirt + sand
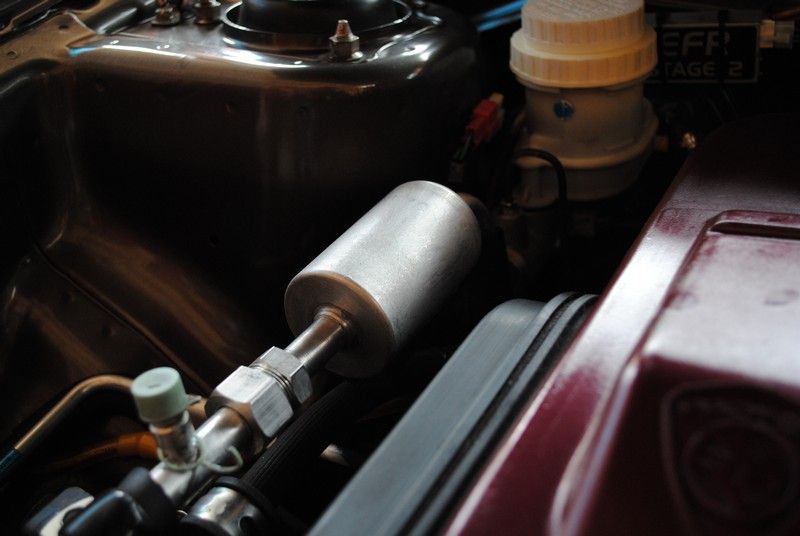
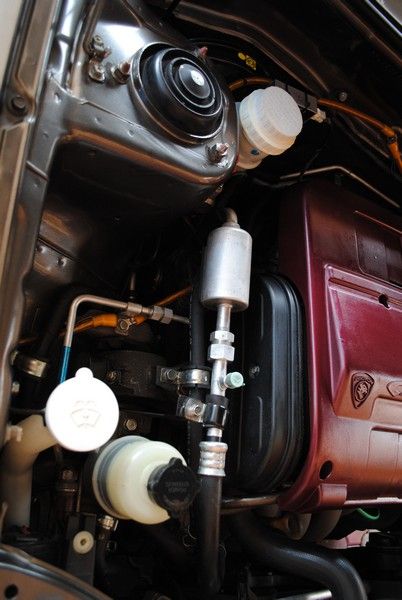
Cleaned the radiator pipe next to it and you get....slurp
Hmm..... how often do you see the positive terminal cover this red and nice
And the alarm.... clean too
And did you know, your pipes are this color? well most of it actually and not all
From this picture, you can clearly see that the overspray has even reached lower and beyond, too difficult to clean and I would not advice using thinner on car paint/rubber parts/plastic parts
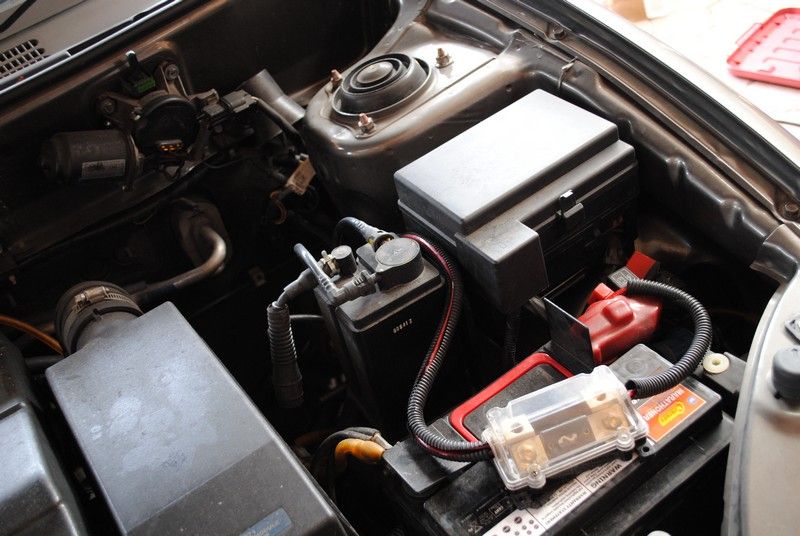
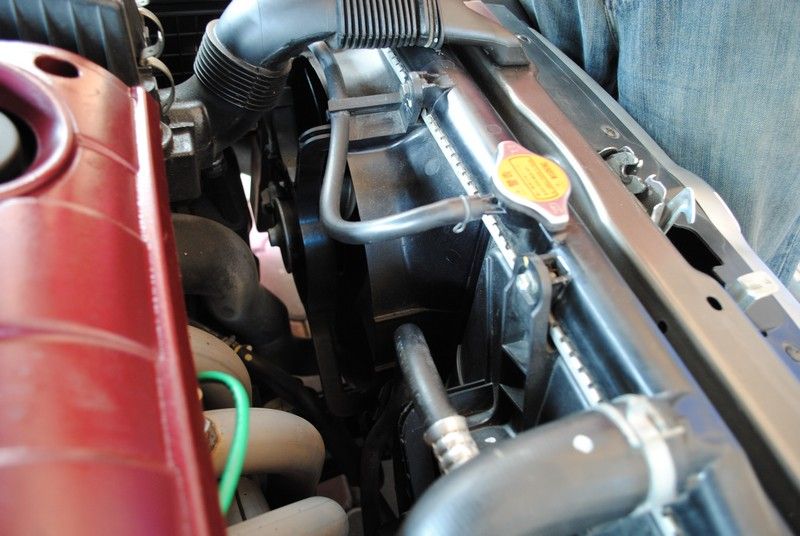
Overview of this section
Dun forget the radiator fans as well
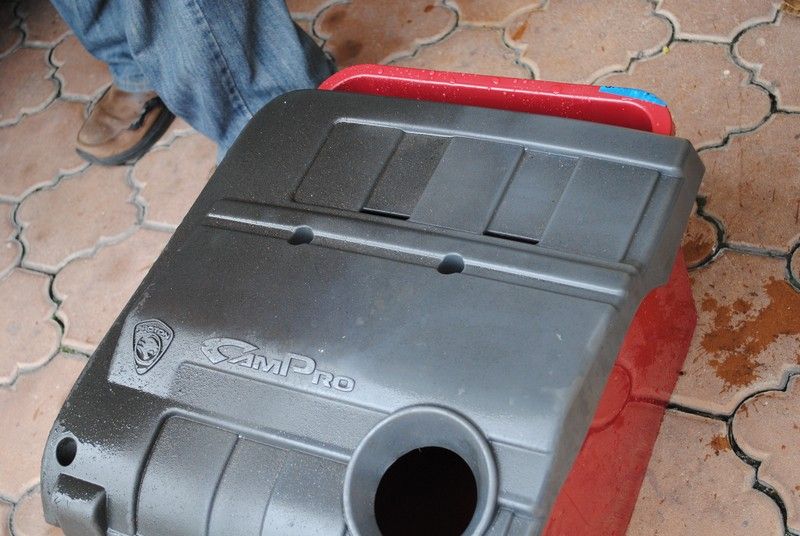
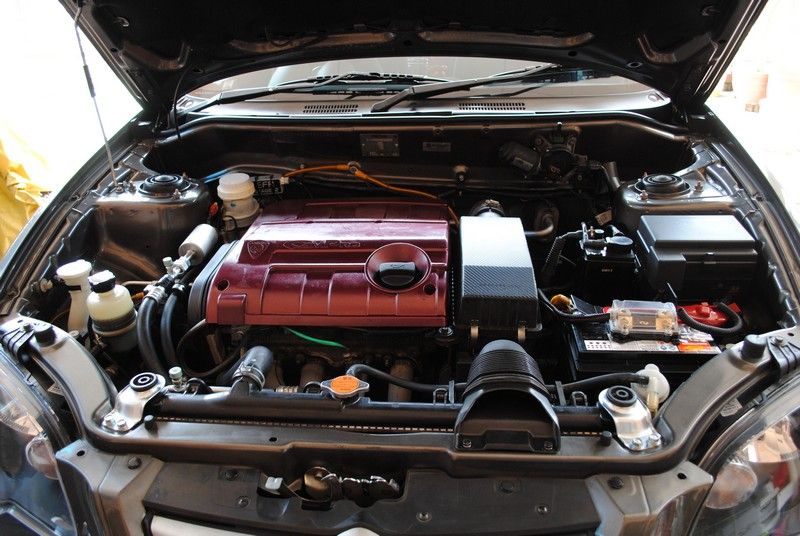
Look in detail. How come engine cover change color wan? and what is that carbon fiber filter box?
Well, because of the crappy stuff that was sprayed over it, owner decides to change the color of the engine cover after sanding and carbon fiber the filter box. Makes it look pretty pleasant and different. SWEET BOH? *owner's friend ask him to find gold color paint and make it look like IronMan*
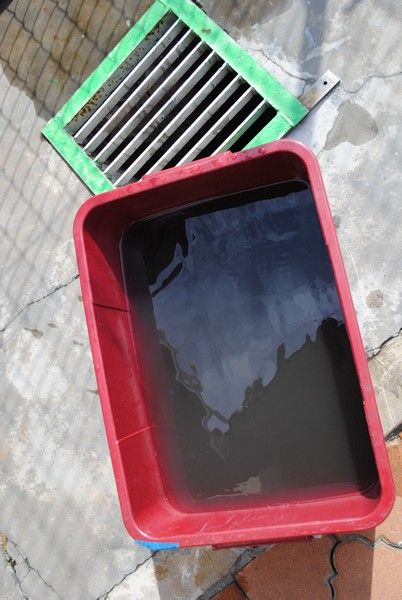
Remember this container, remember that this is only the engine cover ALONE
After i cincai cincai drain, this is what is left over, some shiny dust, some sand..... ok, not "some" but was LOTS
And this is the result of a wipe down of the engine bay
Two buckets of water...... 1 brush is visible (on da left bucket) and 1 brush is actually in the right bucket which is not visible.....
Those with sharp eyes would notice the engine cover spray is kinda bad.... well.... i blame it on the spray can that was dripping and leaking instead of just spraying
You can see the drips clearly and my hands actually looks as if I killed someone (not photographed as I wun wanna touch my DSLR with those hands)
And I thought this brand was good..... avoid it ya
Time spend: 8 hours (inclusive of washing the car)
Satisfaction level: Partly High and partly disappointed
Products used today: Thinner, OPC 1:3, 1:5 1:0, ONR, Osren B&W, OHP, OHC, Makita 9227C and Osren Ultramate (me new toy, hehe)
Some personal comments:
- The overspray is a real PAIN in da lower hind region
- DPI brand of paint is crap (not all, just this particular can that really really made me mad)
- The cloth that was used for the thinner, was sacrificed and now sits neatly in the rubbish bin.
- The cloth that was used for the engine bay wipe down is also in the rubbish bin (yes, that is how dirty this engine bay was)
- road ragers are bastards (sorry for the language)
- When using thinner, wear proper protective gloves, my fingers are numb d... and probably will be for another day or two.
Do leave your comments (good or bad) as it is much appreciated.
 Thanks for the great work! Btw I agree with you, DPI sucks. I bought another can last night, same thing happened. This time, it's worse. The paint sprayed out through the bottom of the actuator ON THE FIRST SPRAY. Pretty messy. However, the oil cap is now gold in color